Pickled Eggplant ~with a Secret…
“This is a re-post with health and safety qualifications and guidelines based on present FDA advised canning and preserving techniques.”
eggplant and process photos by James Culcasi
My mother’s oldest sister Anna Piscitelli had fabulous, kinky red hair and a devilish sense of humor to match it. When I was born with red hair, the joke was that I was more her child than my mother’s. Auntie Ann and my uncle Vinnie raised eleven children on a postman’s salary. Every time we went to their house, a party ensued. It was always such wonderful chaos and fun there!
But the food… that was something I will never forget.
I remember Uncle Vinnie making fried dough in giant aluminum trays filled with hot oil. He’d set it up on the grill in the backyard. I remember being completely consumed by the magic of the melting Crisco. He would take a giant can of the stuff, open it and place the whole can into huge, disposable aluminum pans that were sitting on a hot grill.
We watched with huge eyes as it magically went from thick white paste to a clear liquid as it melted. He’d ask us if we had seen the magical transformation. Then he’d pour the now clear liquid out into the pans proudly announcing in his clear tenor, “Eccola!” This is was probably around 1972 so if you didn’t see it in person or on very limited TV: you didn’t ever see it. And we hadn’t seen this magic before. We were putty in his hands.
He allowed us to form the dough into the shape we wanted. He would carefully take the shaped dough from us on a paper plate. He tried his best to maintain our childhood-inspired shapes as he tossed it into the Crisco.
When it was done, he fished the cooked dough out of the magic oil with a long serving fork and gave it back to us on that paper plate. We could put whatever we wanted on it, but marinara, oregano and parmigiano or any combo of those things were the popular pizza mimics. He put out confectioner’s sugar, cinnamon and regular sugar for those with a sweet tooth. I also seem to remember Nutella and melted chocolate as well as fruit like strawberries.
If you have ever been to Arthur Avenue in the Bronx or to any Italian Festival like the Feast of San Gennaro in any city- you would find this treat. But here it was in Auntie Ann and Uncle Vinnie’s backyard with the rabbit hutch at 10 River Road. And at that time of our lives when things were magical and simpler, it seemed like he invented it just for us. And I believed him.

photo of Auntie Ann & Uncle Vinnie leaving for their honeymoon from Vincent Piscitelli’s collection
And even though almost every culture has a version of it. I still believe him to this day. Whether it’s called fry bread, fried dough, buñuelos or pizza fritte: the magic is the same. In fact it was so popular, it ended up at almost every country fair or carnival you went to.
It is not lost on me that for the average child, getting to make these sorts of foods and choosing your own ingredients was unusual. But luckily not if your name ended in a vowel like Piscitelli, Andreucci, Cusano or Culcasi. I am so grateful to have learned to respect and to consider food in this way and at such early ages. It is only now, at the ripe old age of fifty-four and after years of teaching Elementary and Middle School children that I see and appreciate the wisdom in it. Cooking with children gives them ownership. It sparks creativity. It changed my life.
photo of Auntie Ann at high school graduation from Vincent Piscitelli’s collection
As time went on, I gravitated toward cooking. And because my Auntie Ann always had so many to feed, it seemed as if she was always cooking and engaging the kids to help. It was incredible to watch. We all got to help. Every child had a job. We chopped and peeled and diced. After all the chopping and the seasoning, she’d take the ingredients into her tiny galley kitchen that only she and maybe one other person could fit into and come out with an incredible meal for the masses. I loved it there. Me and my red hair and my love for food seemed right at home. It seemed more than apparent that my DNA was somehow more than tightly wrapped up in my Auntie Ann’s.
I’ll take it. She was formidable, funny and the epitome of an Earth Mother. I am more than happy to be one of her spiritual children and her nephew.
My great-grandmother Anna Napolitano
Auntie Ann was our own celebrity chef in a time before celebrity chefs. Even her own mother said she was the best cook out of everyone in the family- and my nonna was including herself in that equation! Anna was the first-born child in the Napolitano house and she loved being in the kitchen. Everything she learned, she learned from my great-grandmother Anna, her namesake. This is how it worked. Nothing was written down. You learned by doing and listening to the story told and retold. This generational process of the housewife and Nonna teaching people how to cook is referred to as La Gastronomia di Casalinga.
Check out my review of Emiko Davies’ beautiful book Tortellini at Midnight to read more about the tradition of la Casalinga
Now for the eggplant.
This version of pickled eggplant is as close to Auntie Ann’s as I can get. When I eat it, I am ten years old with olive oil running down my chin on a hot summer day holding a paper plate covered in crusty Italian bread and big spaghetti strand clumps of of the stuff.
There are two important things you need to know.
1. YOU MUST PICKLE THE GARLIC
If you decide you want to use the garlic, you must pickle it. Before you pour the boiling vinegar mixture over your extruded eggplant, you must also include the chopped garlic to pickle both the eggplant and garlic at the same time. This will prevent botulism. You might decide that you don’t want the garlic. It is delicious either way. Be forewarned that pickling the garlic may turn it blue.
2. This recipe is an Olympic feat requiring two days
Yes- you can do a truncated version doing all the same things EXCEPT letting the salted eggplant sit pressed for only three hours. Then continue as directed.
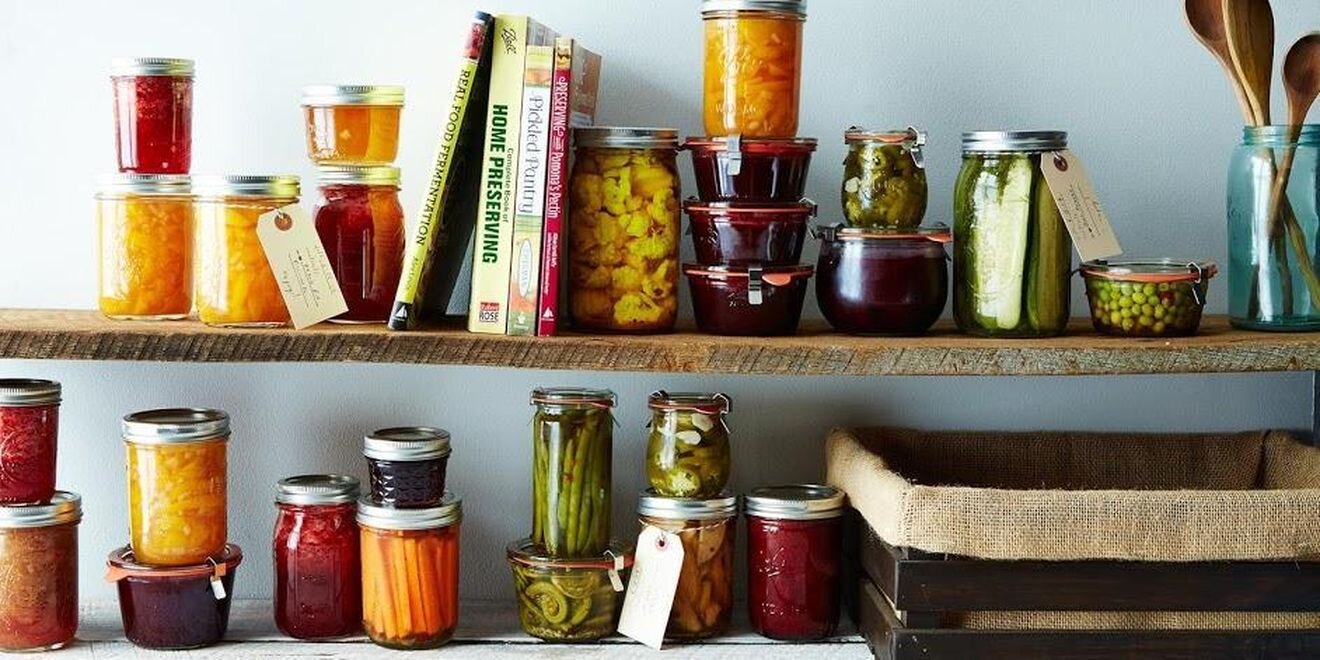
The Need-to-Know Guide to Botulism, For Safe Canning & Preserving
I must also say that because of the size of these small Italian eggplants, the yield ratio for us was about five 16 oz. jars of the finished product. Using smaller 8 oz. jars, I’ll bet you could “eek” out about ten. It might be well worth it to double the amount of eggplants, call in the troops and “go for it”. That would mean about ten 16 oz. jars or twenty 8 oz. jars. They make super homemade gifts for the foodies in your life.
Either way, if you love Italian food, this incredibly special concoction will knock your calzini off! Serve it on a beautiful cheese board with other antipasti and loads of crusty bread or crackers. Put it on your mortadella sandwich with some provolone picante. Top your cicchetti with it. Toss it into just strained hot pasta and some parmigiano. Sprinkle some into your frittata. The possibilities are only limited to your imagination. The acidity and the earthiness or this recipe makes everything sparkle.
It will not disappoint.
A salute e la buona fortuna, amici!
Melanzane Sott’aceto / Pickled Eggplant
Ingredients
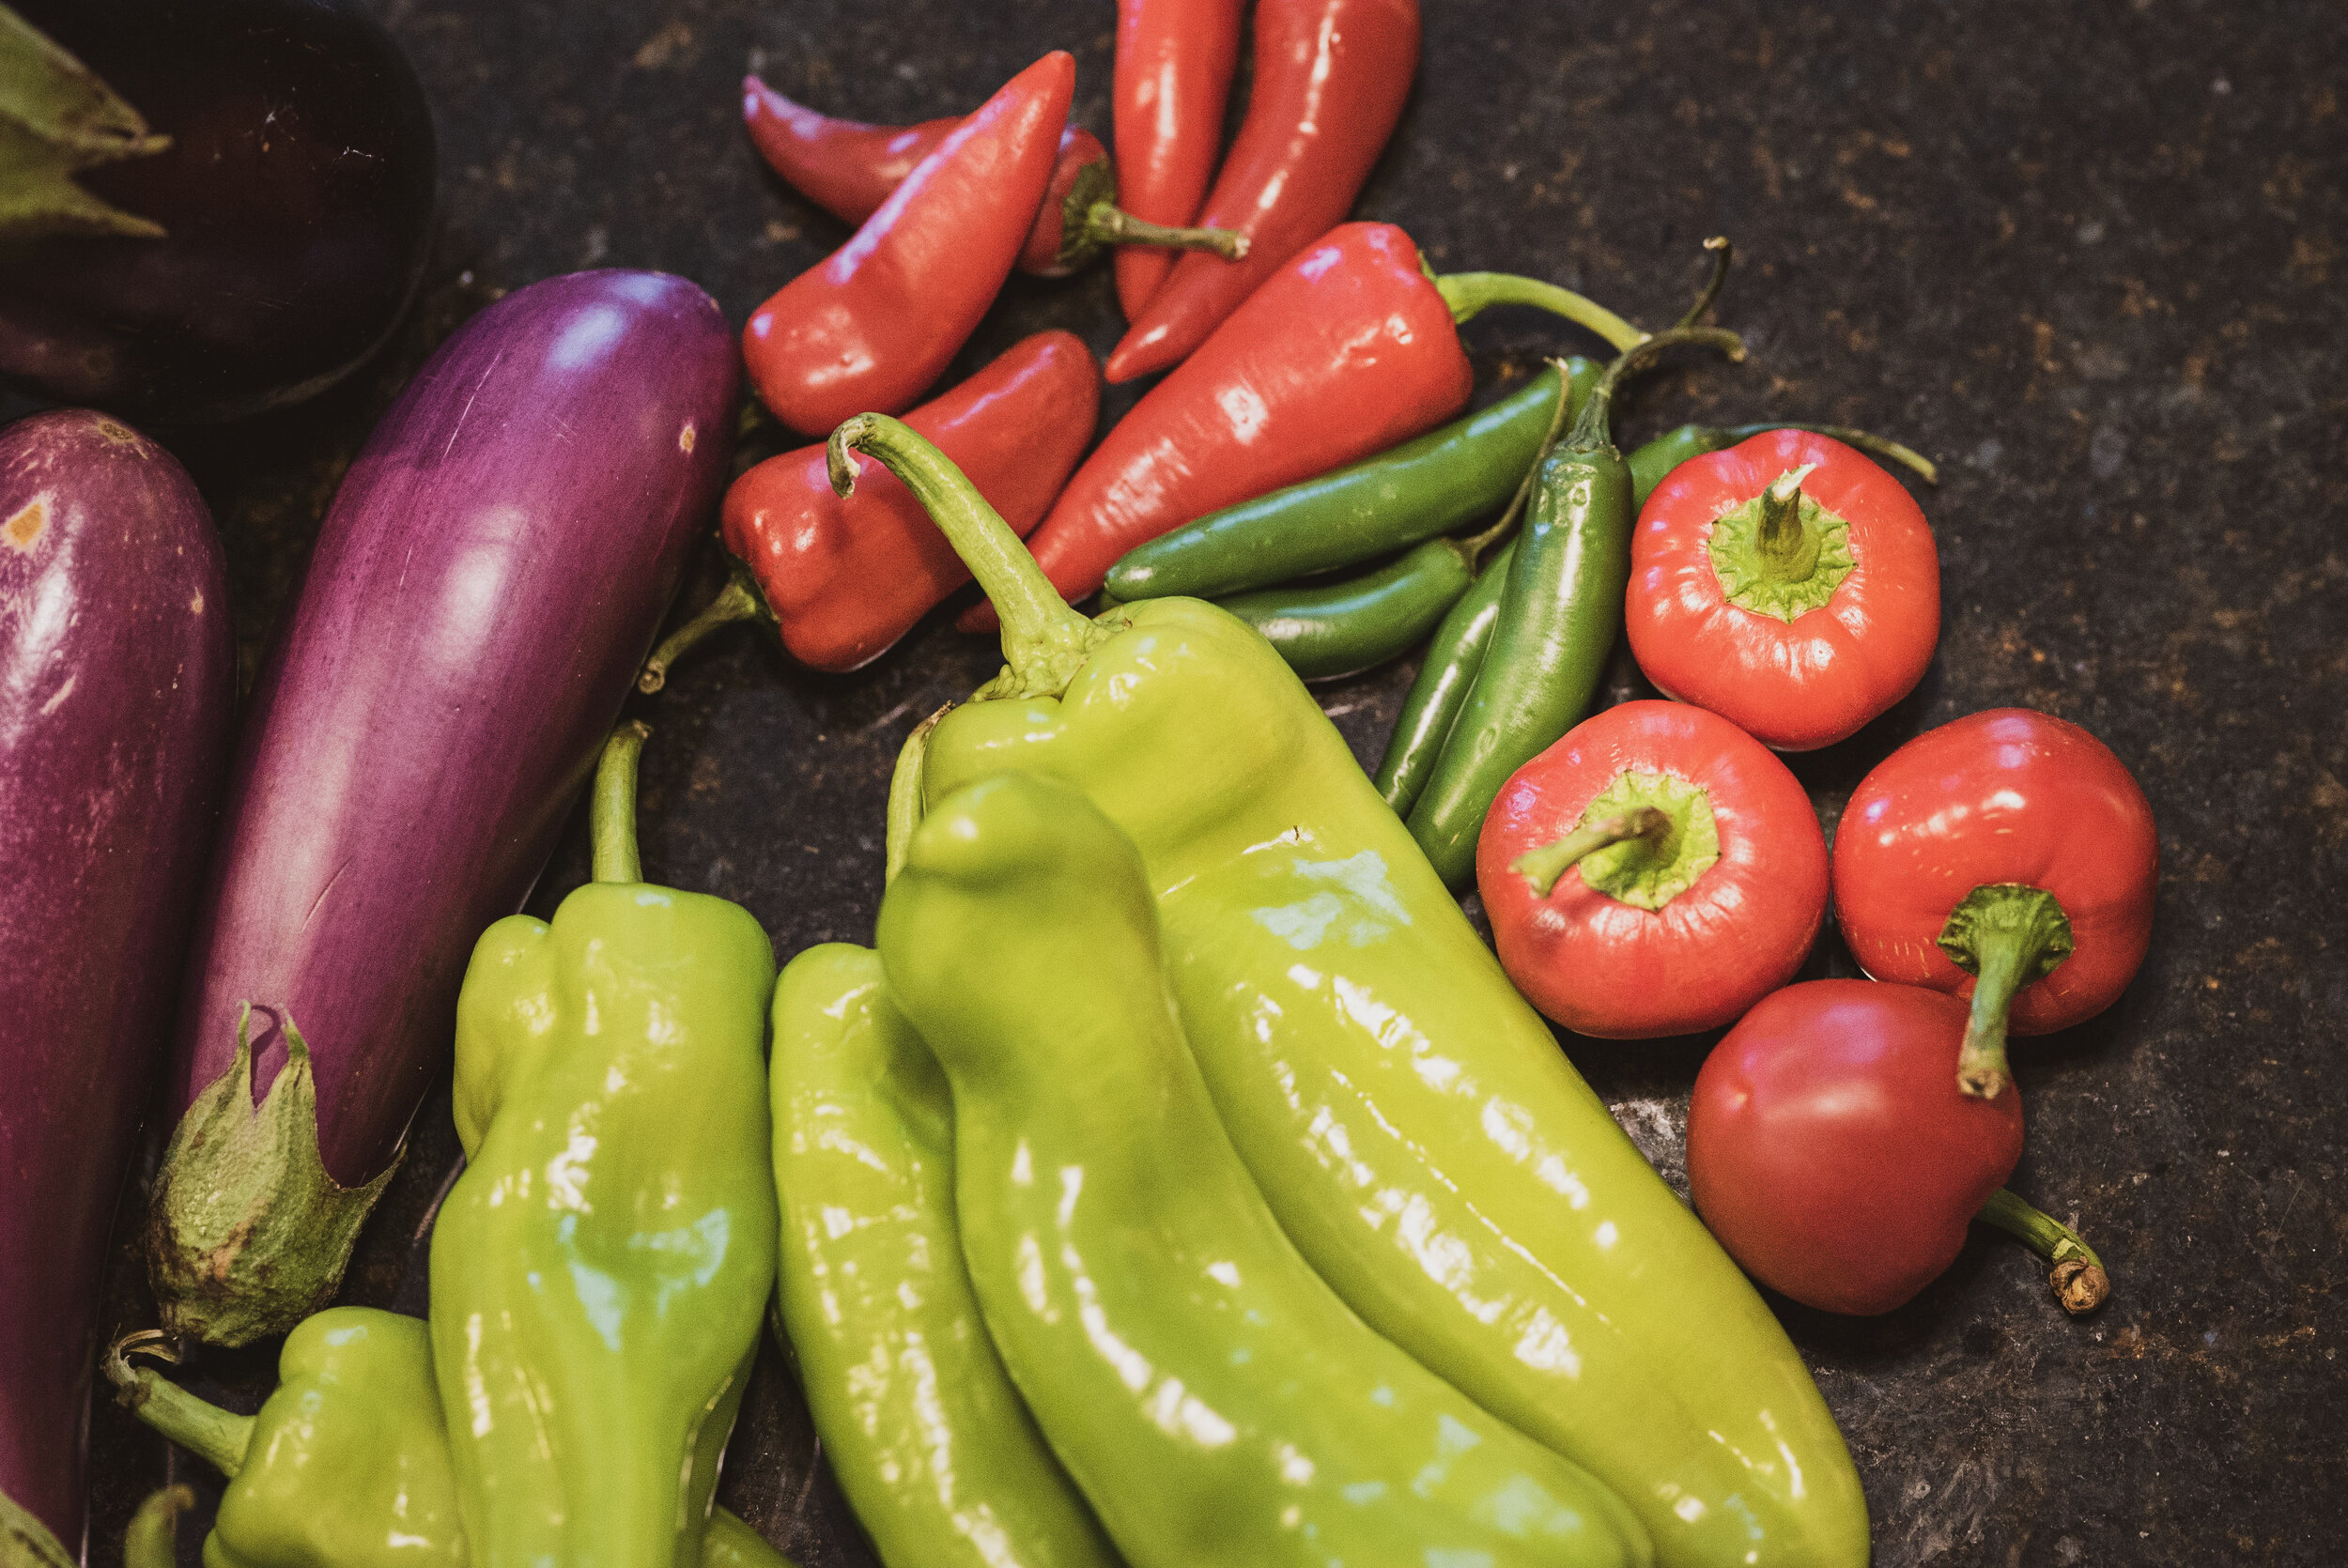
18-20 small Italian eggplants – these are the short, squat ones with fewer seeds
4 Frigitello-type, long green, sweet Italian peppers
4 red, cherry peppers- these can be fiery so taste and use your judgement
4 long, red sweet peppers
2 Serrano peppers
5-gallon jug of distilled white vinegar
Box of kosher salt- 2 cups set aside
1 or 2 canning gaskets or racks to be place in the bottom of the pot you will be using to sterilize your jars as well as process your eggplant once jarred. You do not want the glass jars to touch the bottom of the pan
Wide-mouth canning funnel- we MacGyver-ed a sterilized Silpat and used that to get the eggplant in the jars which worked perfectly.
Canning jars- We used : five 16 oz. Pint Regular Mouth Glass Canning Jars with Silver Metal Lid and Bands
Dried Oregano
Red pepper flakes
Safflower Oil
Extra-Virgin Olive Oil
2 heads of Garlic minced well or sliced thinly
Lots Fresh Bay leaves- enough to put one into each finished jar
40 or 80 quart stock pot (you are looking for depth here). You could even use one of those big plastic 5 gallon FDA food grade plastic buckets from your local hardware store- washed well with soap and hot water.
1 Large long-handled spoon
Stack of clean hand towels
Extra Credit Ingredient
1 Caffè Corretto: 1 shot of grappa or favorite liqueur in a solo espresso. You’ll need it halfway through…
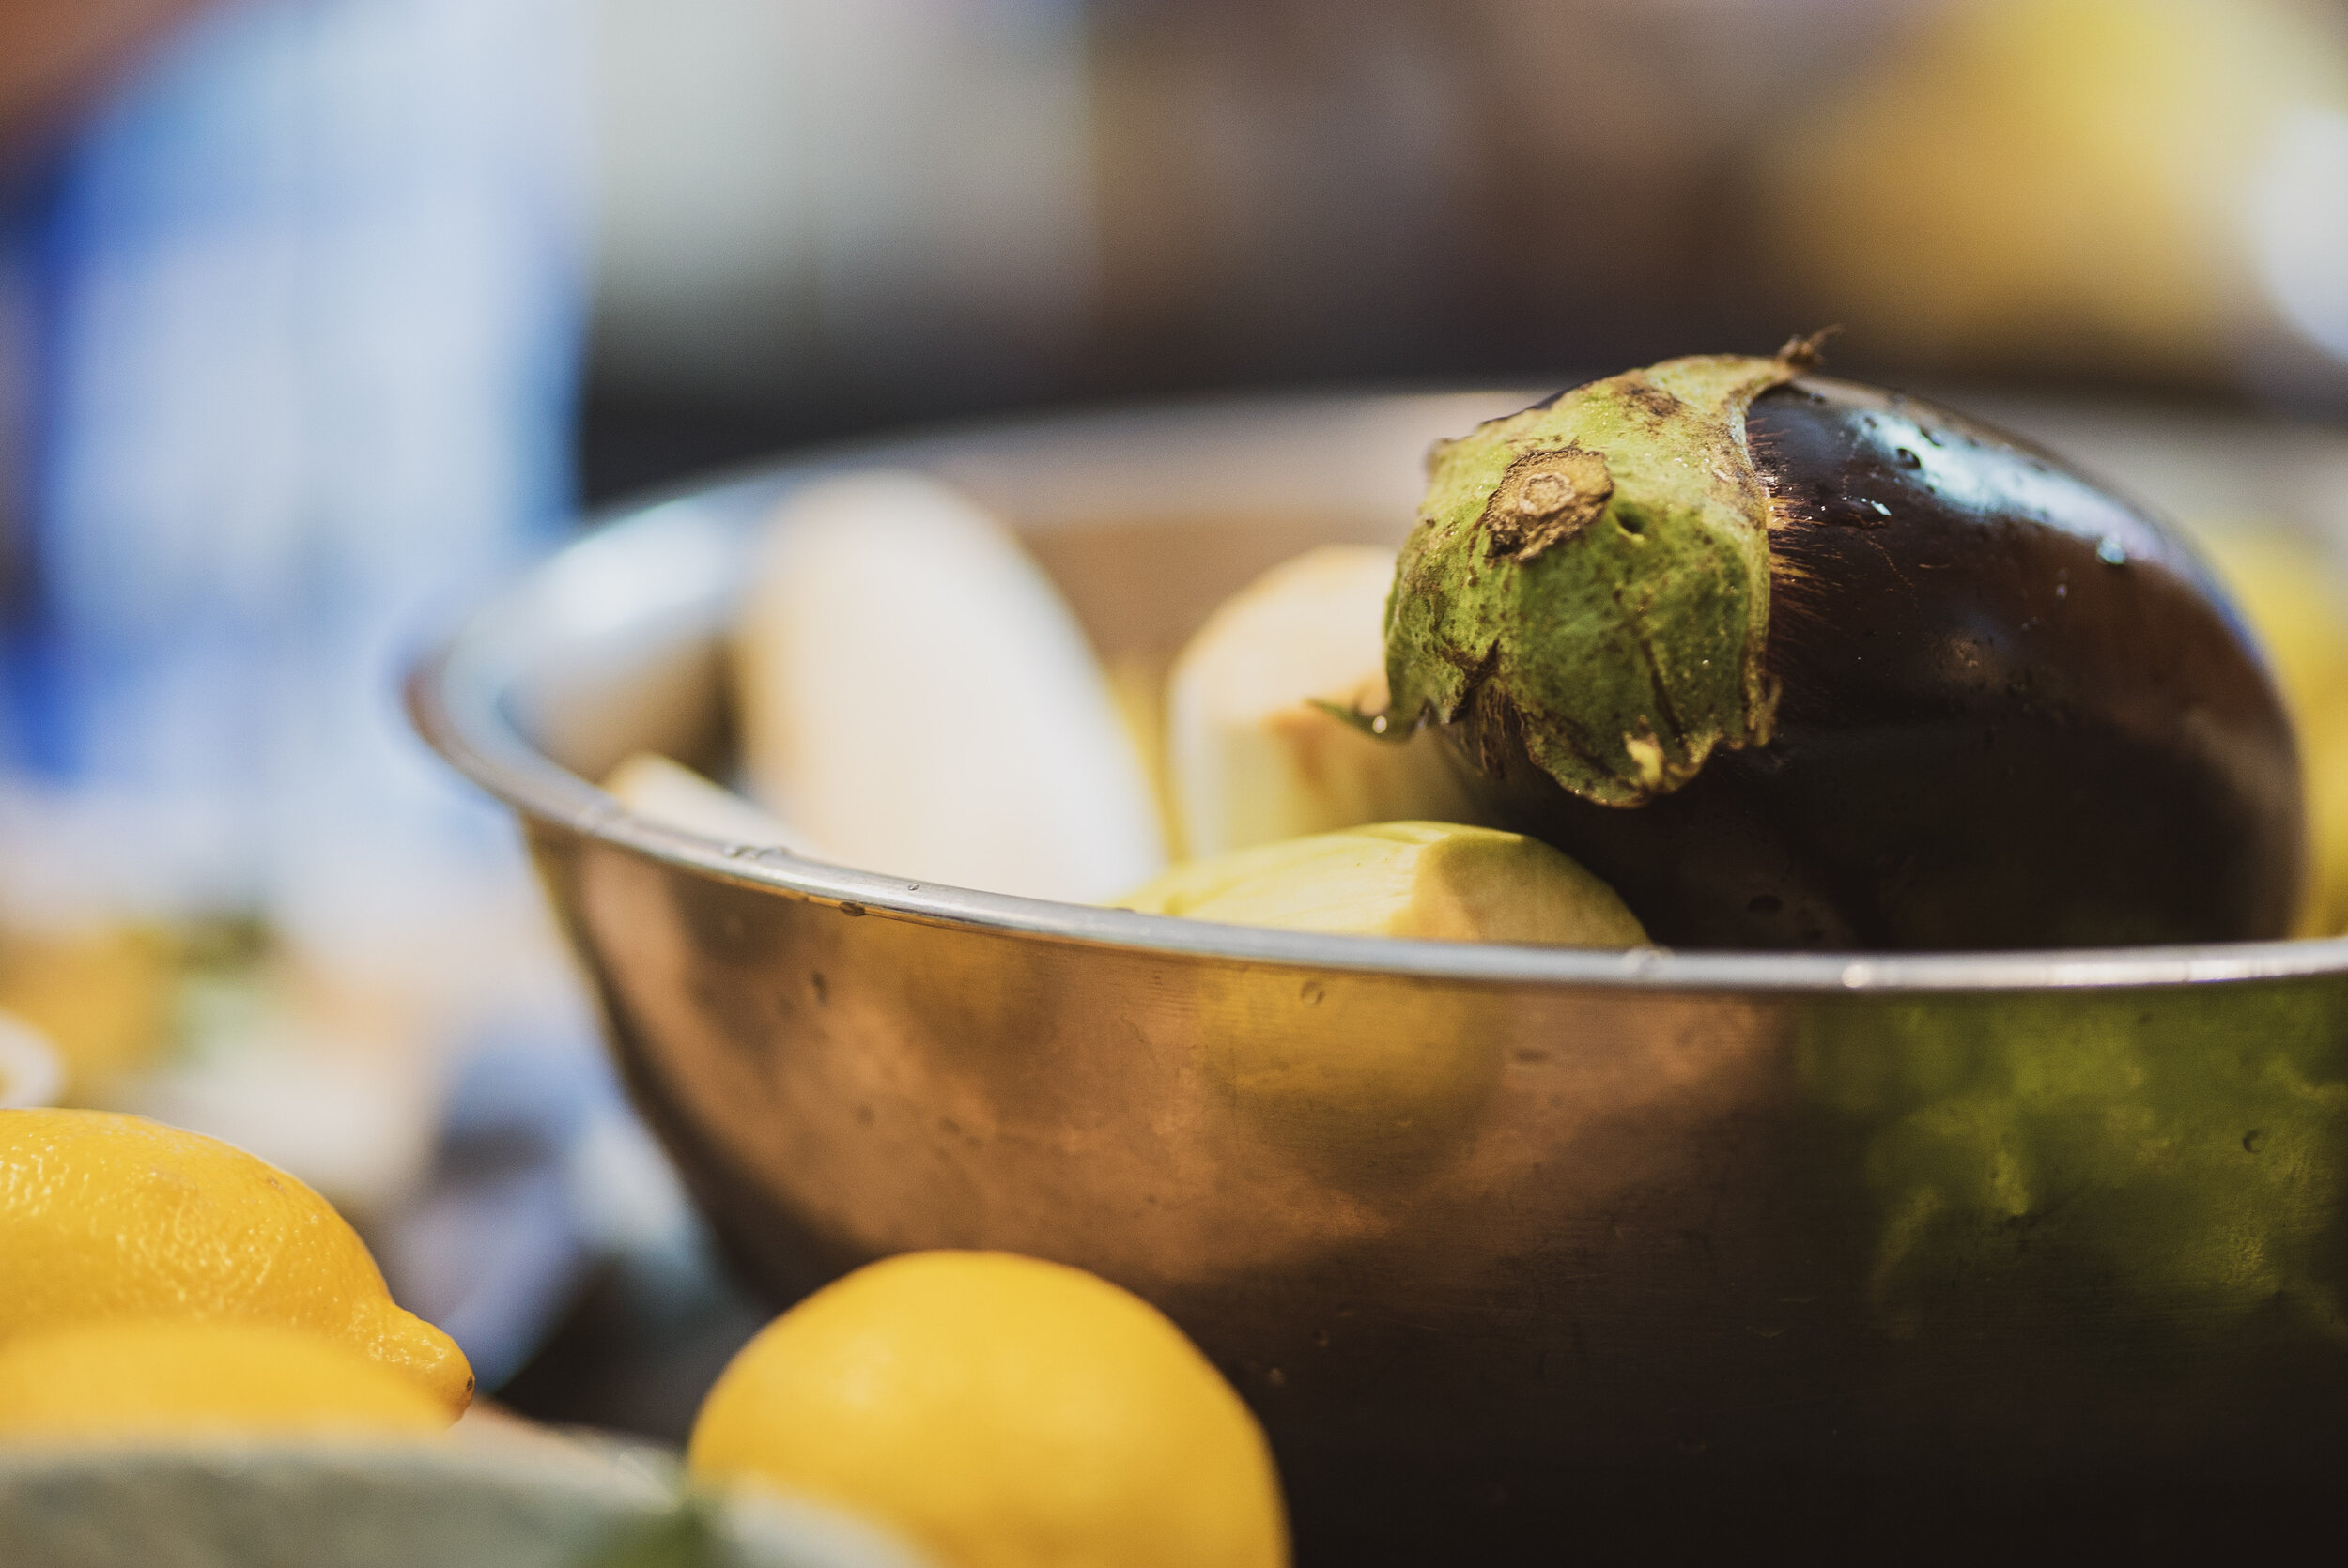
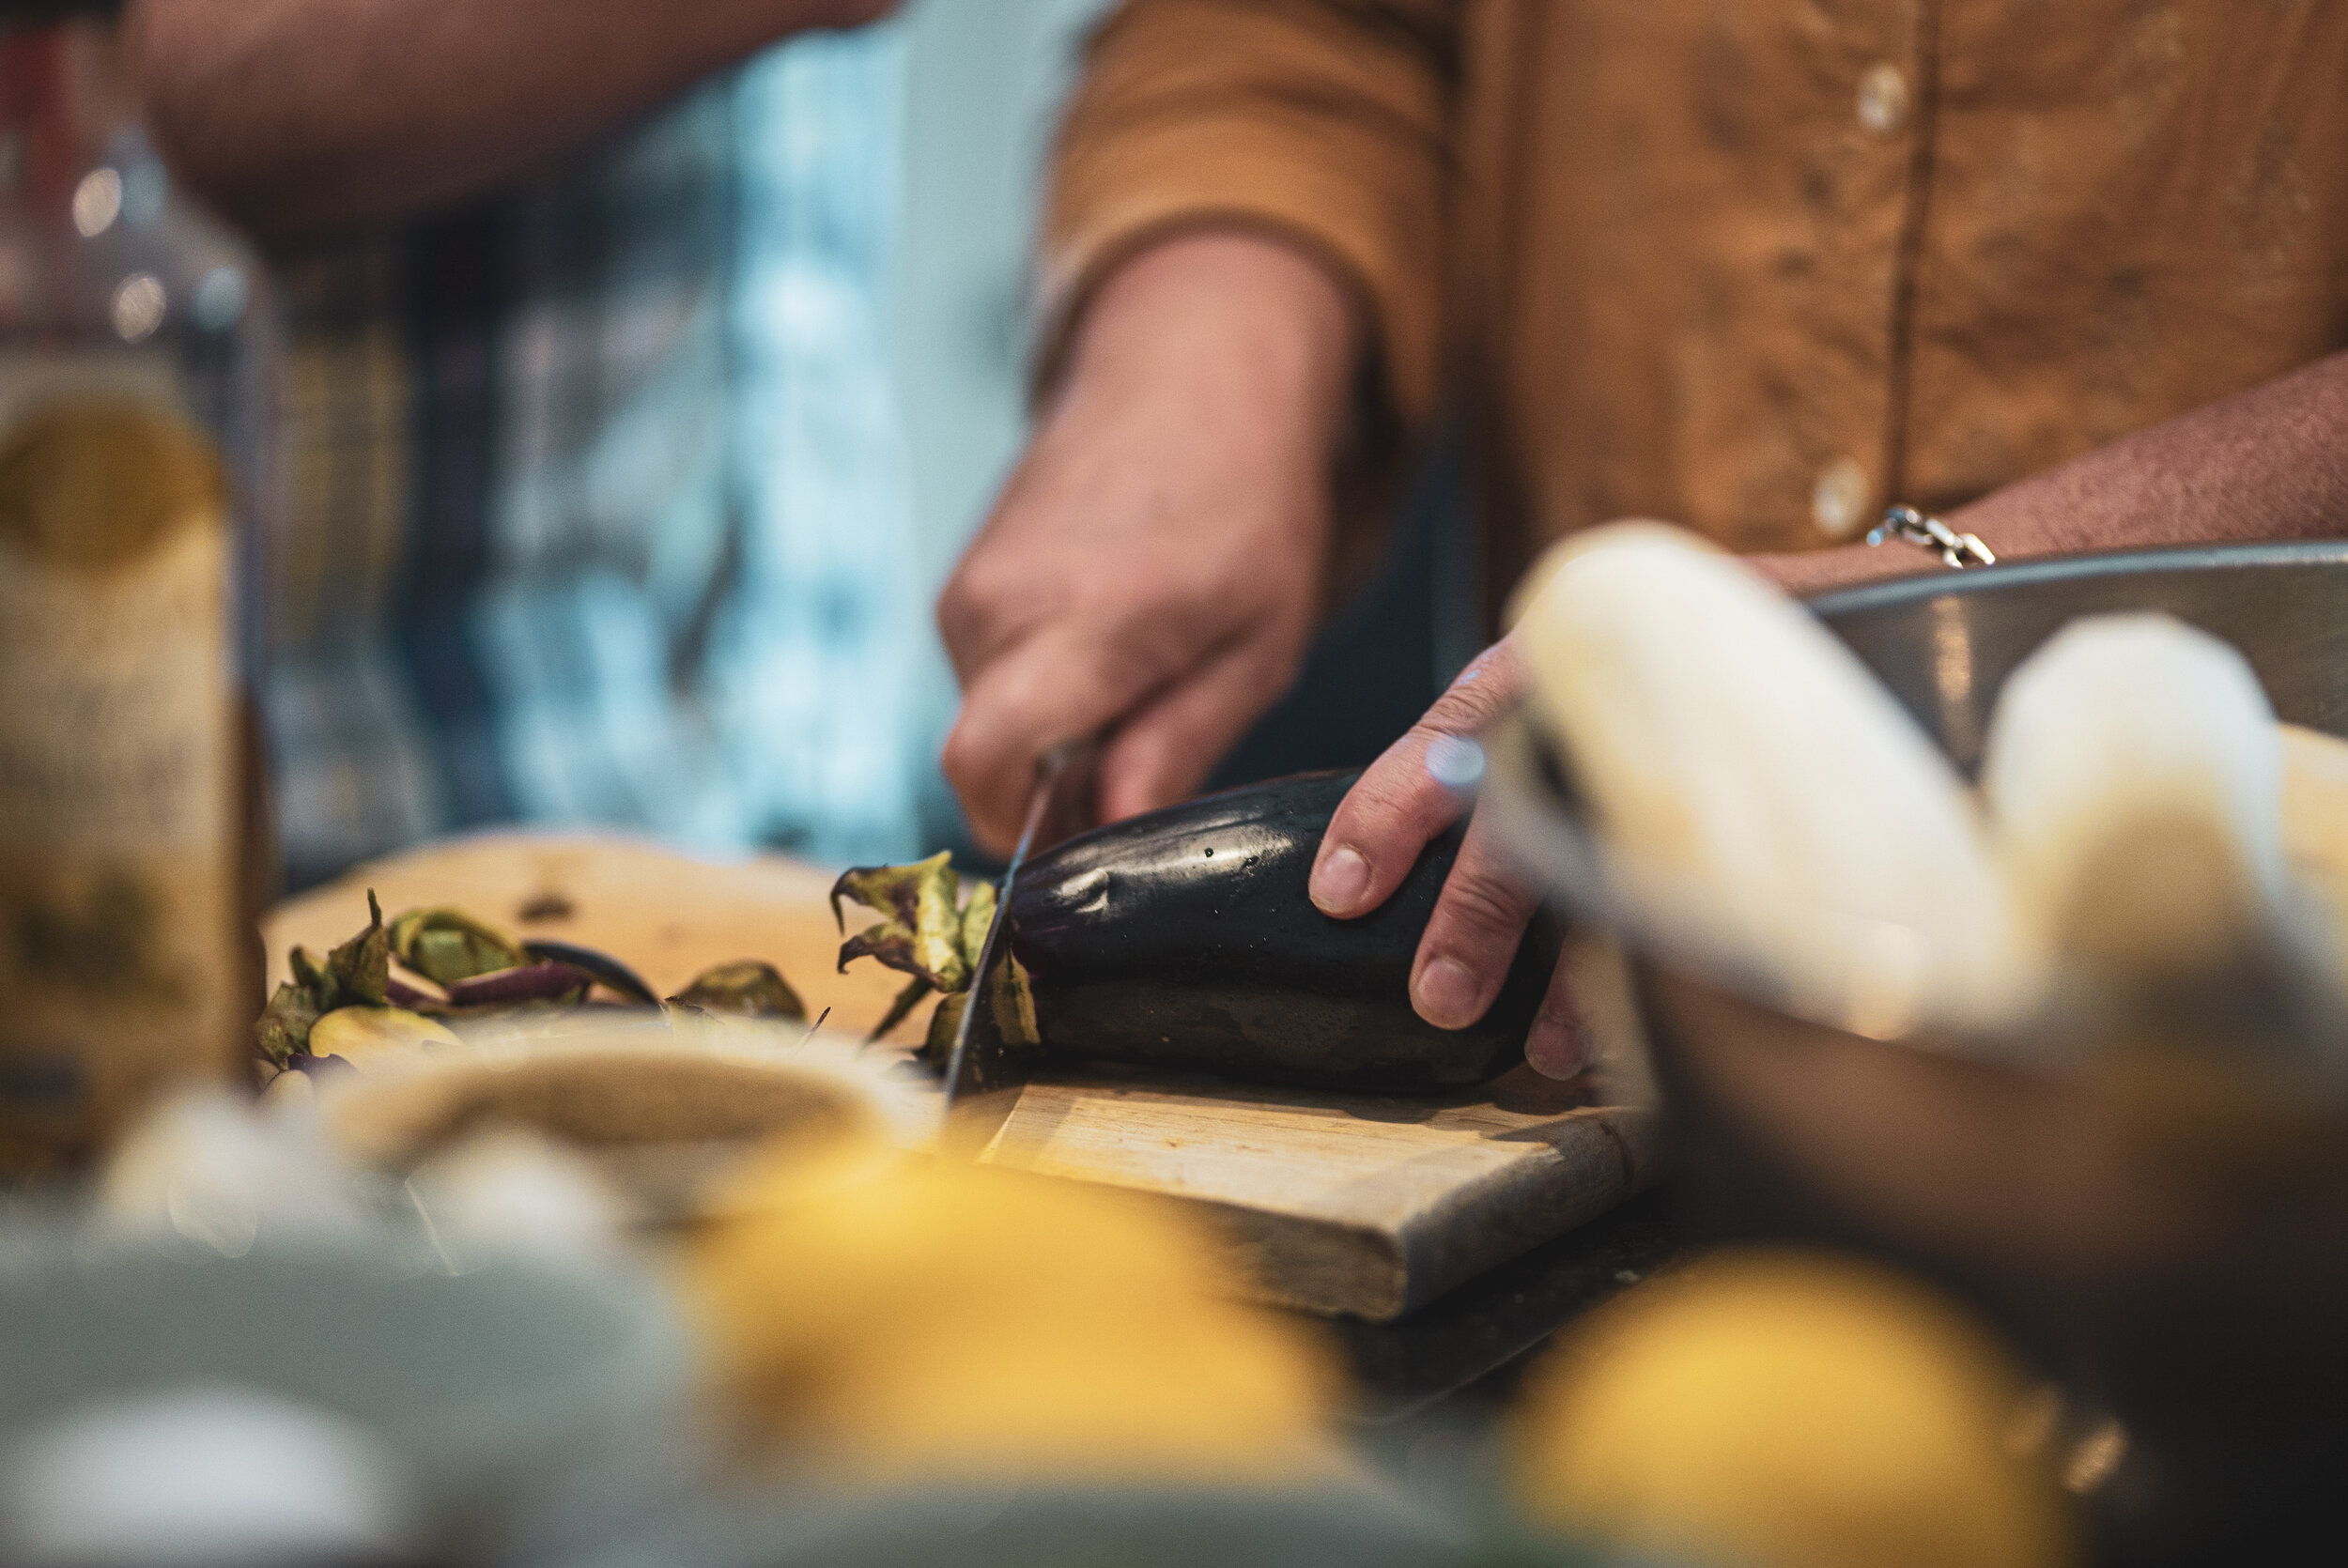
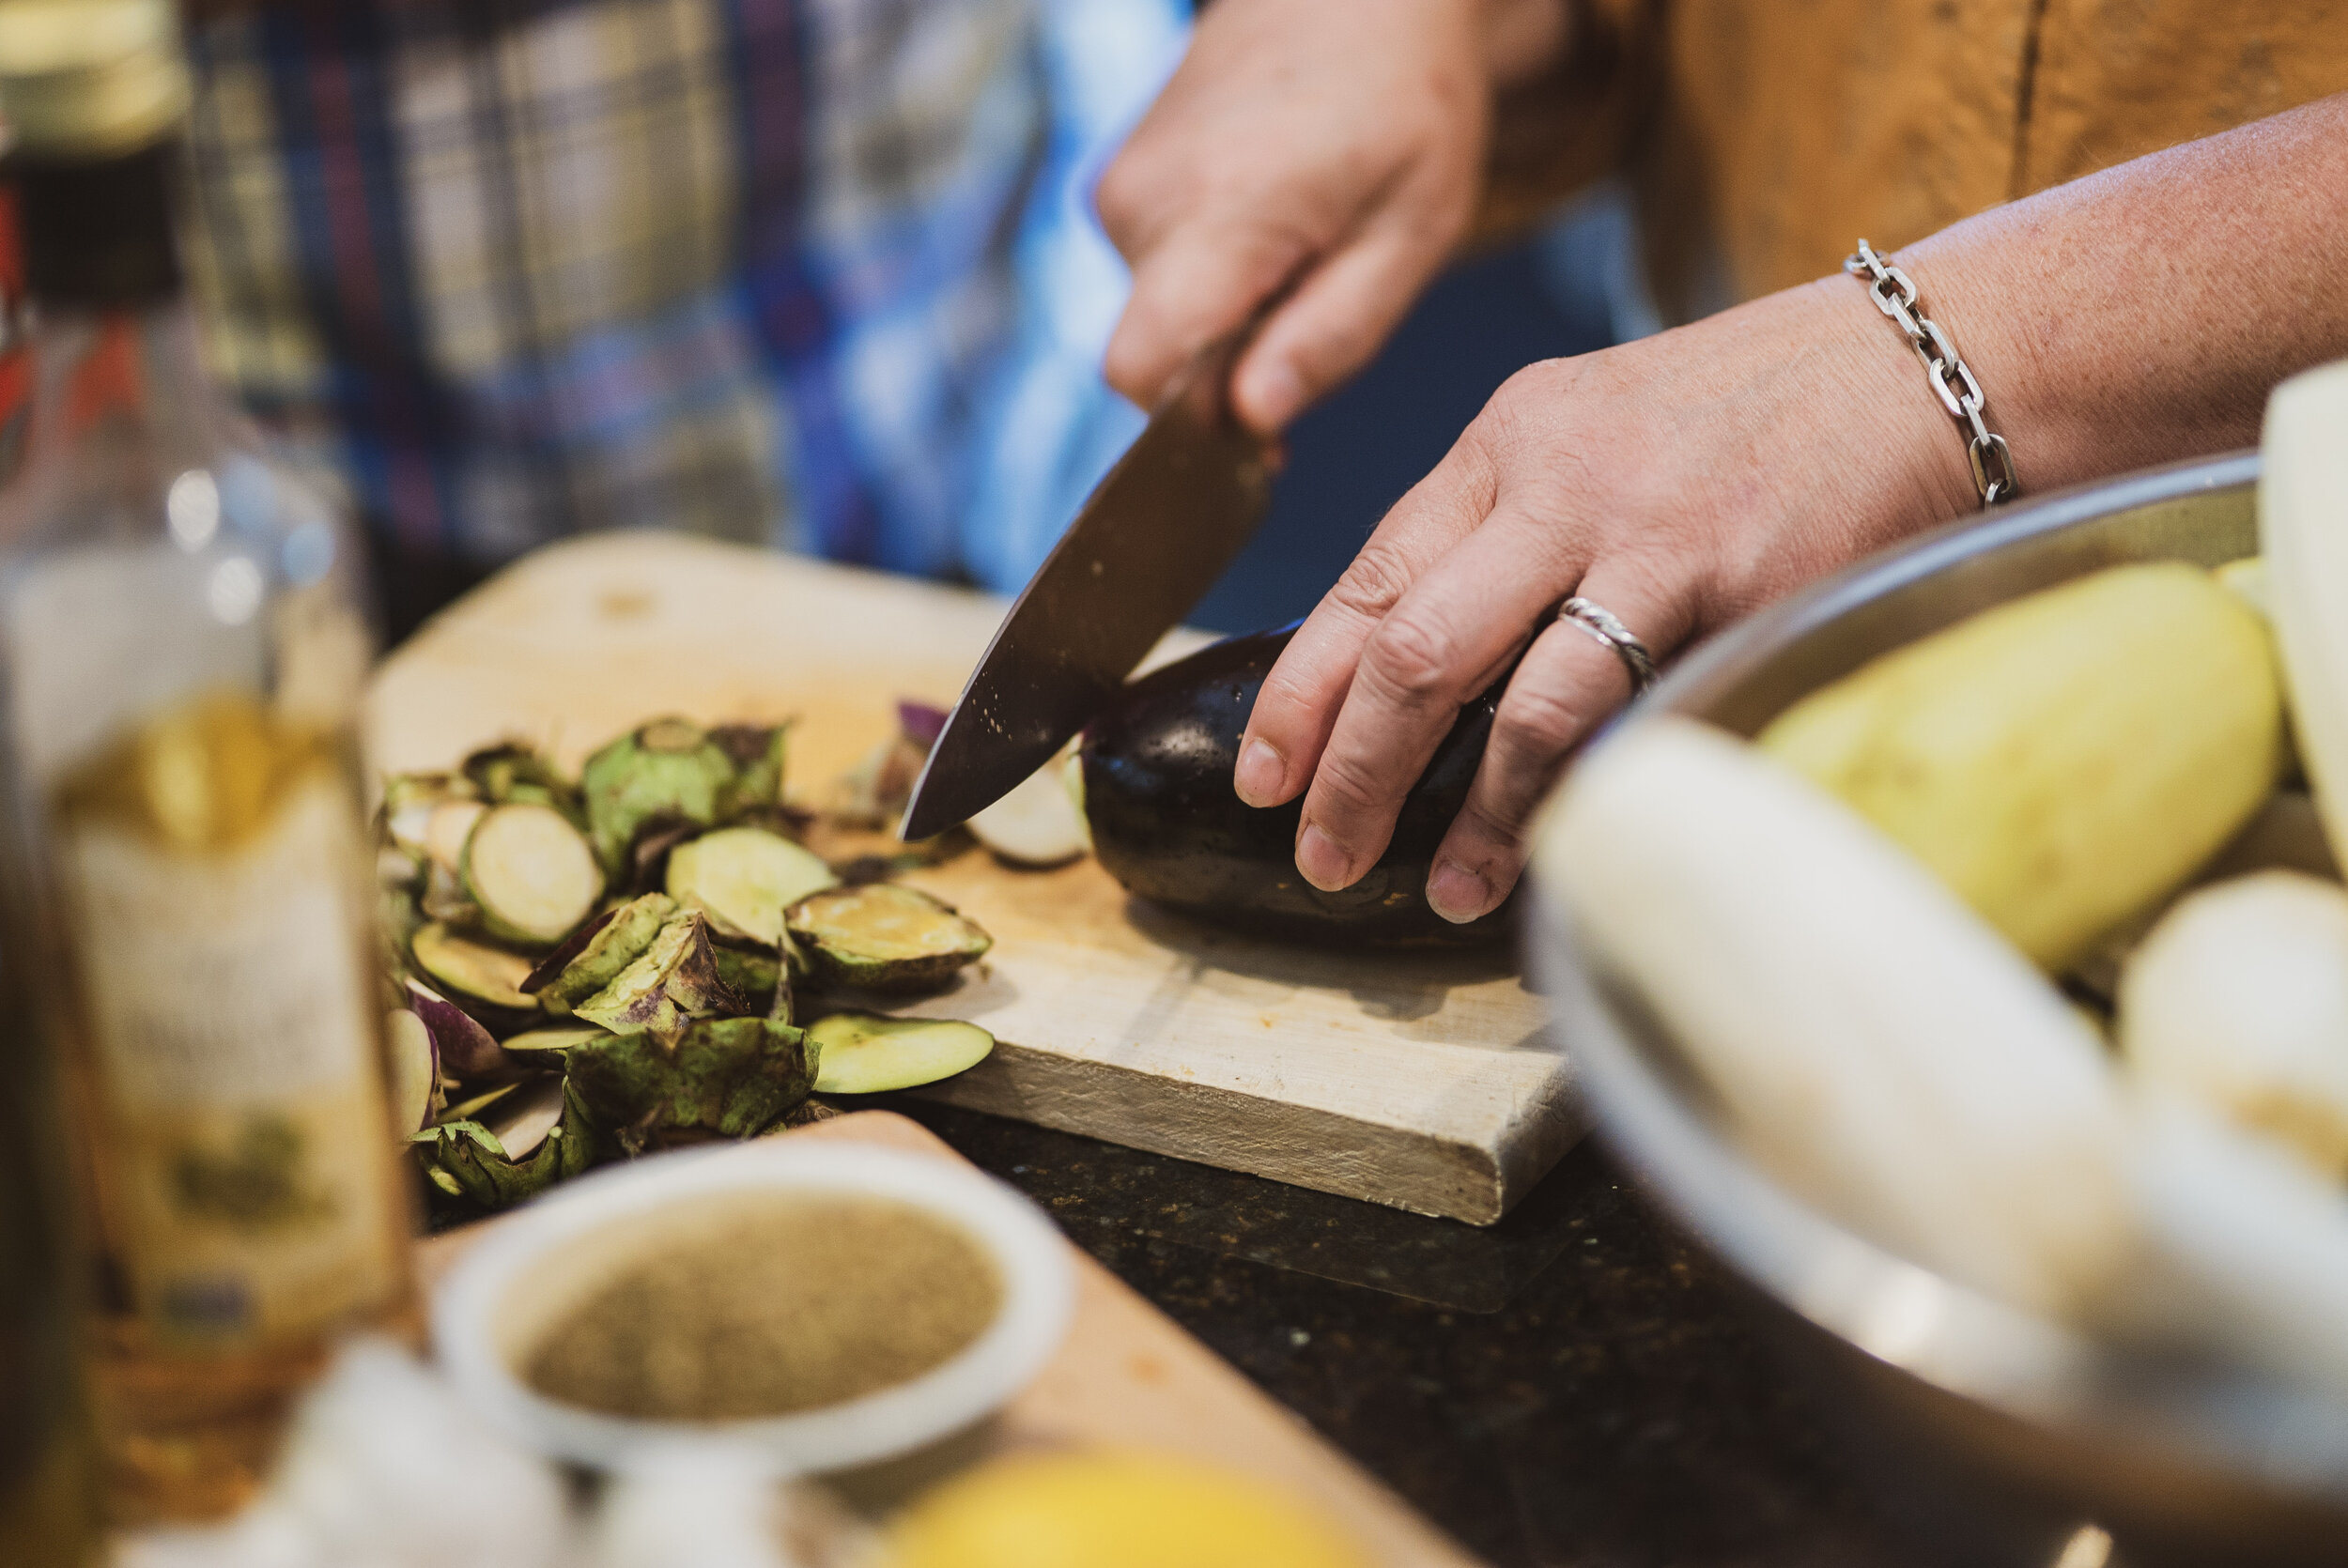
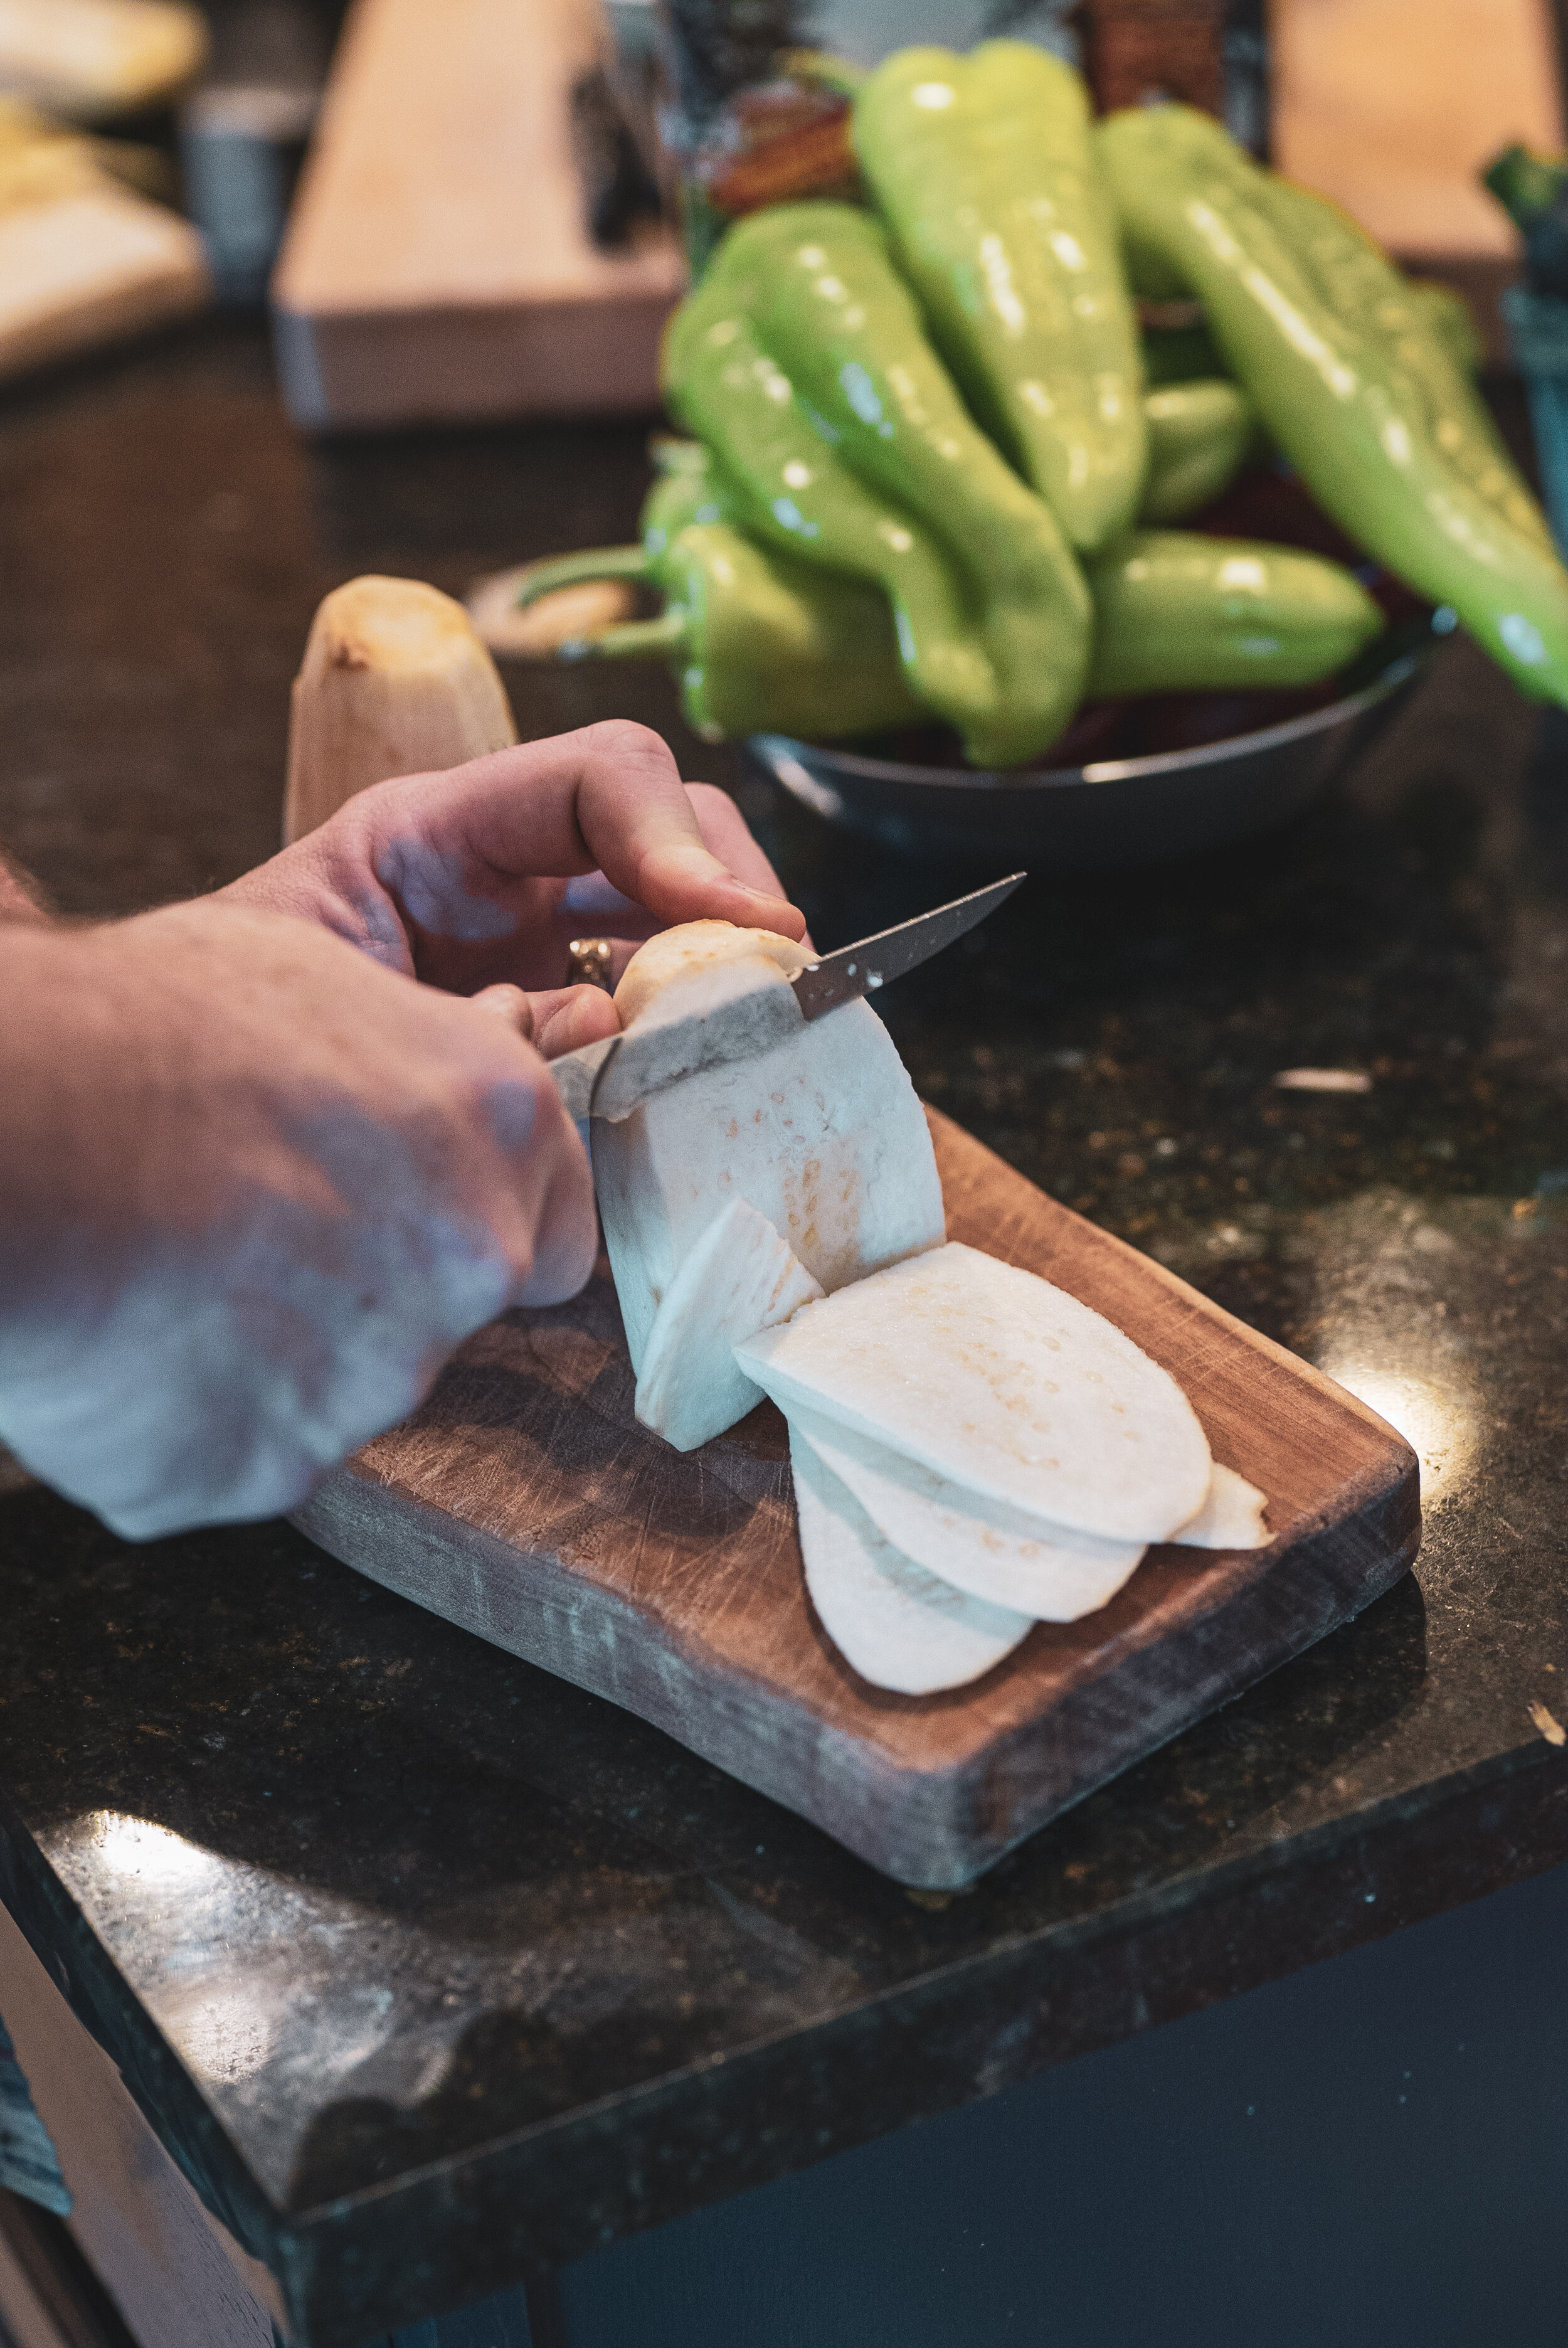
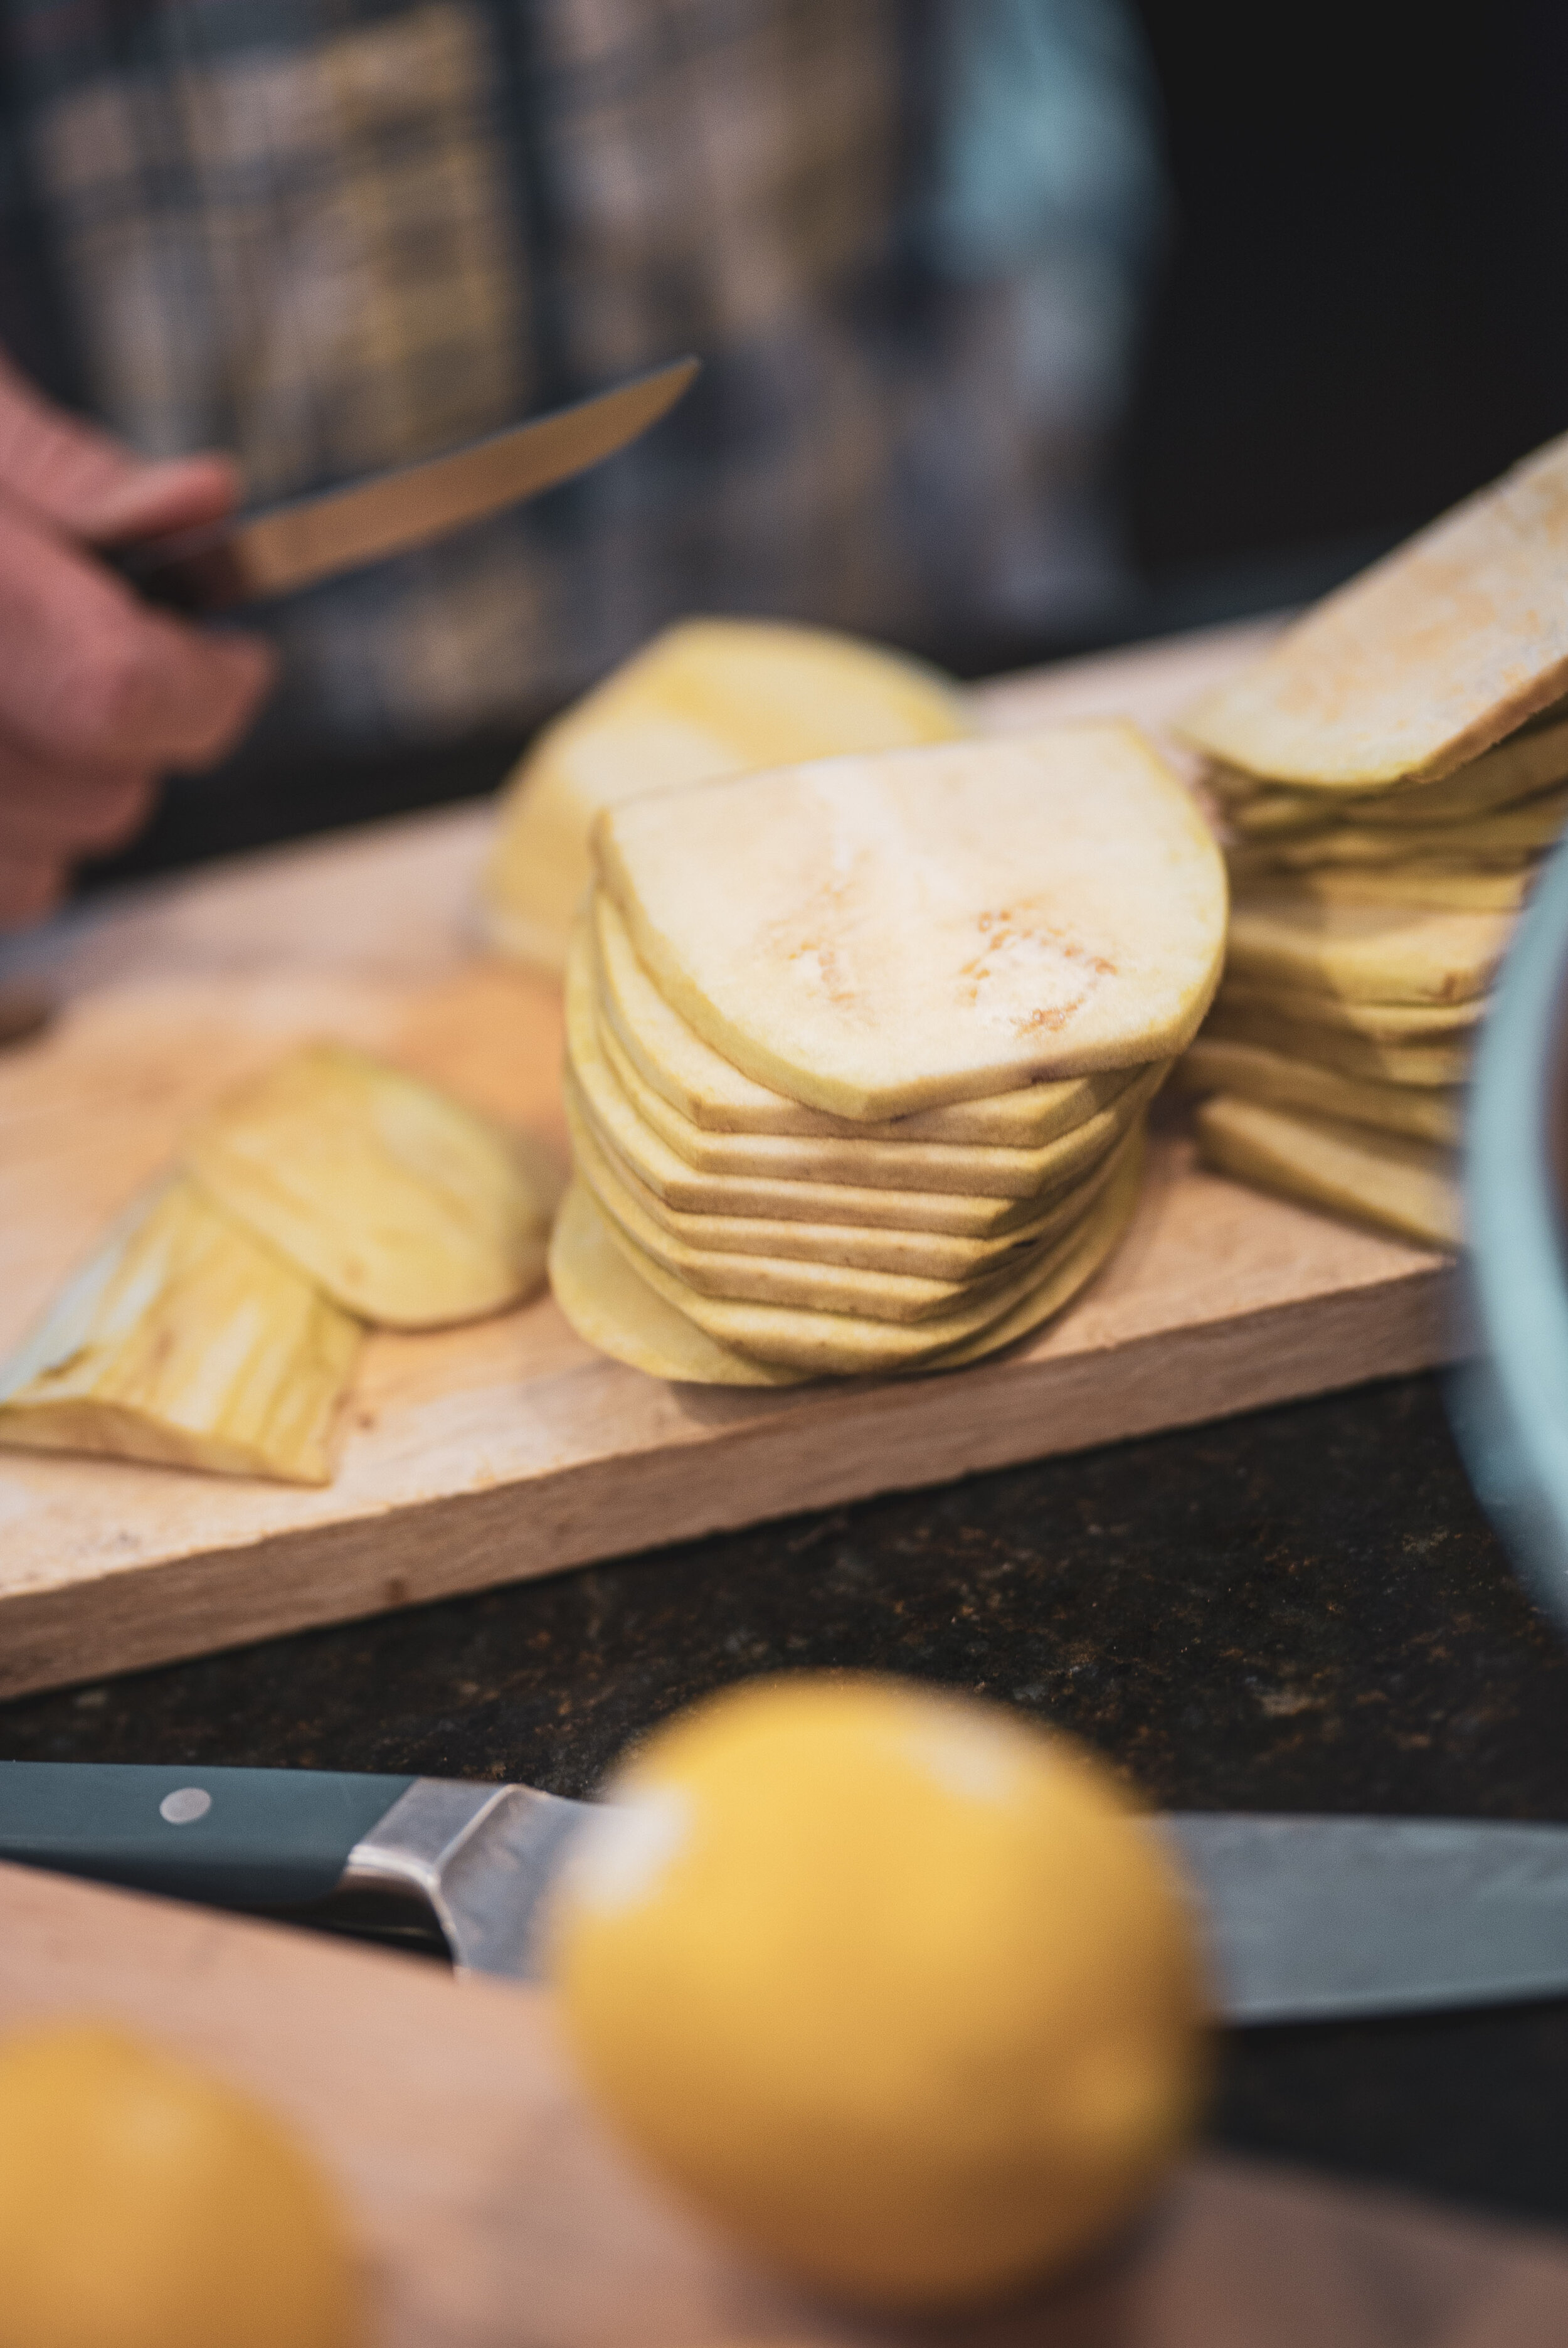
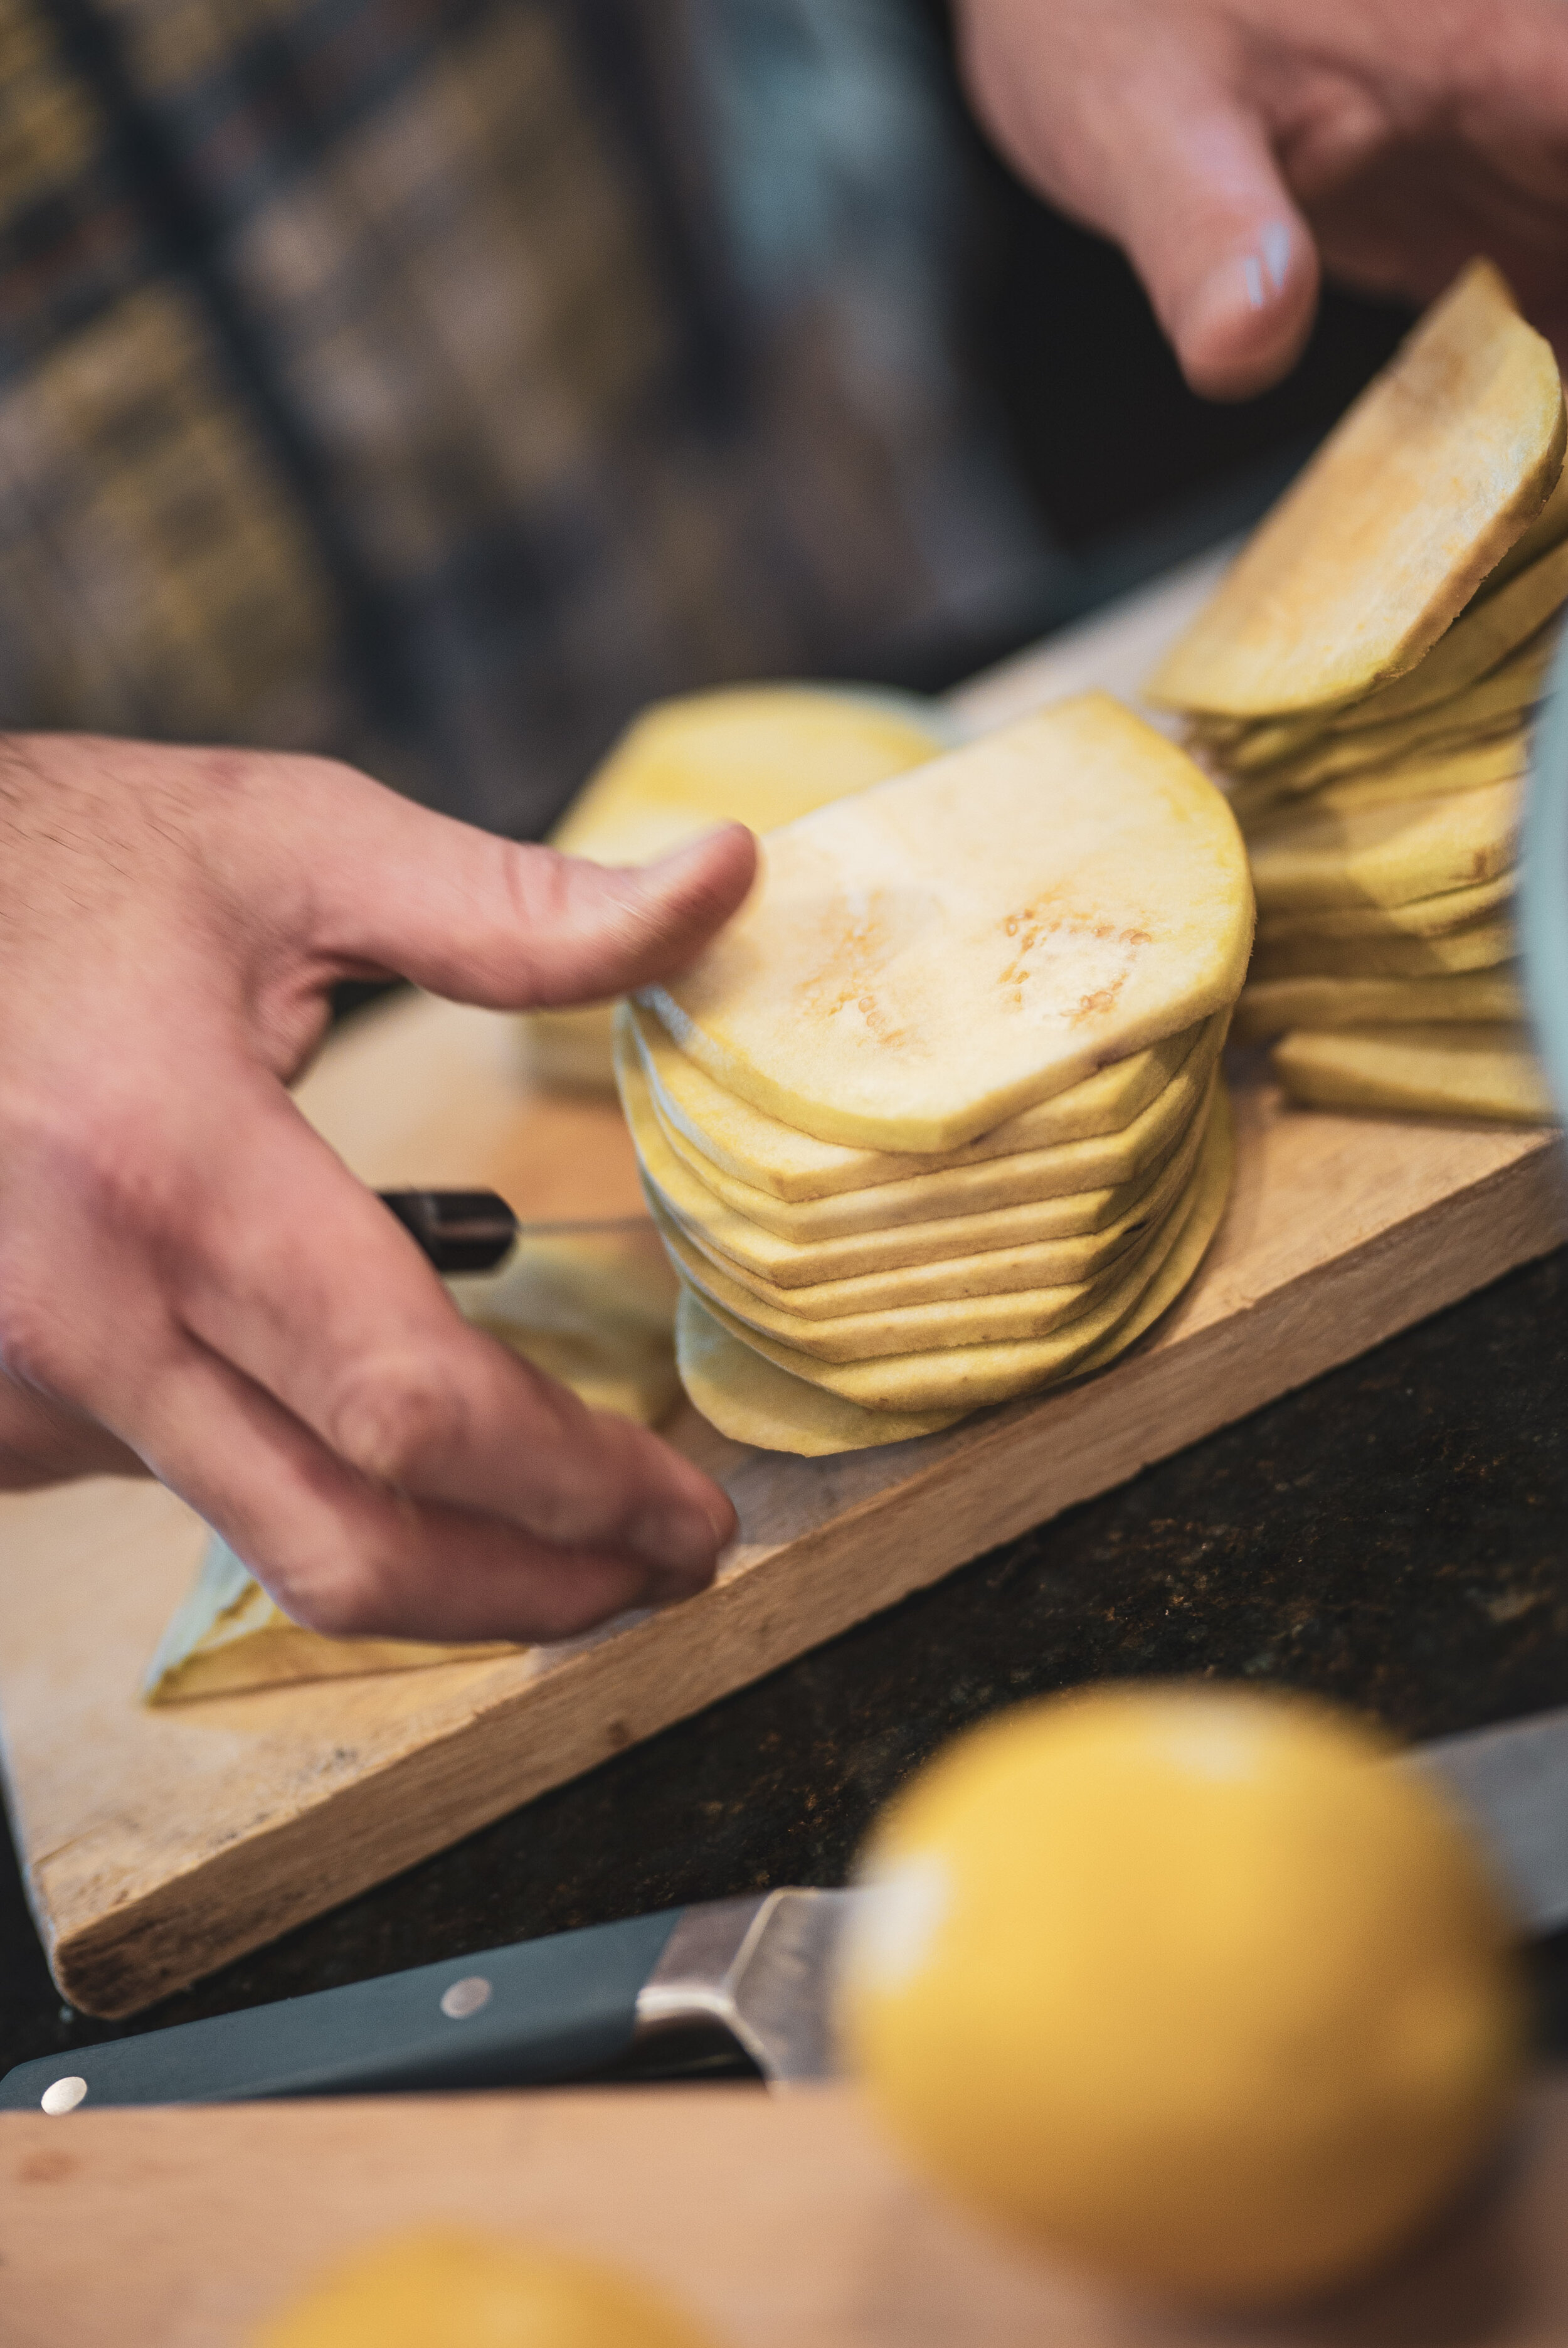
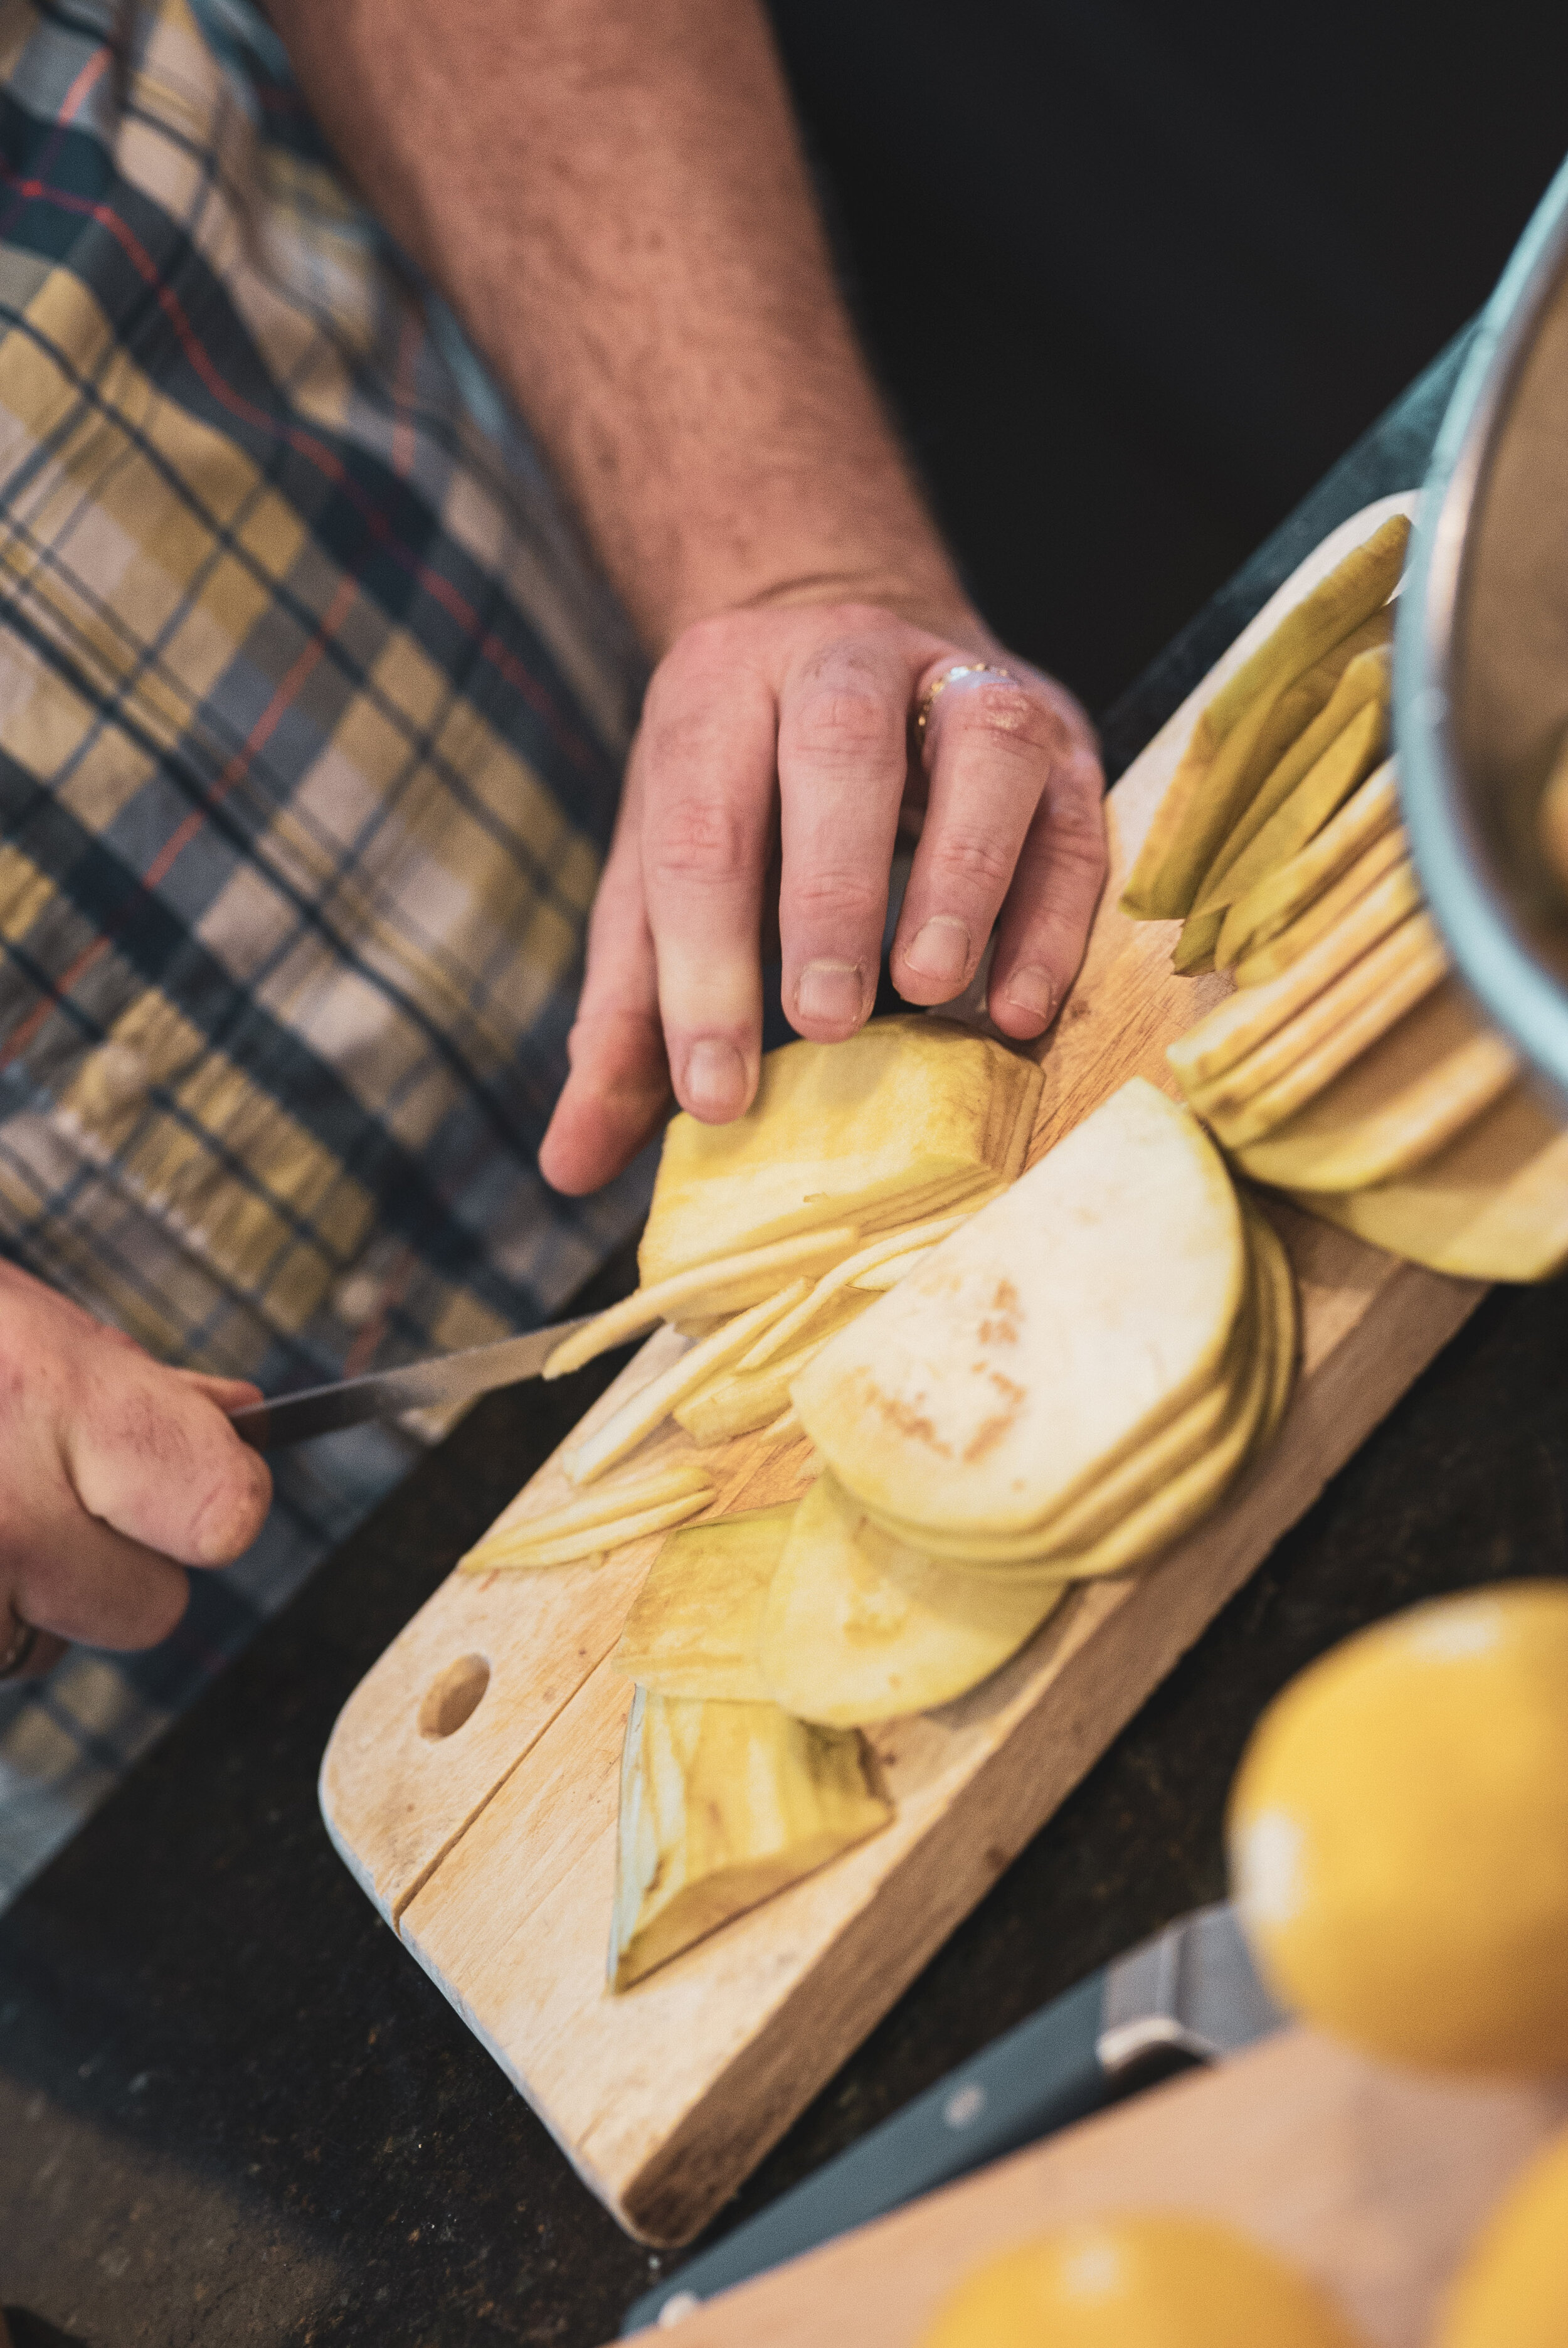
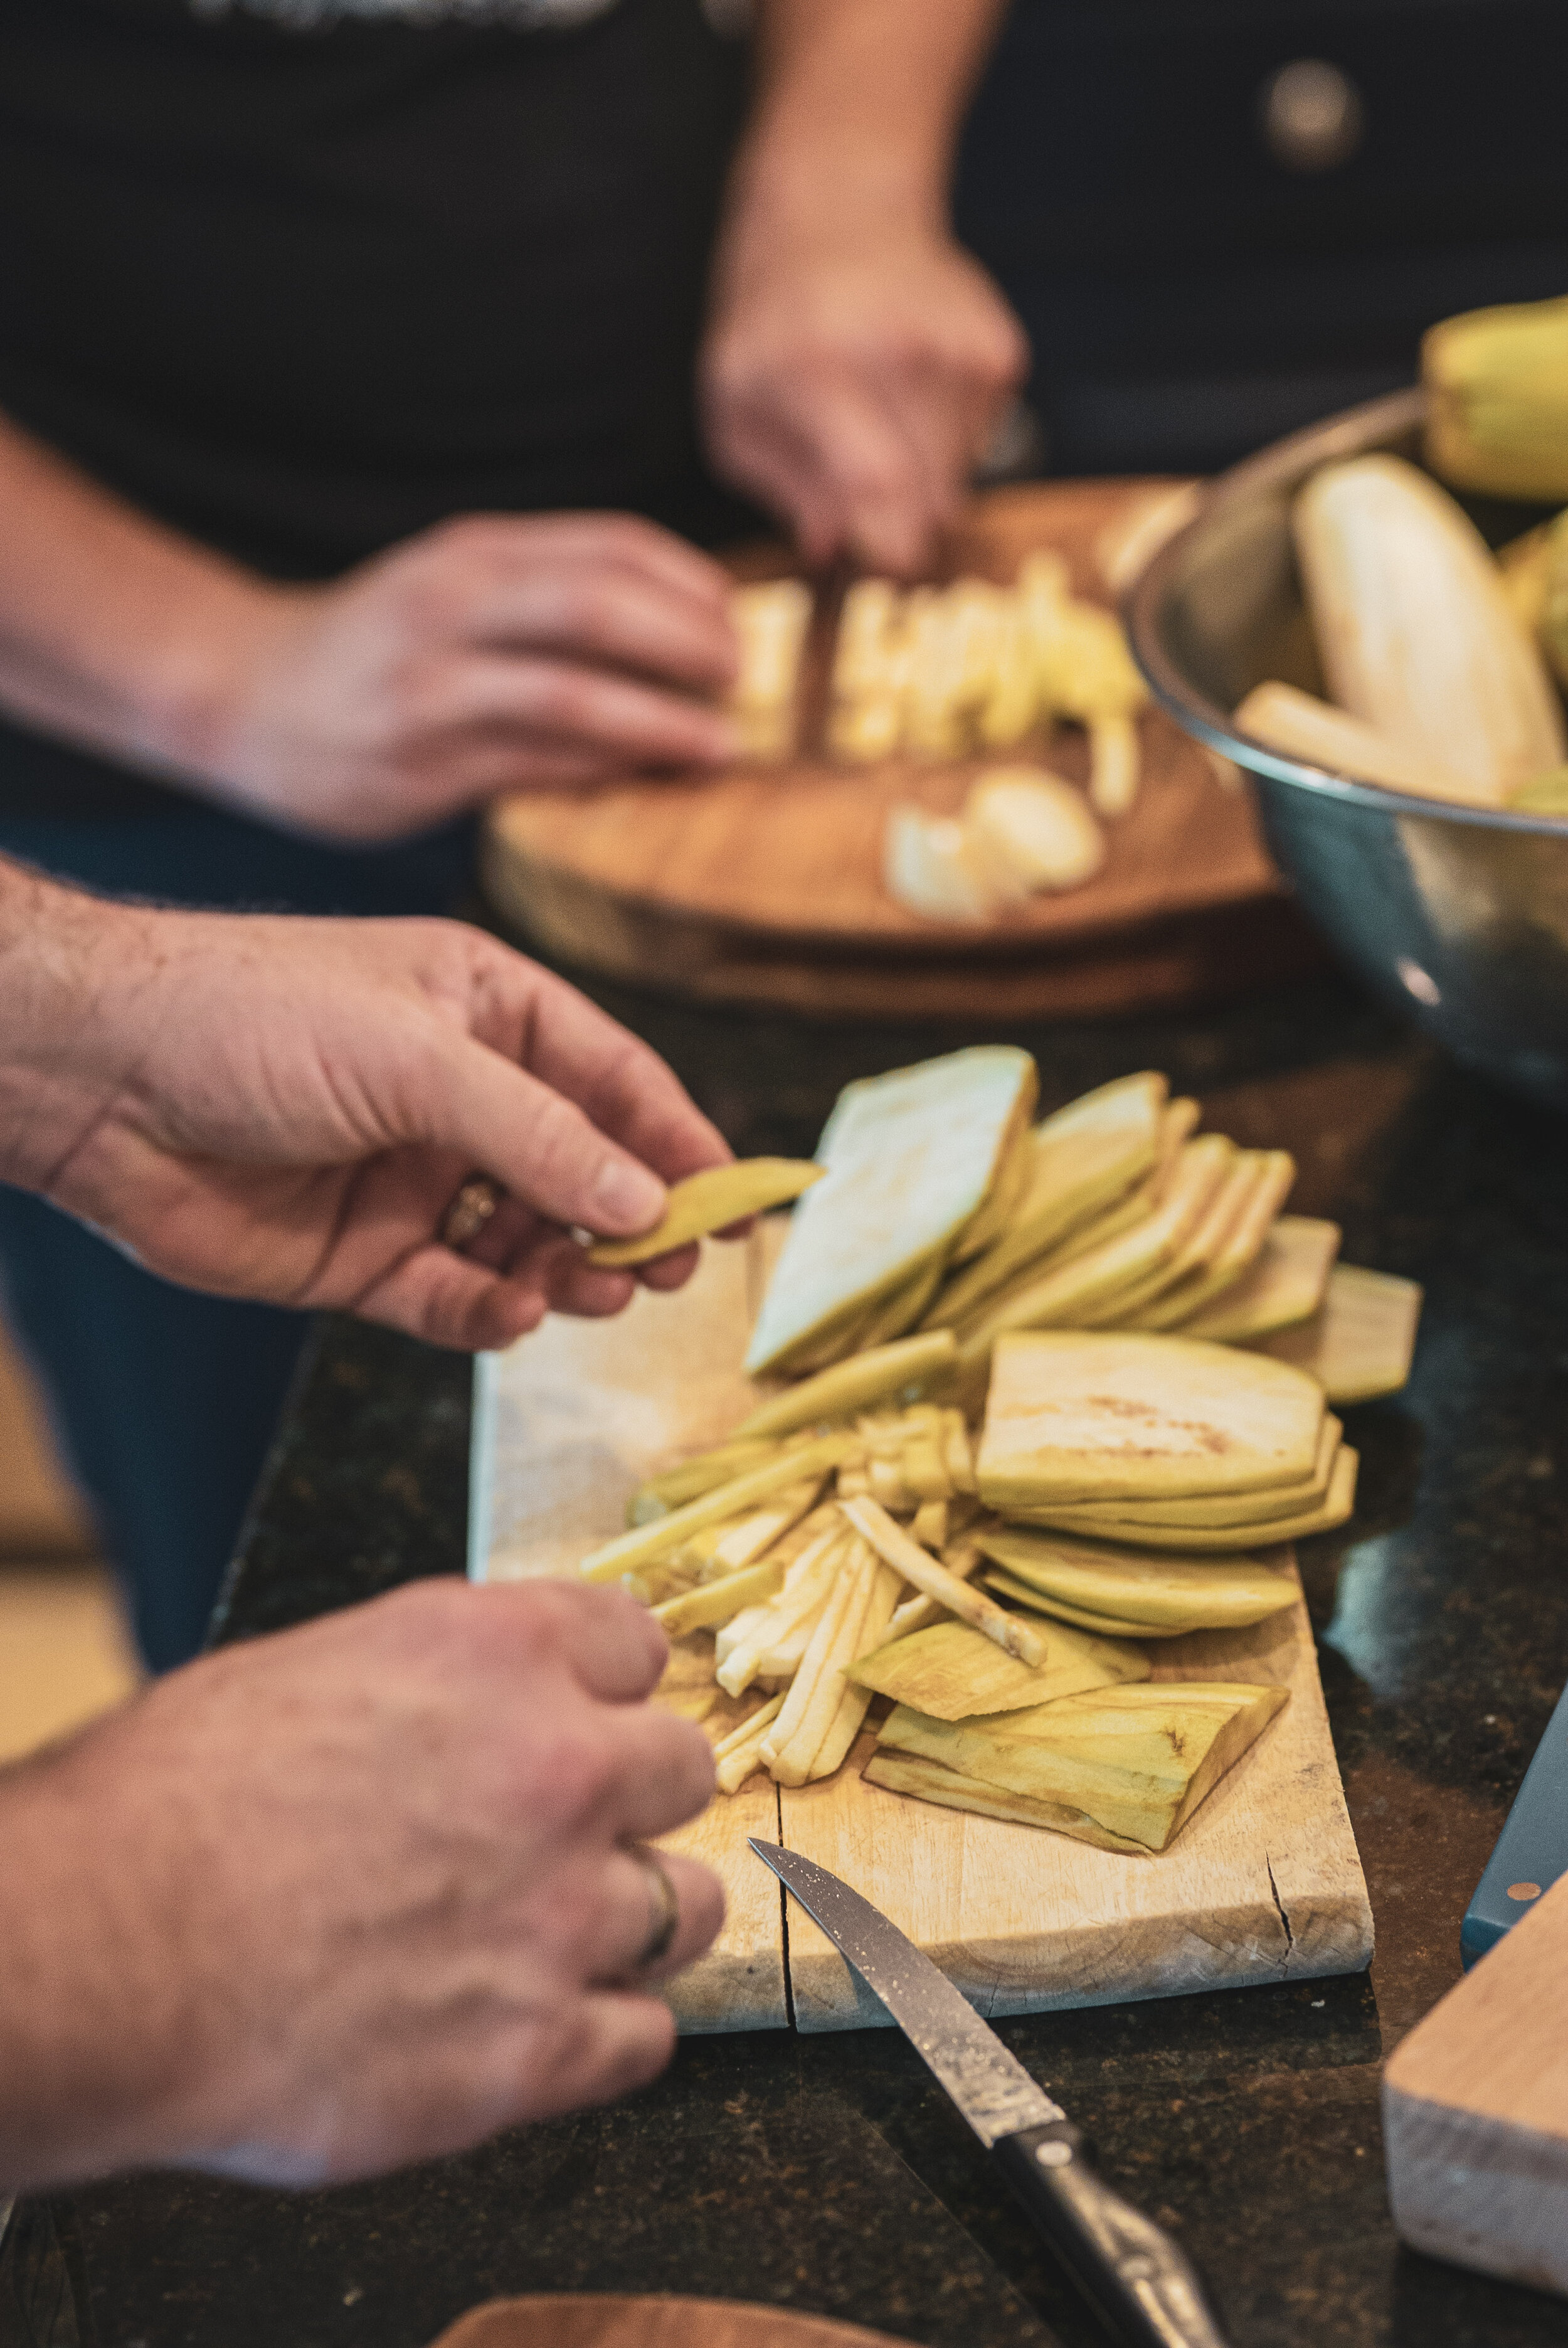
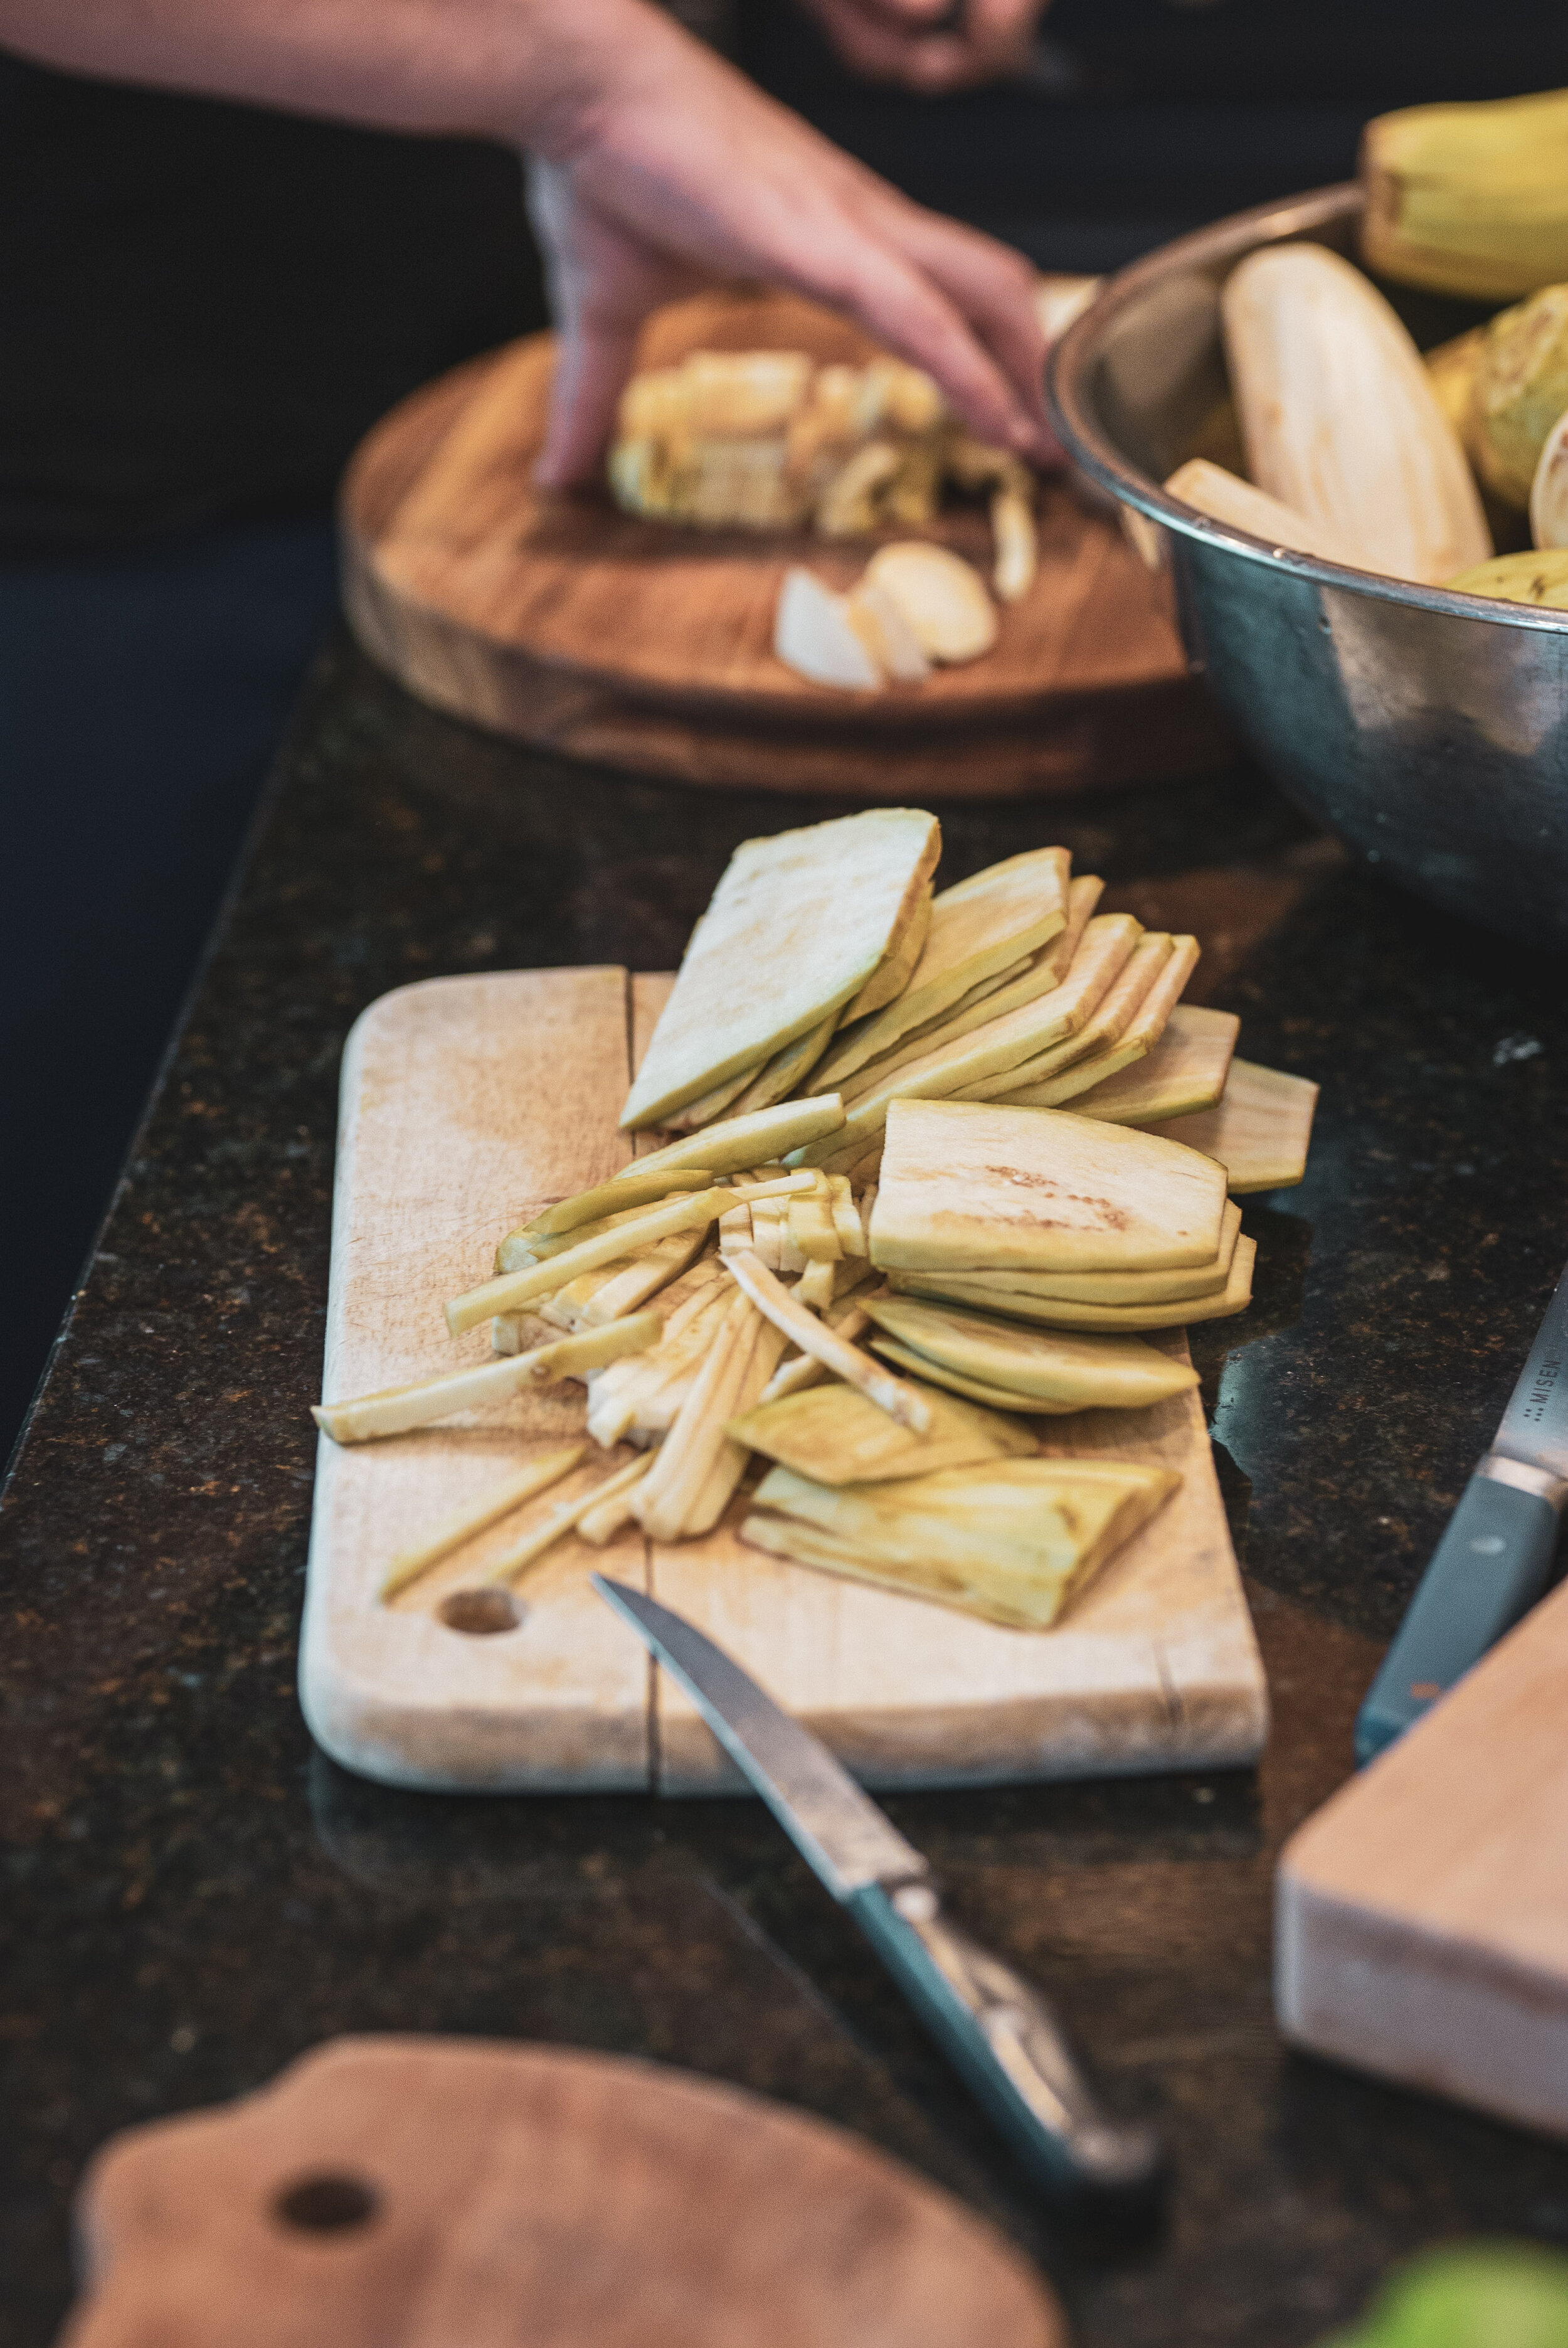
To begin, peel all the eggplant. Cut all eggplants into thin julienne strips by cutting them in half first at the center point width-wise and then placing the flat cut on cutting board. Proceed to cut ¼ inch slices and then place those flat like a deck of cards to cut your julienne strips. Place in a large non-reactive bowl like glass, pottery or stainless steel.
Once you have all your strips cut and in the bowl, it is time to salt. Get you giant stock pot or 5-gallon plastic bucket. Start tossing in your julienne of eggplant and sprinkle salt as you go.
We started with 2 cups of salt. I stopped at about 1 cup. Once that is done, get a plate and turn it face down on the eggplant. Then, weight the top of the plate with something heavy. We used a plastic pitcher with clean rocks in it.
You can wait anywhere from 2-3 hours to overnight. We heard that some people thought the eggplant would turn black. That is not true. After you wring it out (our special way) and add the hot vinegar, this is not a problem.
Place a clean towel over it so nothing gets into it then say buona notte.
The next day (or 3 hours later depending on your timetable) you must multi-task two things. The extrusion of the eggplant and the boiling of your vinegar mixture.
First the vinegar.
In a large stainless stock pot, combine equal parts vinegar to water. We used 12 cups of vinegar and 12 cups of water. We tossed in a bouquet garni of fresh bay and red and black peppercorns.
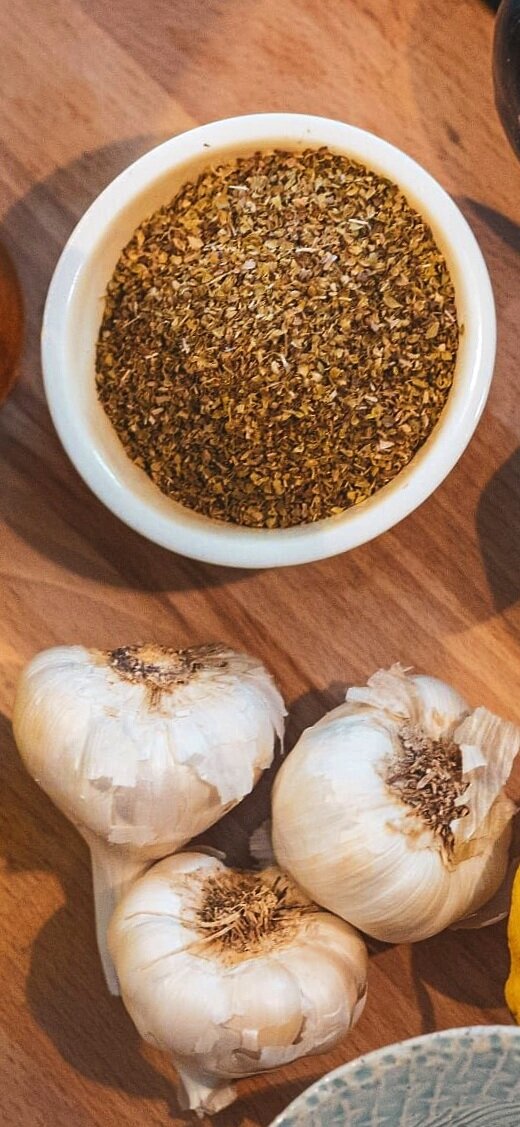
Here is a chance to get something besides vinegar into your eggplant. Restraint is key here, but I would imagine you could choose to use garlic cloves, stalks of fresh oregano, parsley stalks, coriander seeds, anise seeds, juniper berries, cumin seeds, mustard seeds... it’s up to you and where you would like to take it.
Wrap your bouquet garni in cheese cloth and tie it well. Give it a couple of smashes with a pan or the butt end of your knife to release the flavors and toss it into the vinegar solution. Bring to a boil.
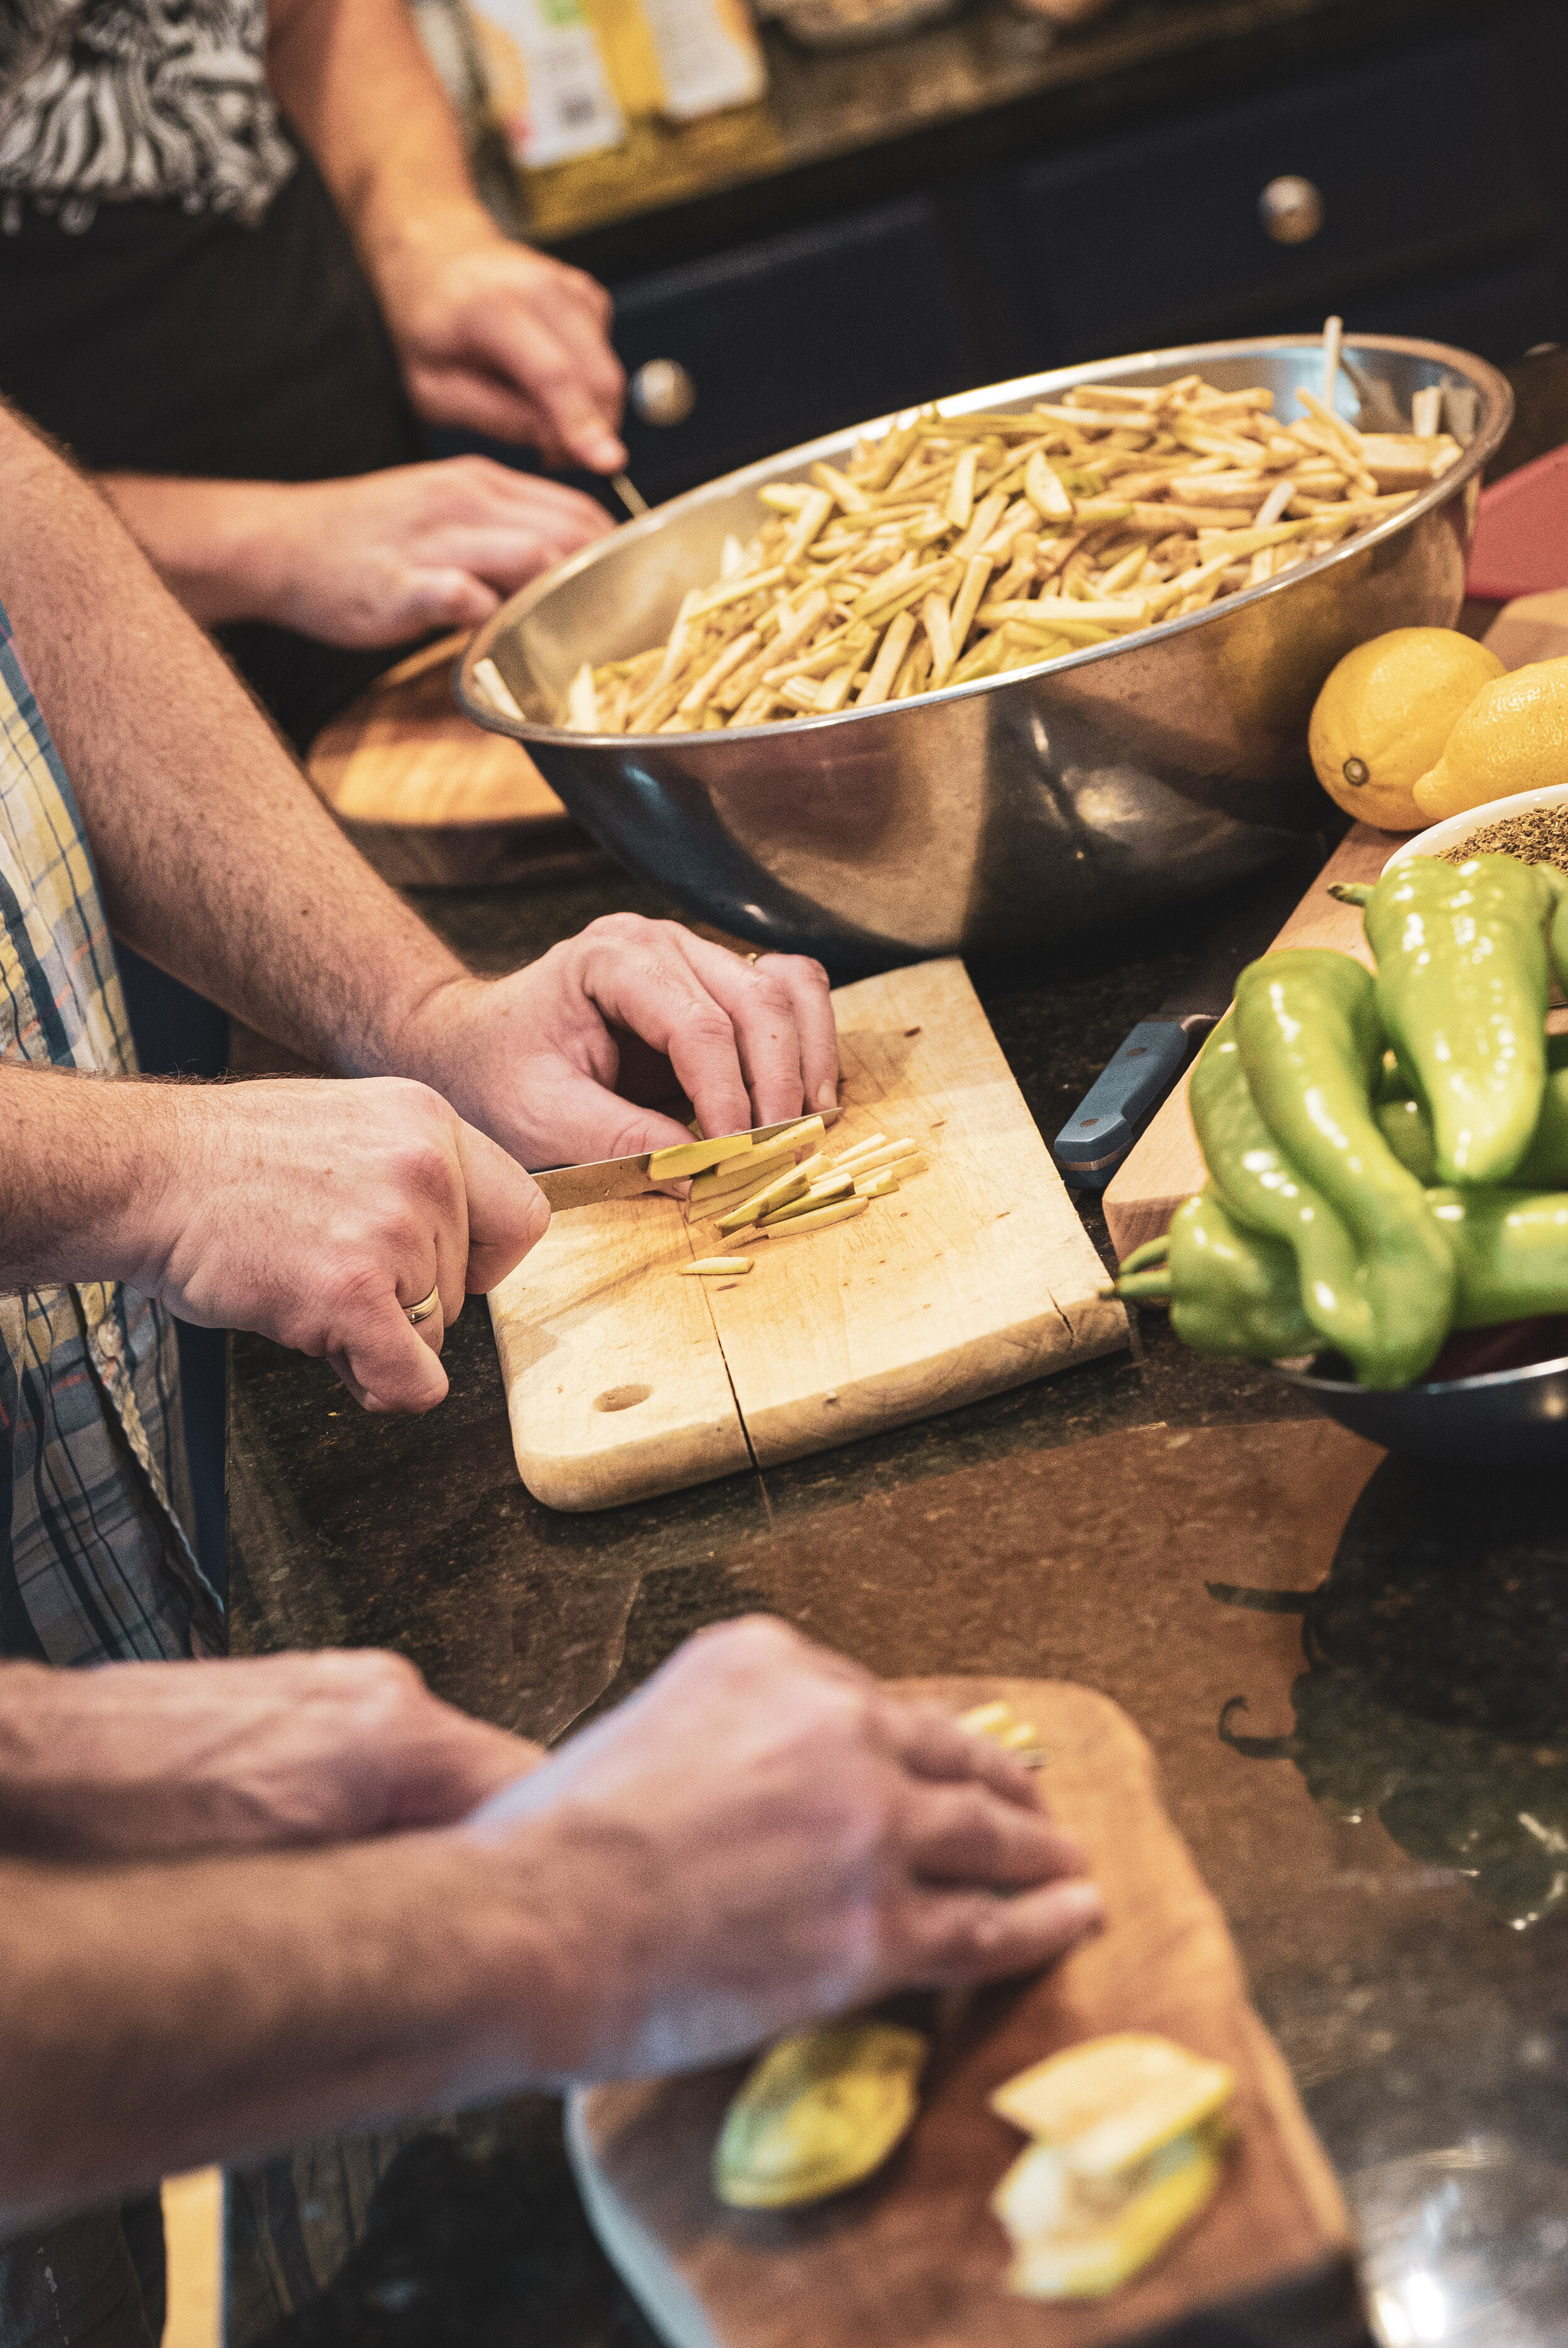
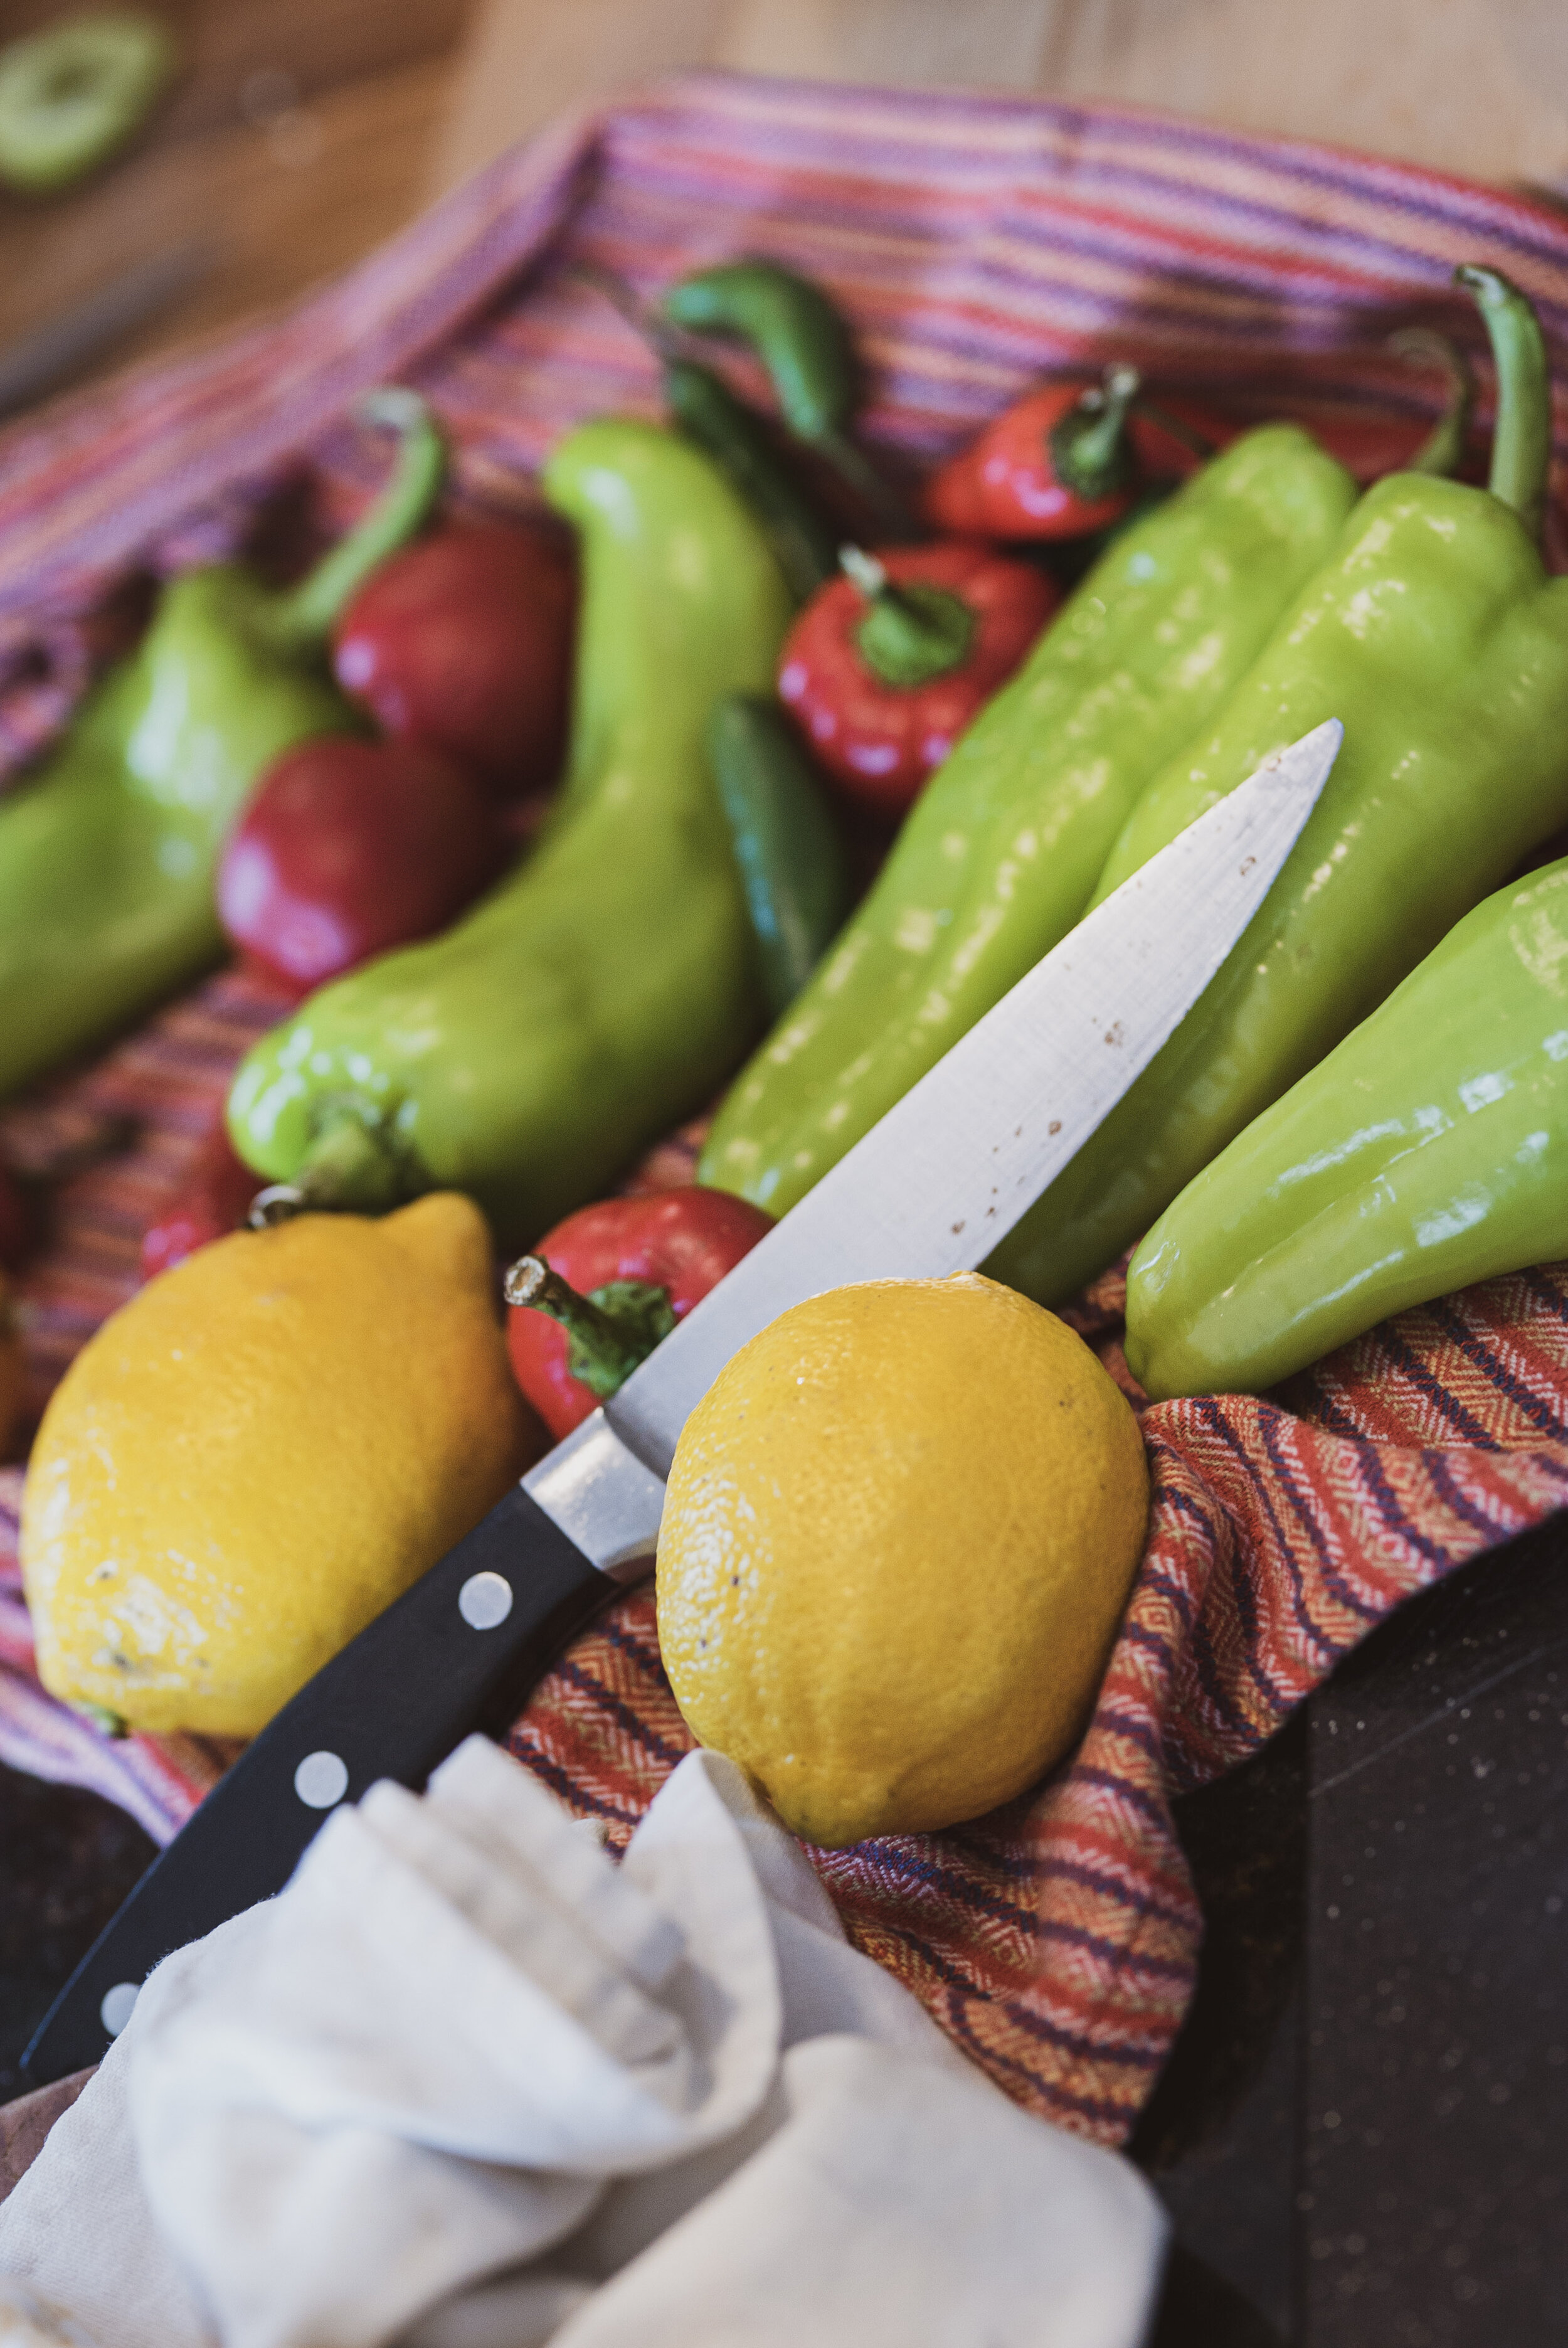
Now it’s time to cut your other vegetables. You will see in our photos that we also used lemons. Auntie Ann never did. I love them, though. But if I am being completely honest, they pointed up the acidity so much, balancing the flavors before we jarred them required a bit of sugar and salt to level it out. Baking soda was a thought, but it would have made the product cloudy. That we definitely didn’t want to do.
I’d skip the lemons.
You were warned…
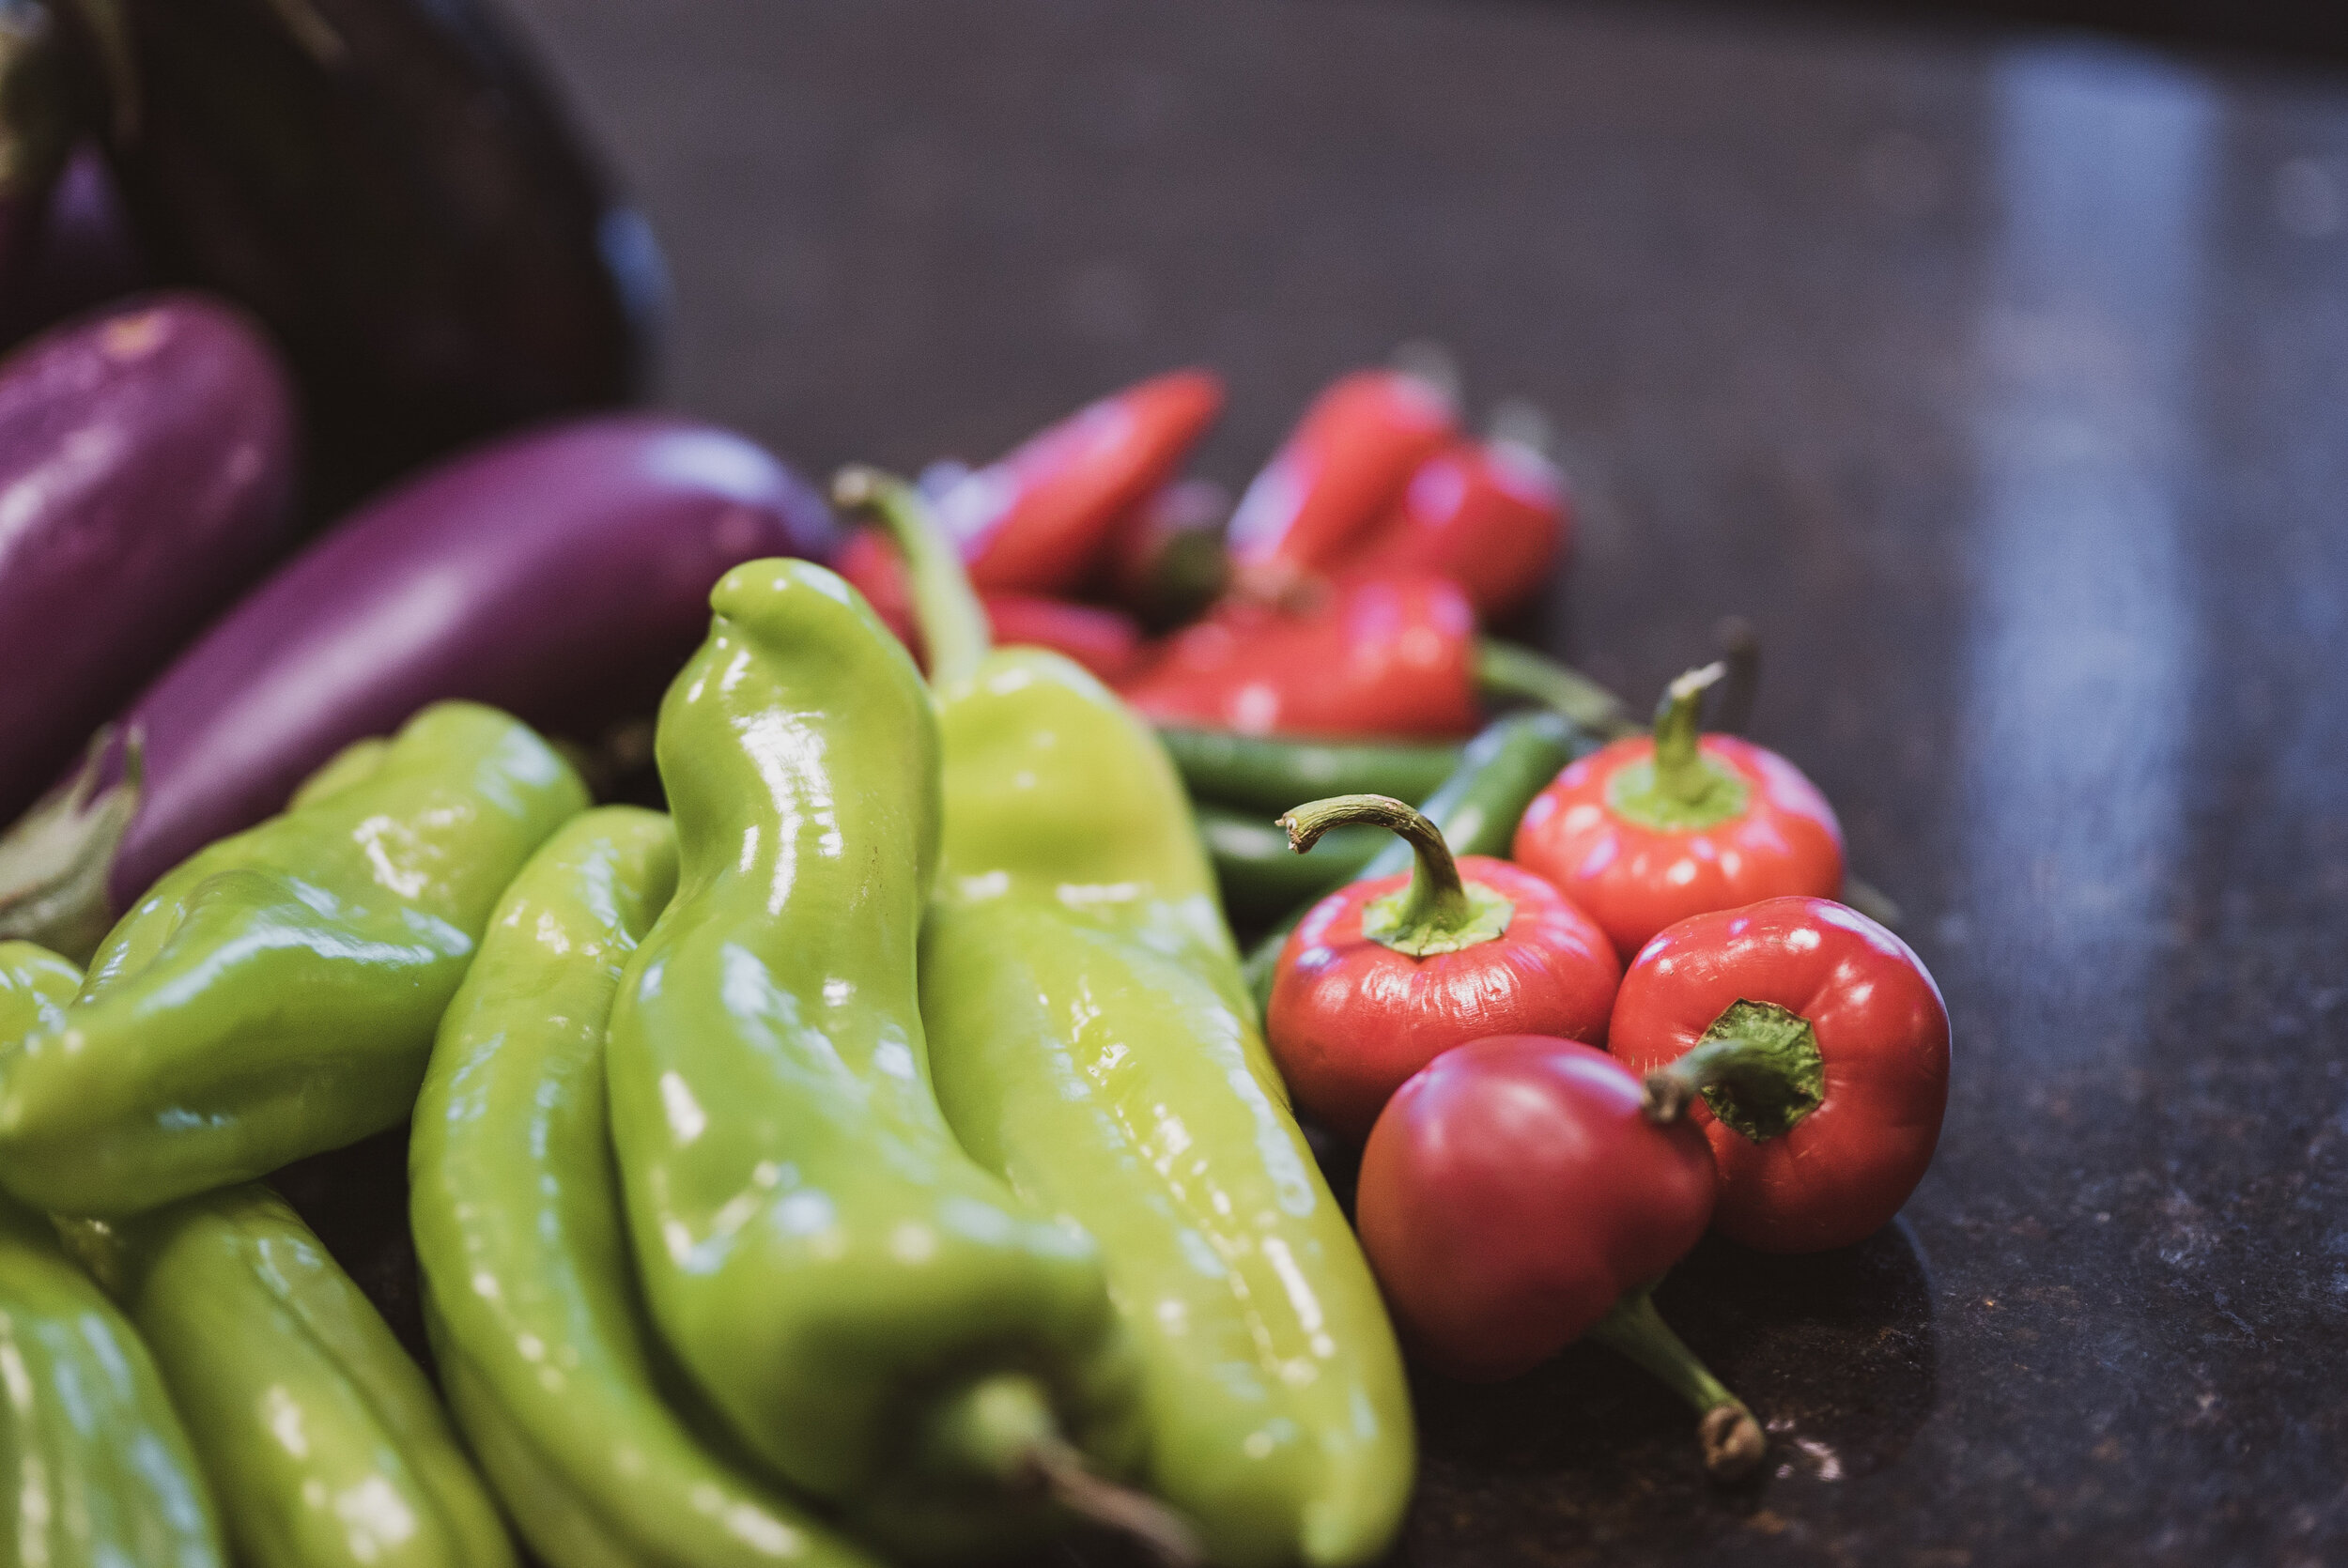
Here are the vegetables we used:
4 Frigitello, long green Italian sweet peppers
4 red cherry peppers- these can be fiery so taste and use your judgement
4 long, red sweet peppers
2 Serrano peppers
2 heads of Garlic minced well or sliced thinly

VERY IMPORTANT!!
You need to process the garlic in the hot vinegar before the canning process. Garlic harbors a potential for Botulism and the bacterium Clostridium Botulinum. Mincing the garlic and boiling it in an acid like vinegar helps kill that bacteria.
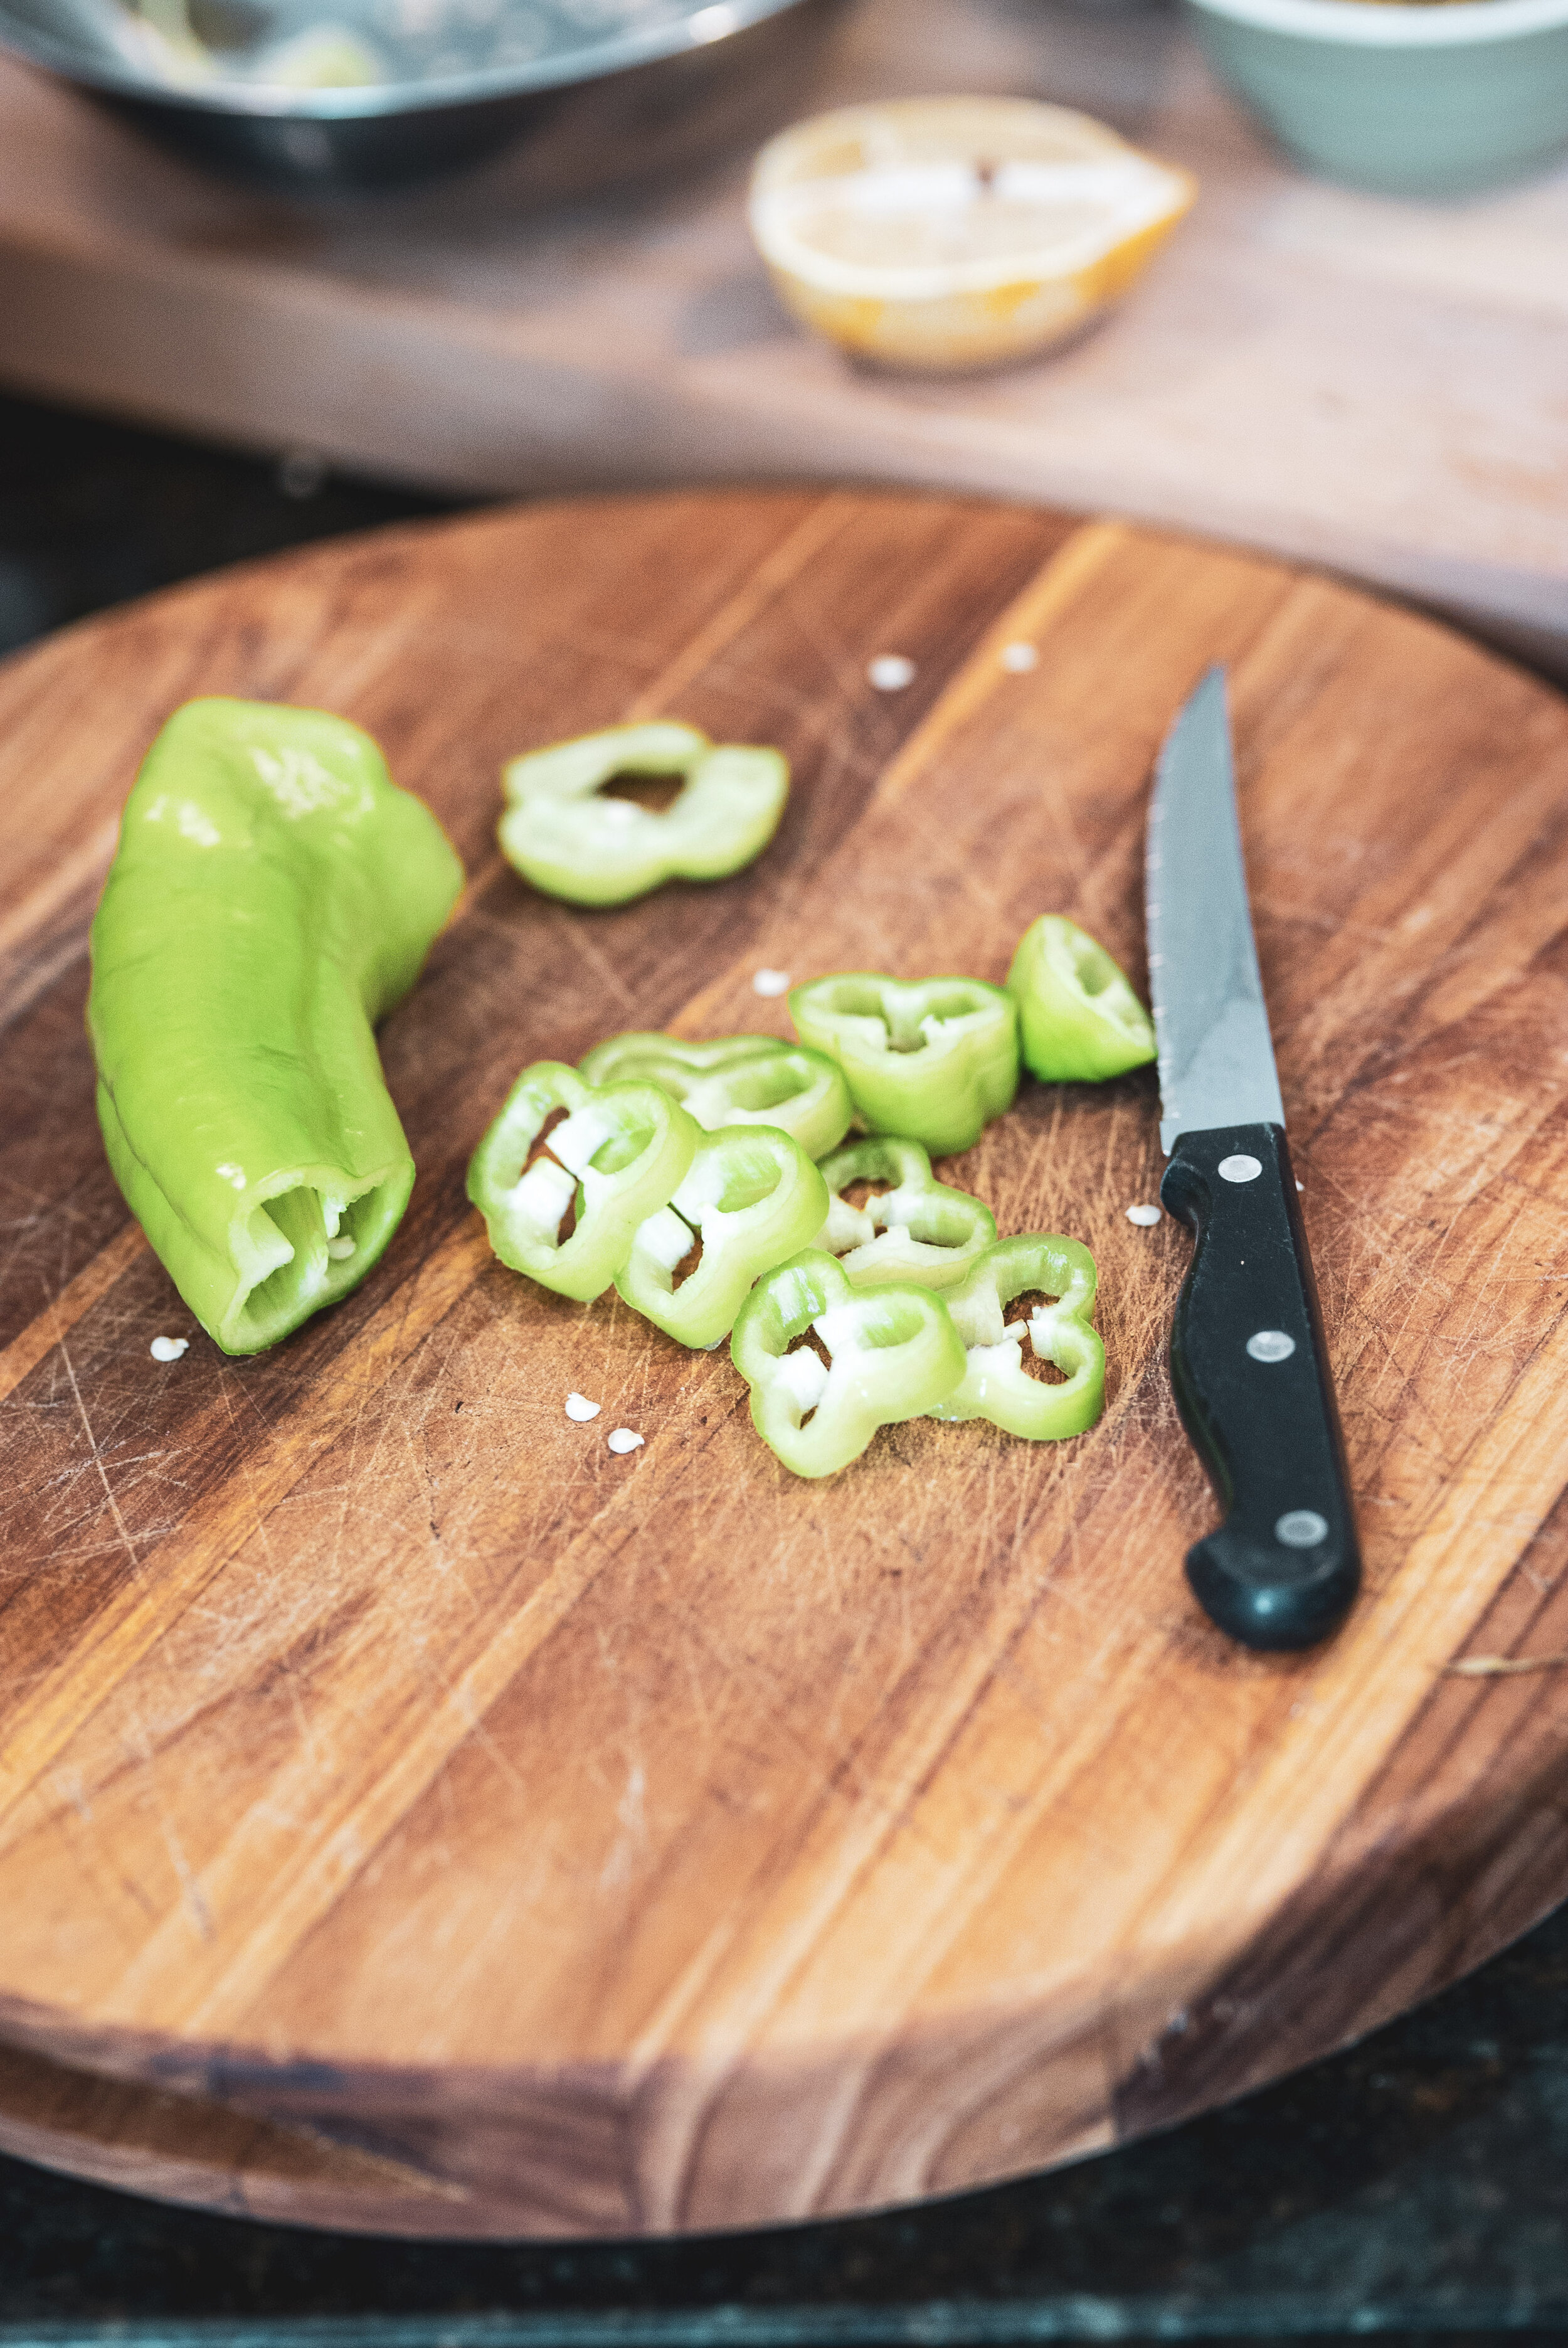
Seed, devein and slice all of these. It will still impart quite a bit of Scoville heat to the finished product. We definitely recommend taking out both the veins and seeds. We cut each one differently. Some in rounds and some in julienne strips. We were looking for interesting shapes and the red and green colors for the Italian flag!
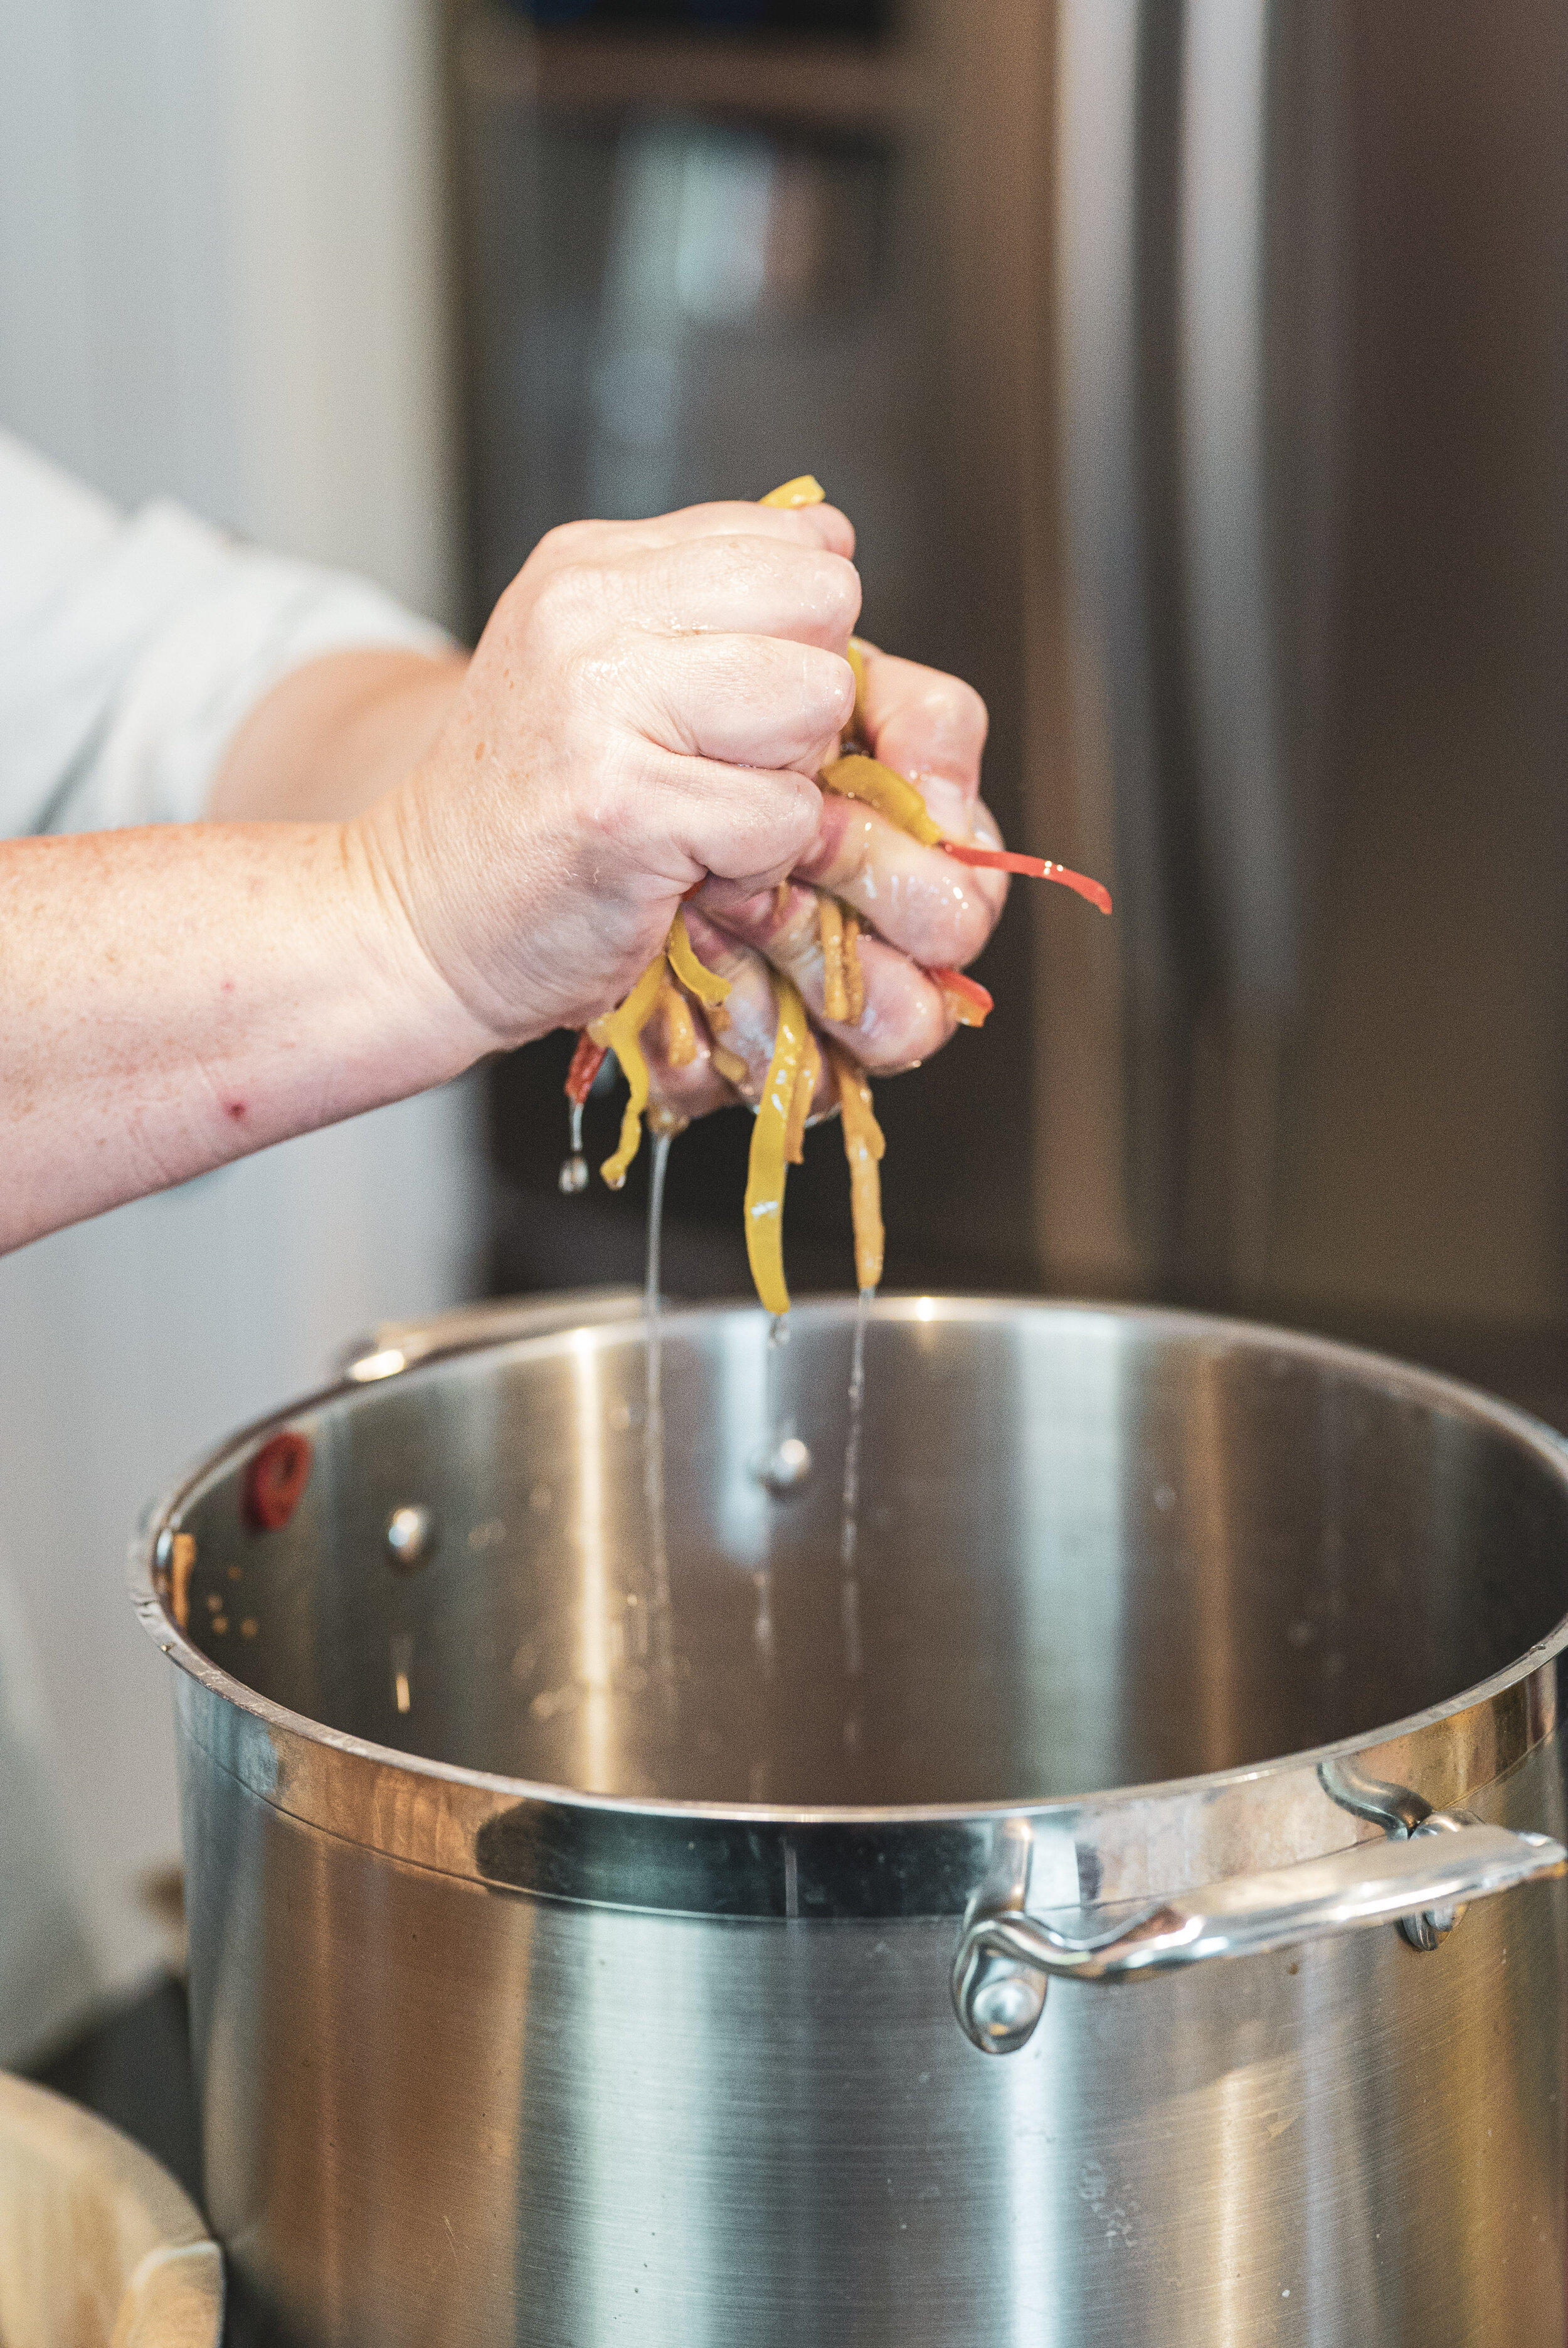
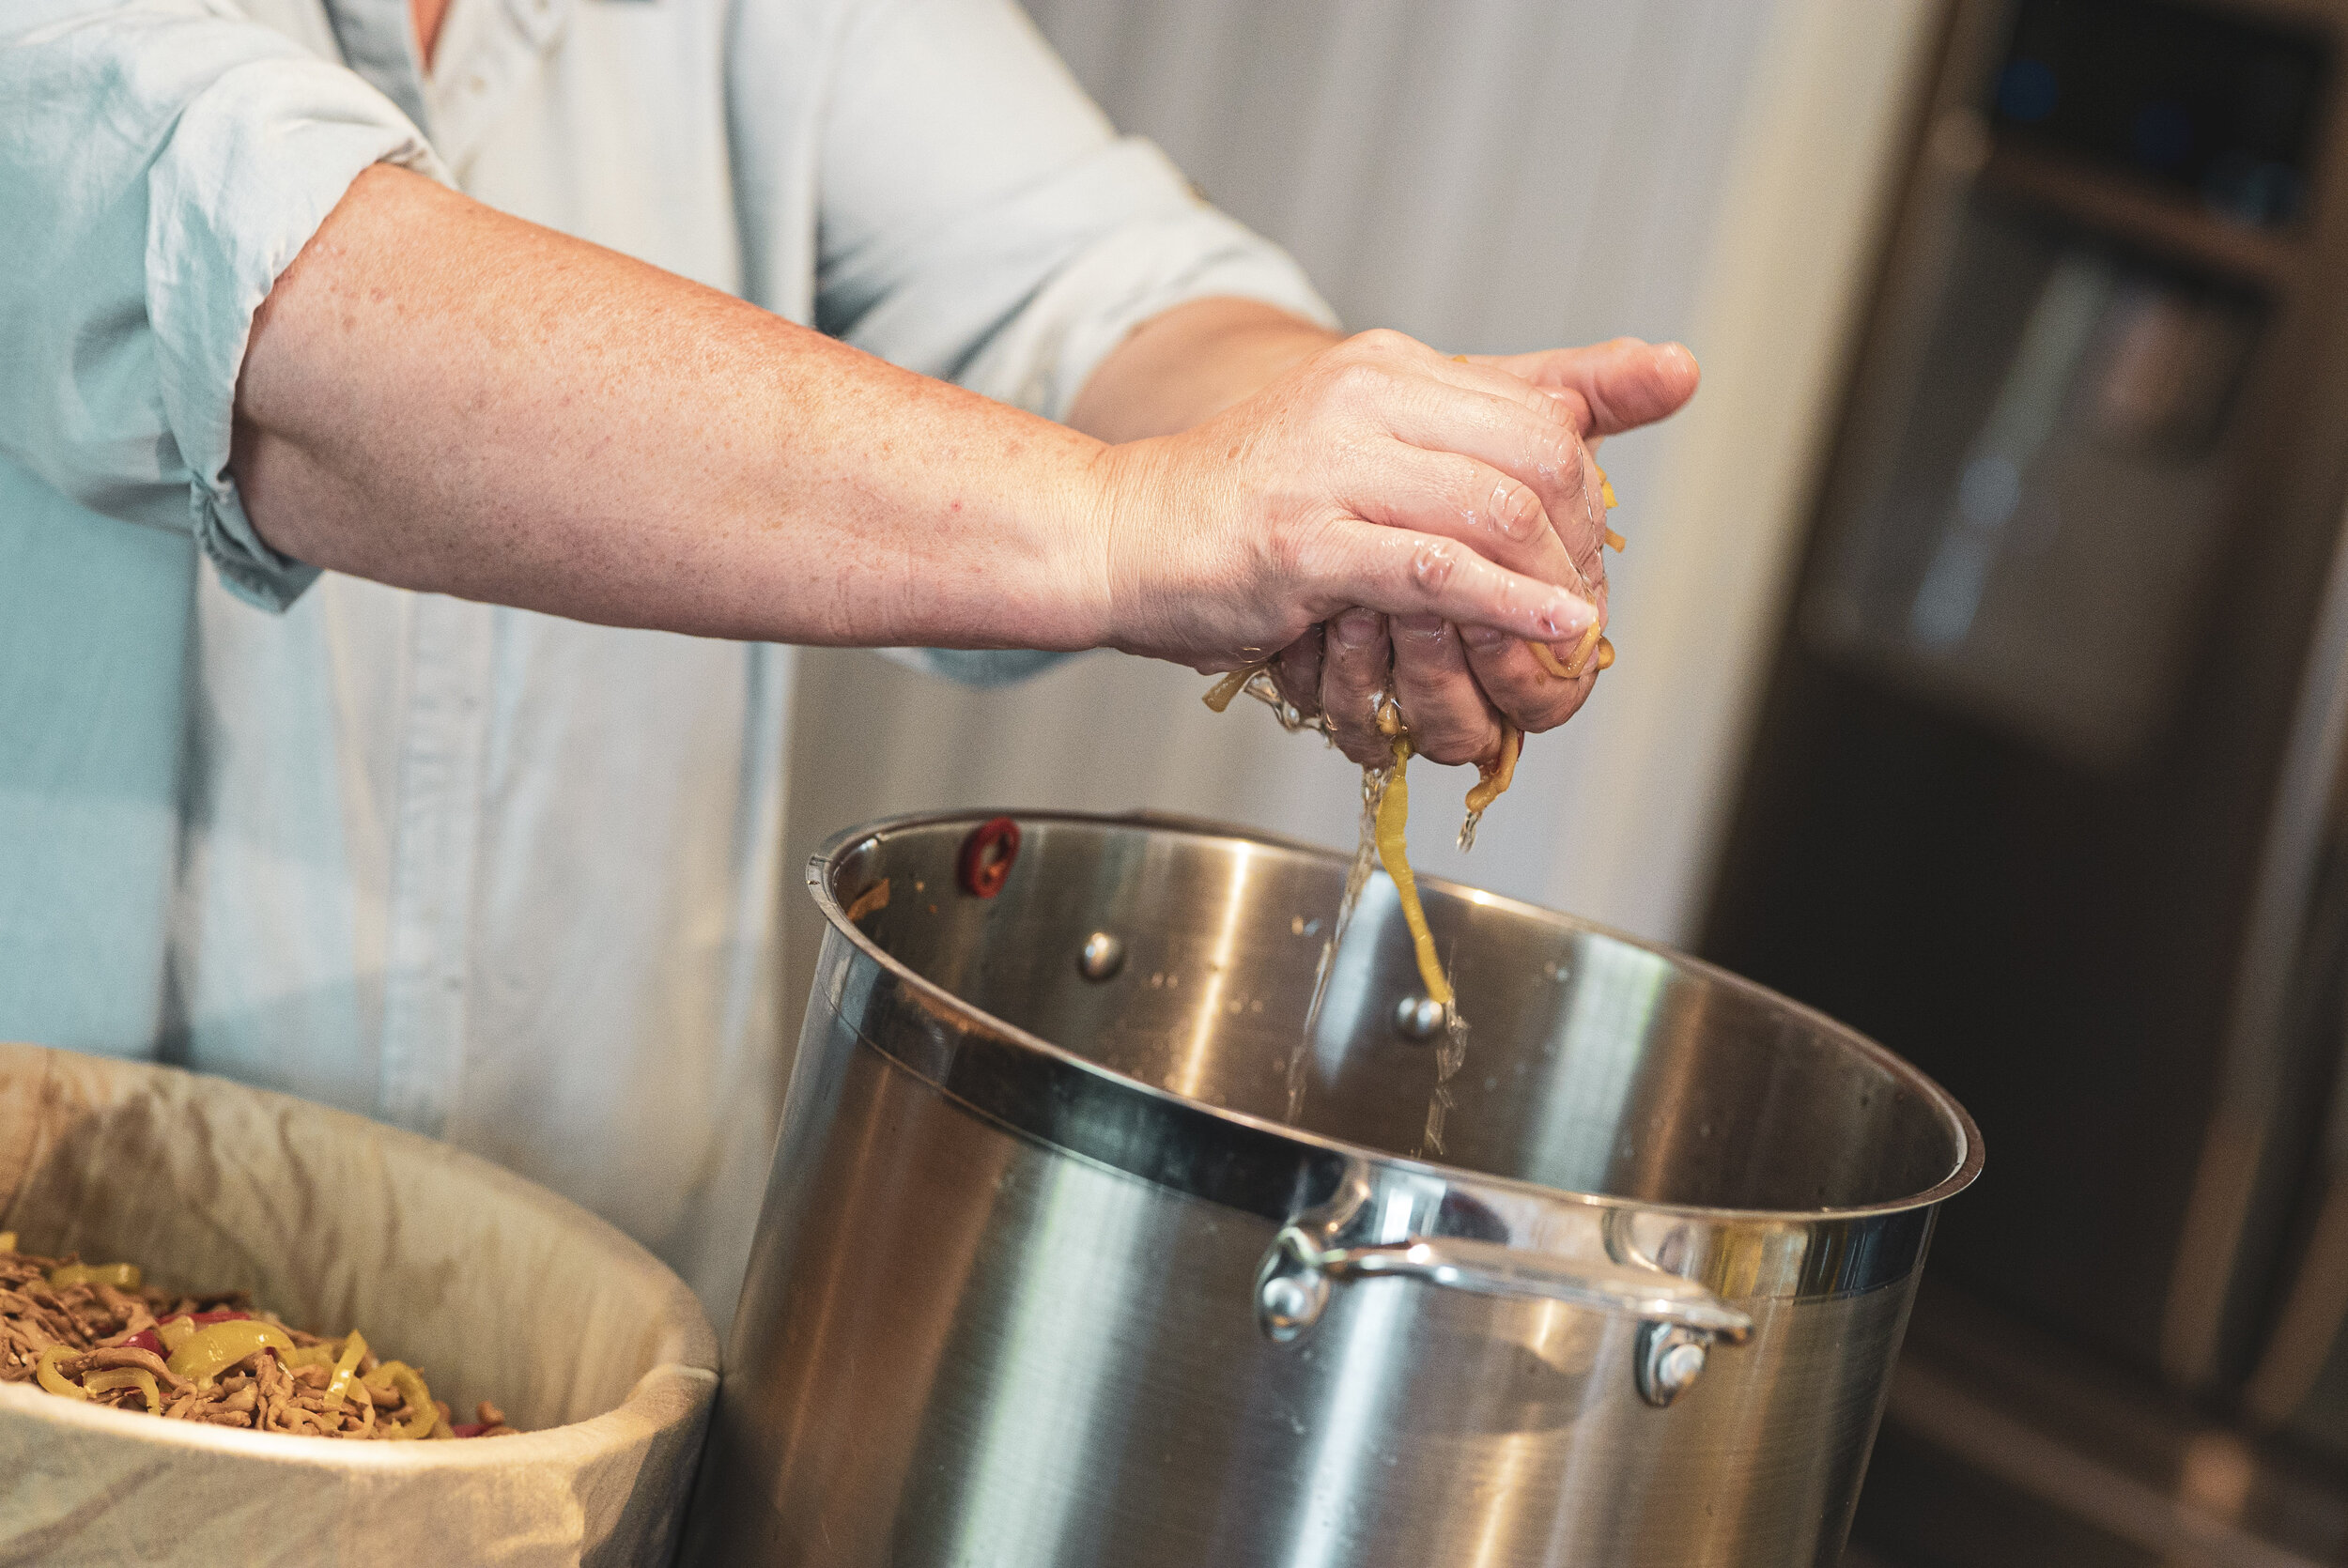
Meanwhile back at the eggplant ranch, you need to get all that bitter brown liquid out of your eggplant.
I’m giggling as I write this. Here’s the secret that our pickled eggplant has. Instead of wringing out miles of soaked eggplant with your dainty little hands, you will need:
One Washing Machine
Wha wha wha whaaaaat?
I know, right??
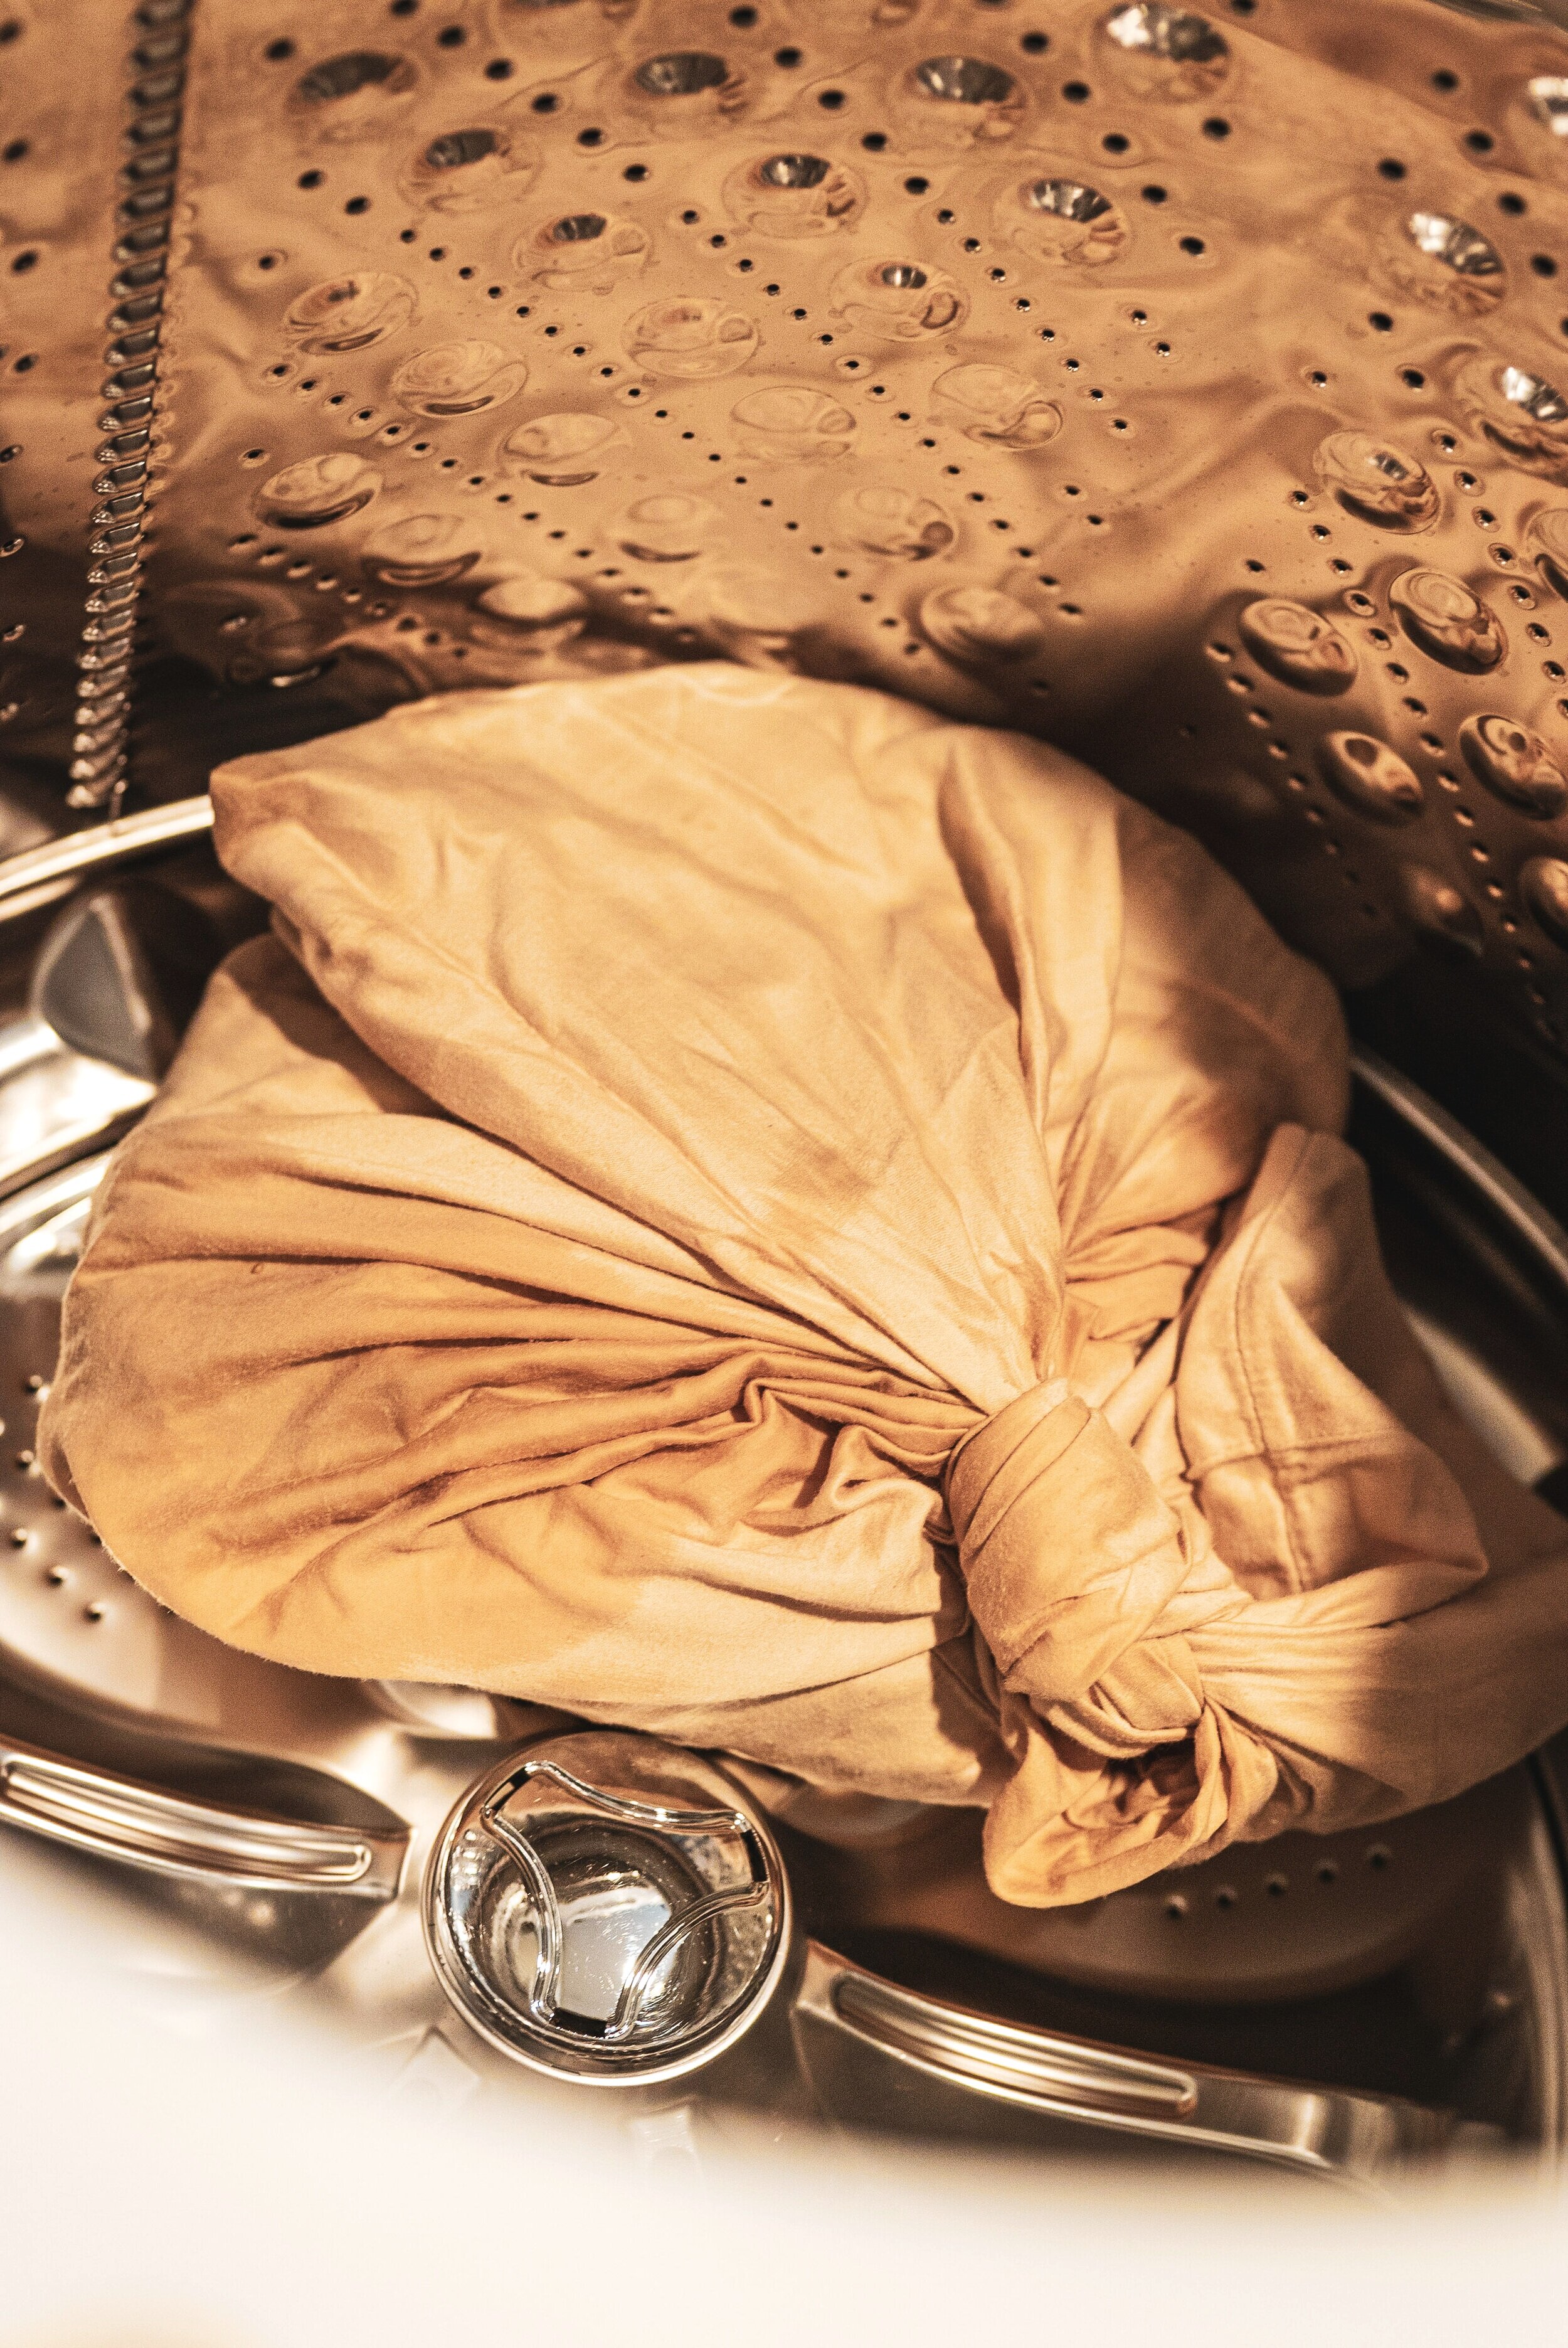
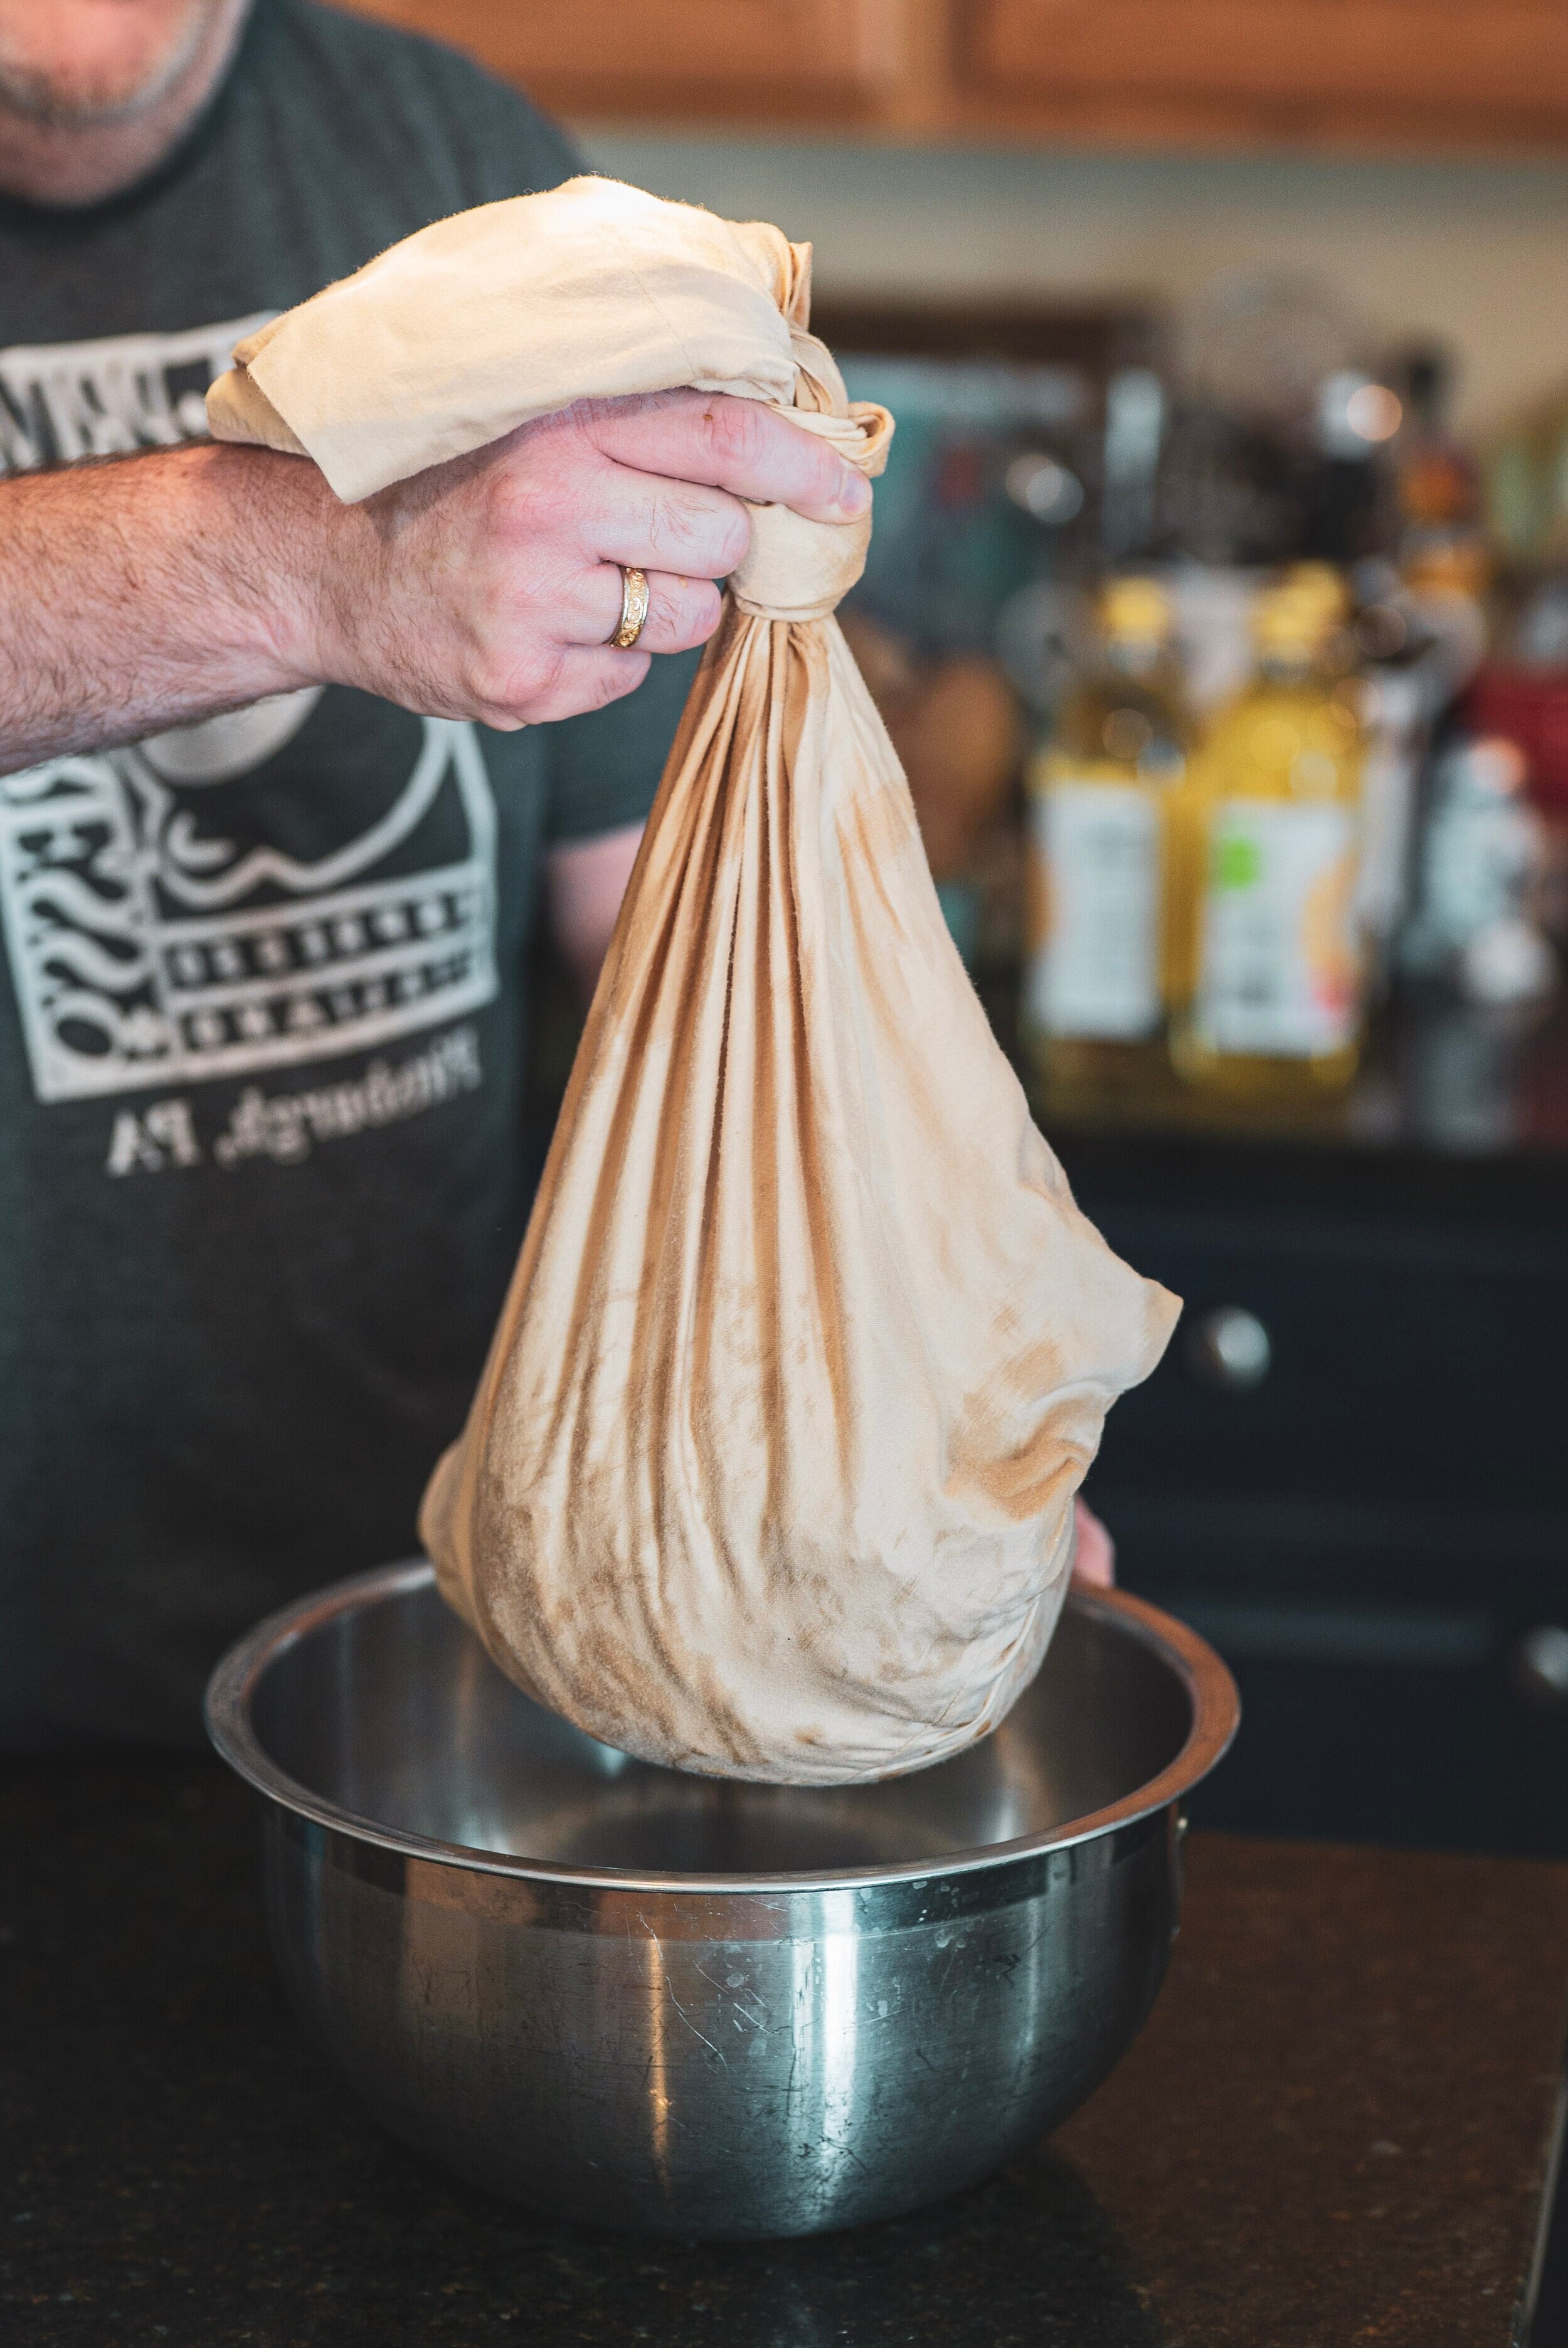
FIRST EXTRUSION: Get an extra-large bowl and put your freshly washed with non-perfumed detergent, clean pillowcase in it. Roll it open in the bowl with the opening rolled over the sides. You are going to fill this pillowcase up about a quarter of the way with squeezed out eggplant (don’t kill yourself here, we let the machine do the work, but wring it out somewhat) and then put a tight knot in the top so the eggplant doesn’t escape and ruin your washing machine!
Once you’re securely tied off, make your way to the washing machine! Make sure it’s empty and plop your filled pillowcase in. You are going to use the highest setting spin cycle without rinsing. No water. Just spinning. The average cycle is about 12-13 minutes so make sure your knot is secure. Do this as many times as needed for the amount of eggplant that you have only filling the pillowcases about ¼ full.
Although I am pretty sure you could put a few filled pillow cases into the spin cycle- we didn’t have to do that. We only needed one. Just make sure the knots are tight. When you are done, put the wet pillowcases aside. You are going to use them again.

Once you have all the eggplant extruded, put it back in the large bucket or stock pot breaking up all the little clumps into separate strands. You will notice some strands will be darker that others, but that’s okay at this point.
Now add the vegetables that need to be pickled- this means in this case THE GARLIC and sliced peppers and any other vegetables need to be mixed into your eggplant.
REMINDER—VERY IMPORTANT——-!
You need to process the garlic in the hot vinegar before the canning process. Garlic harbors a potential for Botulism and the bacterium Clostridium Botulinum. Mincing the garlic and boiling it in an acid like vinegar kills that bacteria.
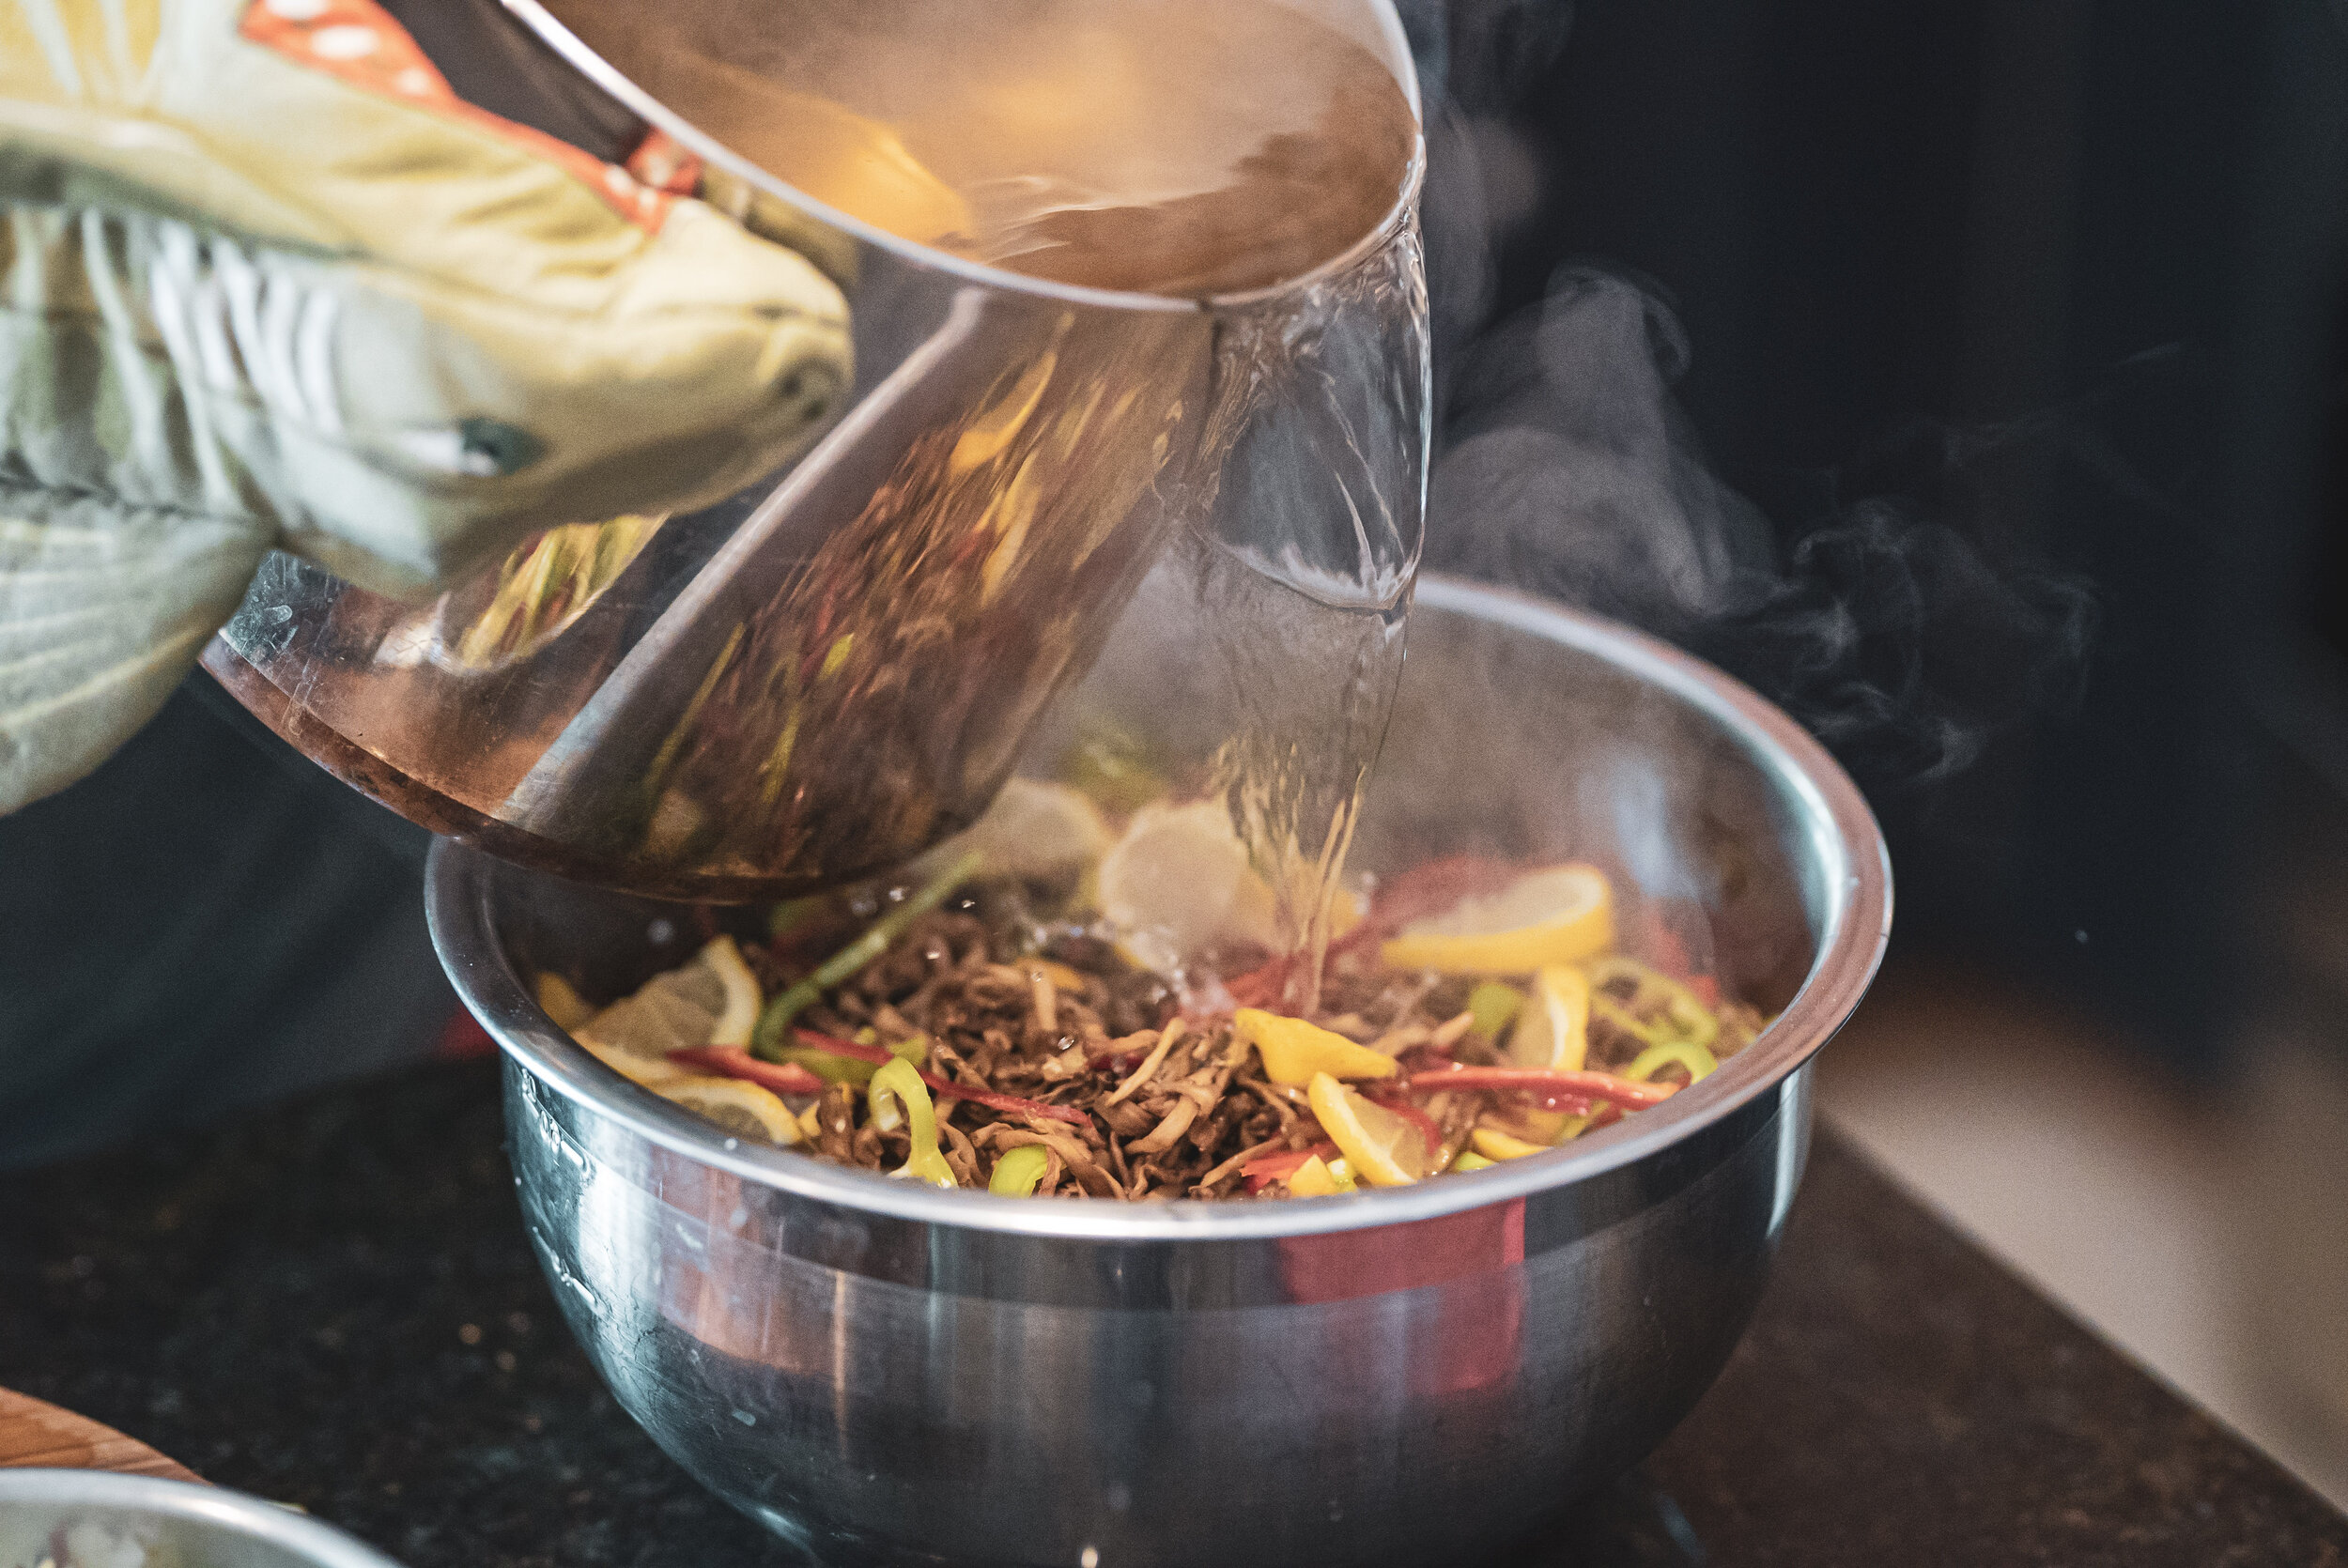
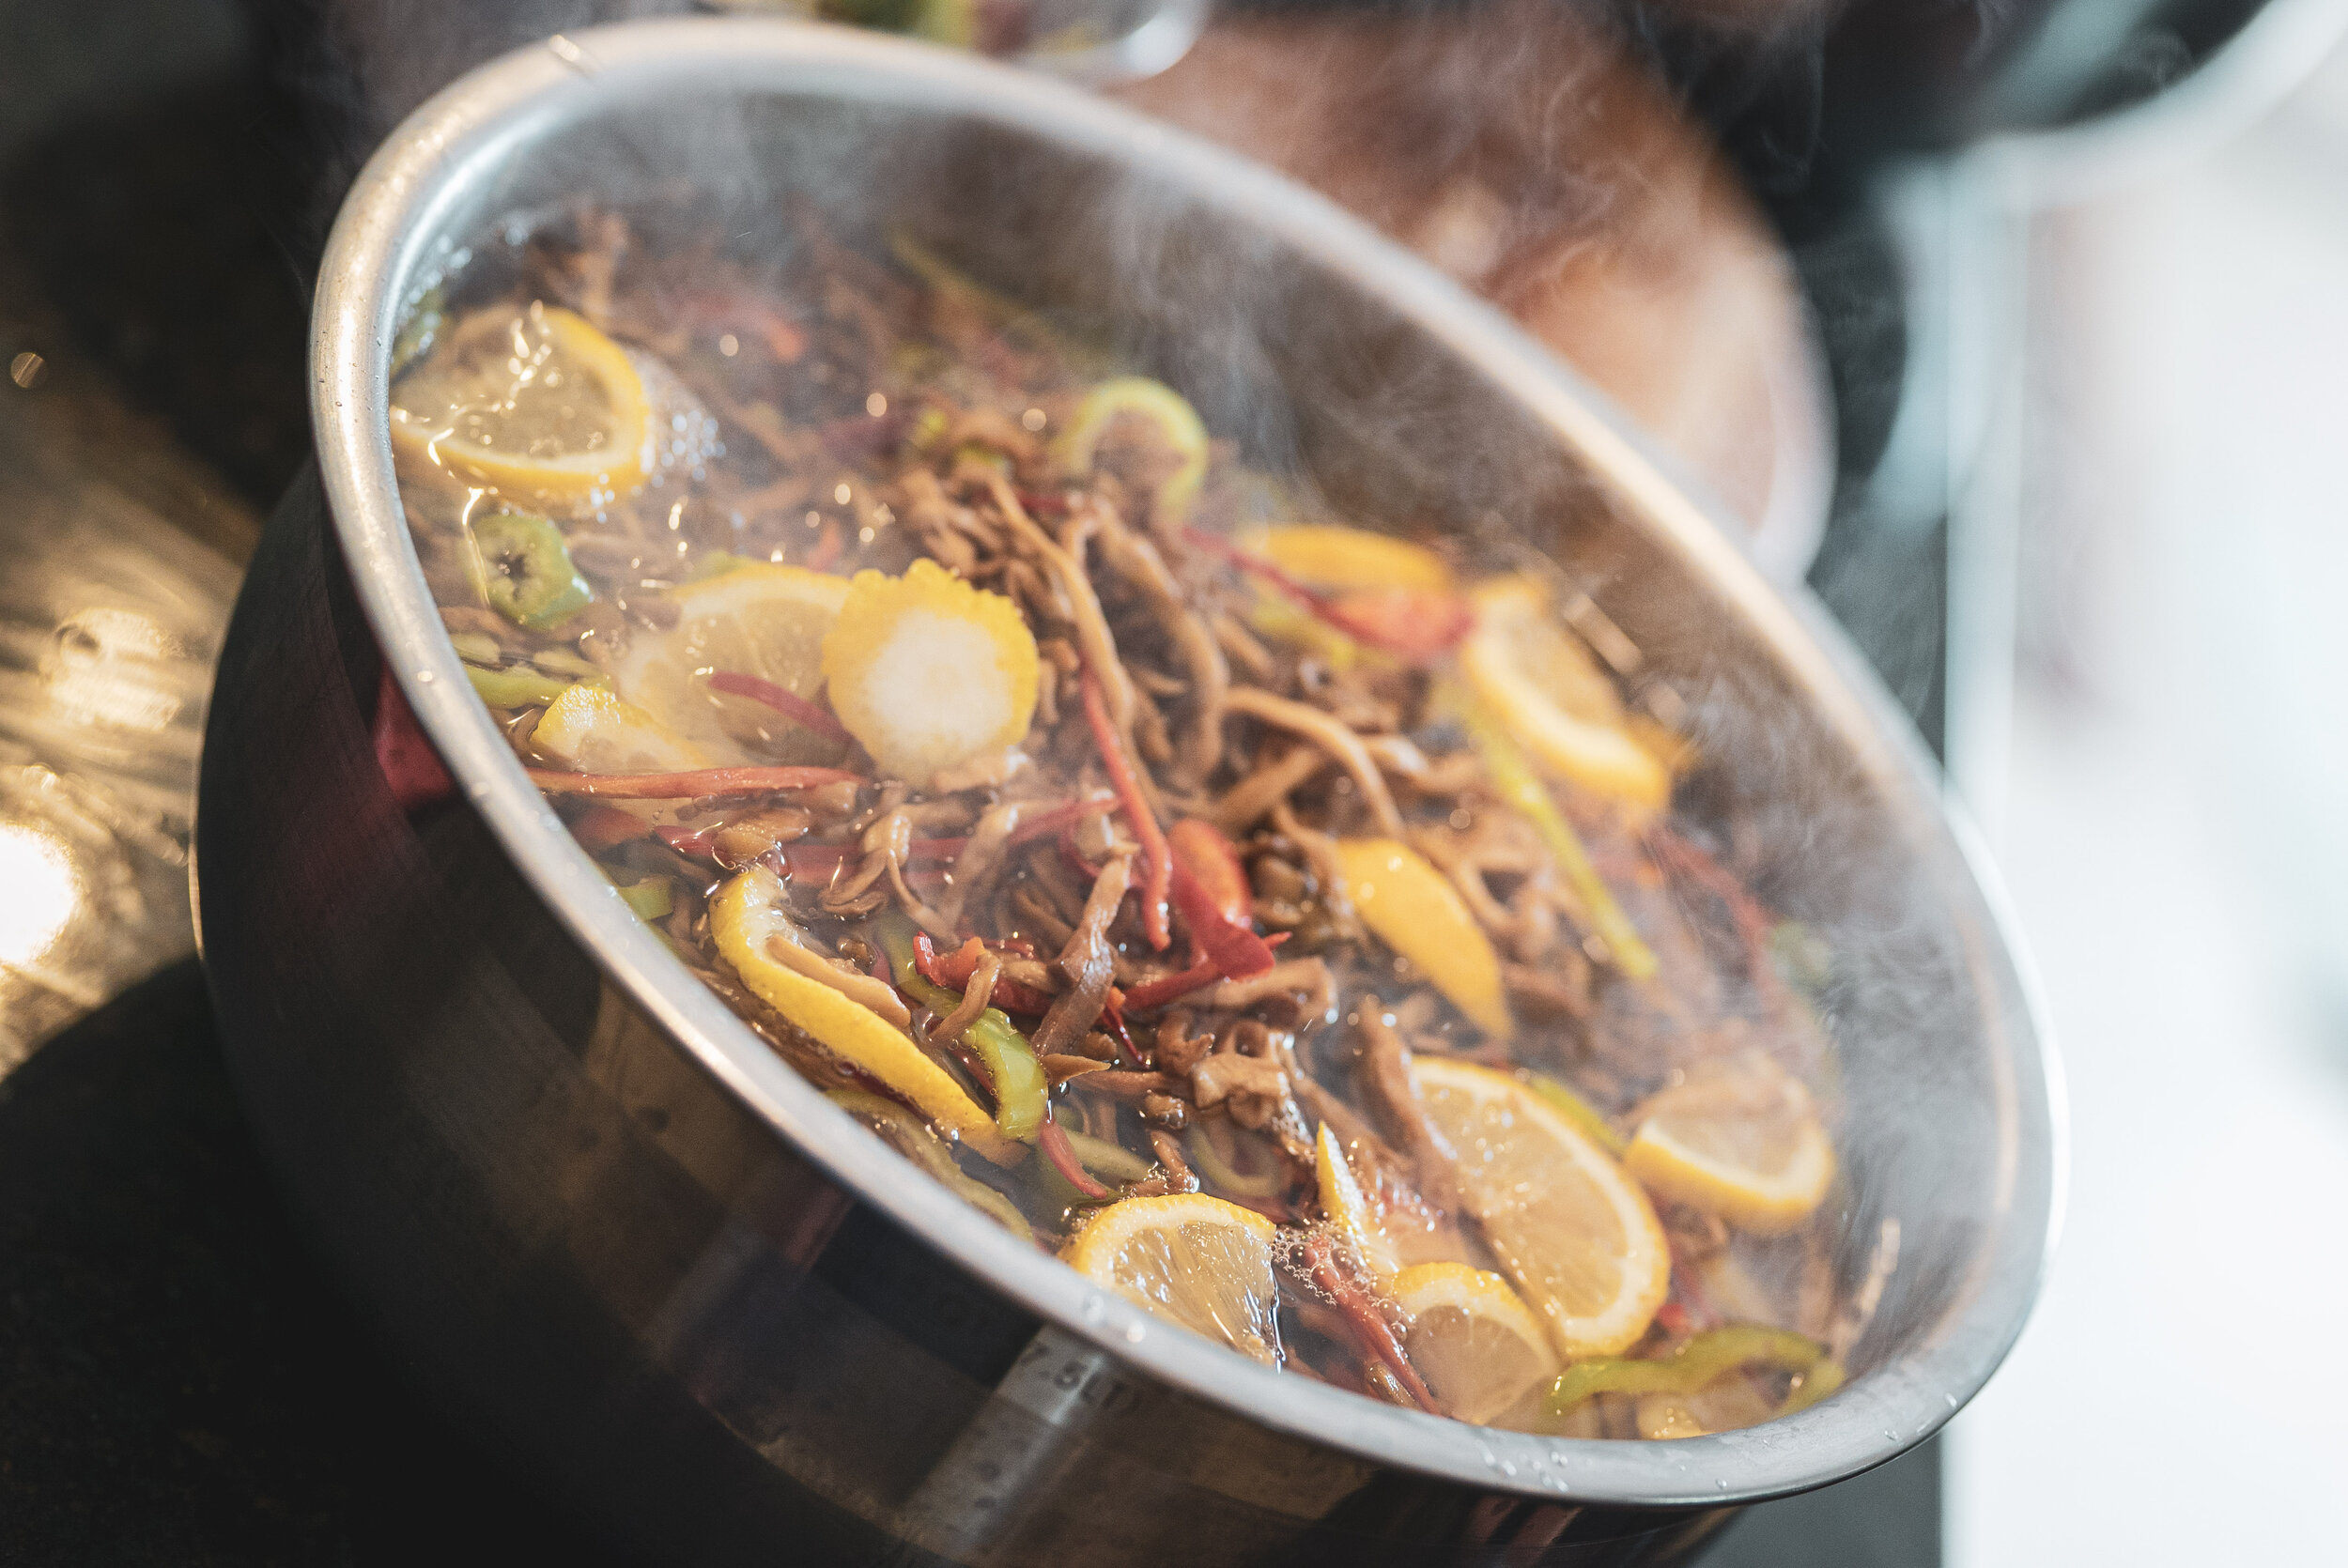
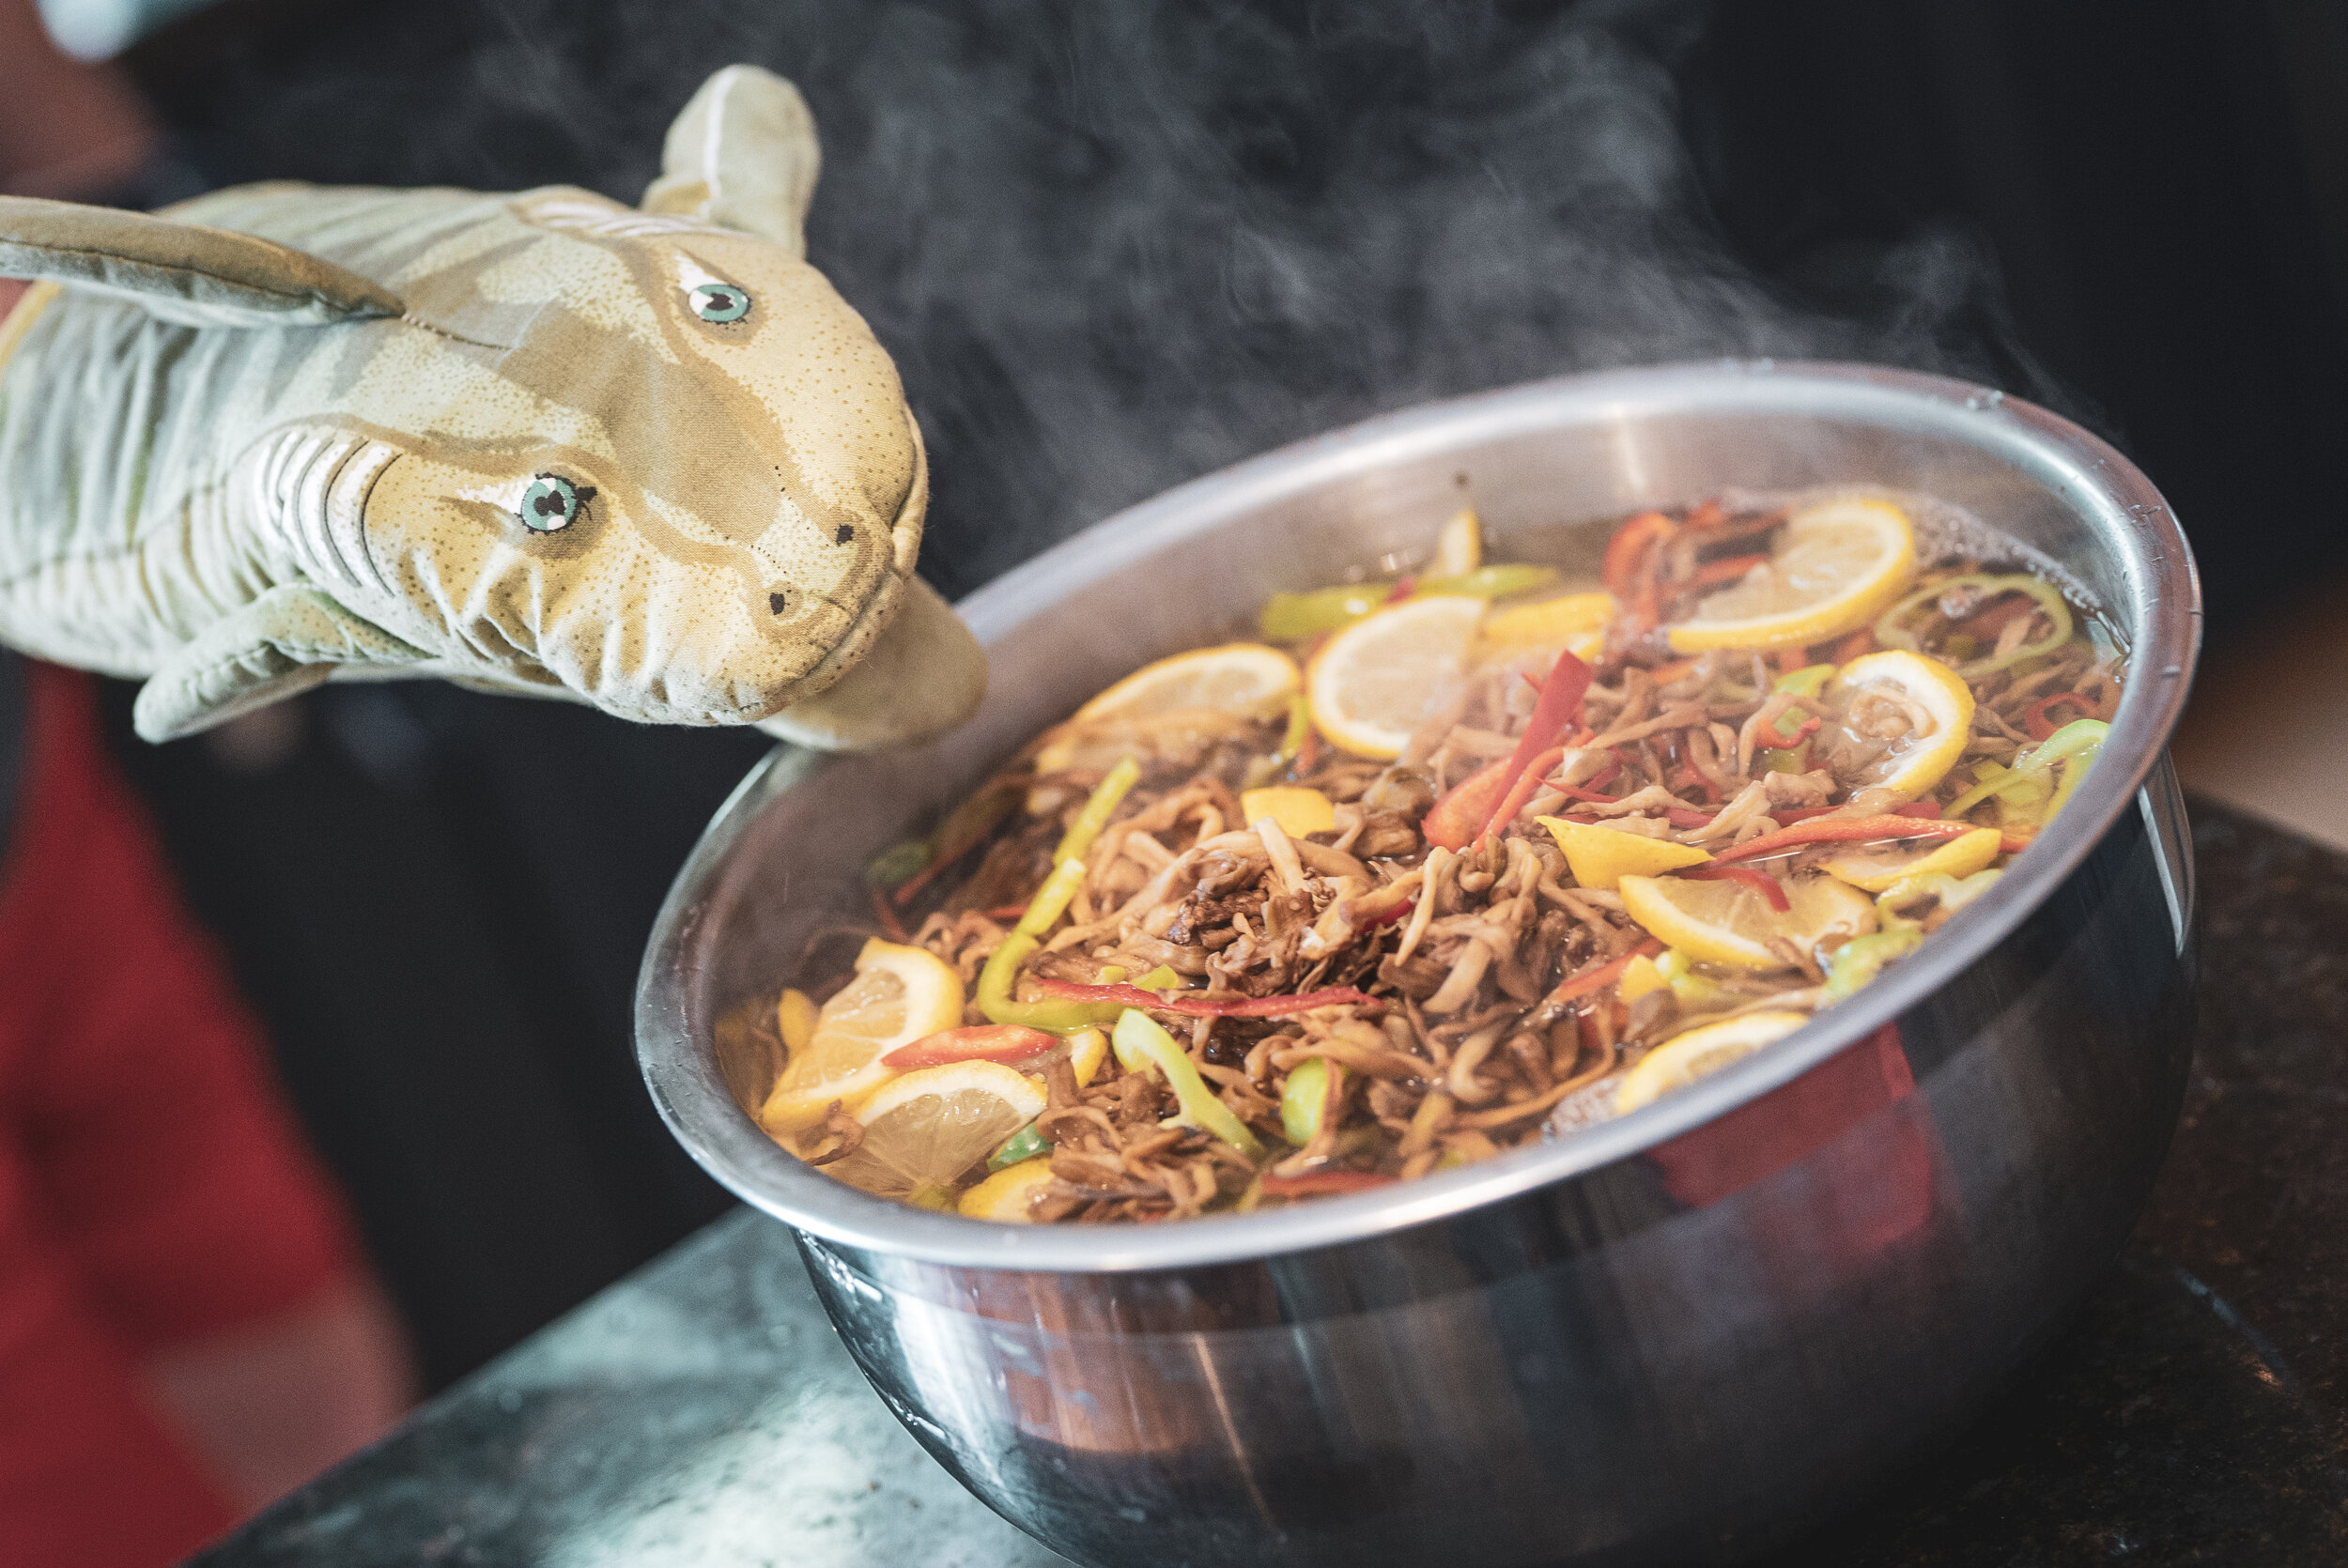
Your vinegar and water solution should be boiling. Remove the bouquet garni as it has worked its magic. Pour your seasoned, boiling vinegar and water solution over the eggplant and peppers. Make sure you wear your shark oven mitt! Cover with foil and a towel for 1.5 hours.
After 1.5 hours, take the foil and towel off and give it a good stir with your large, long-handled spoon to help it cool. You should notice that the eggplant is still quite sturdy and a little lighter in color.
Let it cool down for 1.5 more hours uncovered.
During this time, it is a good idea to sterilize all of your jars and lids. Feel free to do this at anytime. Since you have this hour and a half, now is as good as any.
READ THE DIRECTIONS ON YOUR JARS or look it up online. Some lids need to be hand washed with soap and hot water according to canning guidelines and some need to be boiled. Put these aside on a clean towel. You may also choose to use the sterilize cycle on your dishwasher if you have one. It’s much easier!
SECOND EXTRUSION: Déjà vu! Get your extra-large bowl and put your used pillowcase in it. Again, you are going to fill this pillowcase up about a quarter of the way with squeezed out eggplant and then put a tight knot in the top so the eggplant doesn’t go rogue and ruin your washing machine.
“PHEW! At this point, make yourself an espresso corretto. This is an espresso with a shot of grappa in it. Actually, you could use any shot of your favorite liqueur here like anisette or brandy. We are always looking for an excuse to celebrate. You’re almost done, so this is a good time to do it!”
Once you’re securely tied off, make your way to the washing machine. Put your pillowcase in. You will again use the highest setting spin cycle without rinsing for about ten to thirteen minutes. No water. Just spin. Do this as many times as needed for the amount of eggplant that you have only filling the pillowcases about ¼ full.
Once you have all the eggplant extruded, put it back in the large bucket or stock pot breaking up all the little clumps into separate strands.
You may also want to run a rinse or clean cycle on your washing machine to just make sure no spiced vinegar leeches into your regular clothes washing.
Next, in a large mixing bowl or your rinsed and dried bucket or stock pot, place your dried eggplant and peppers. It’s time to season.
We tossed together:
· 5 tablespoons of dried oregano
· 1.5 teaspoons of red pepper flakes
· 1 teaspoon of black pepper
· Approximately 1 cup of extra-virgin olive oil
Thanks to the lemon, we used these seasonings in pinches until we got the taste we liked. So don’t use lemon. But IF YOU DO:
· ¾ to a tablespoon of sugar- in pinches- tasting as you add
· Approximately 3 tablespoons of kosher salt- in pinches
This is your last chance to get it tasting how you like it. Keep in mind that the flavors will deepen as it sits in the jar. It is best to use restraint. When you can ALMOST taste what you know you like- that’s a good time to stop and let the canning process do the rest of the deeper seasoning.

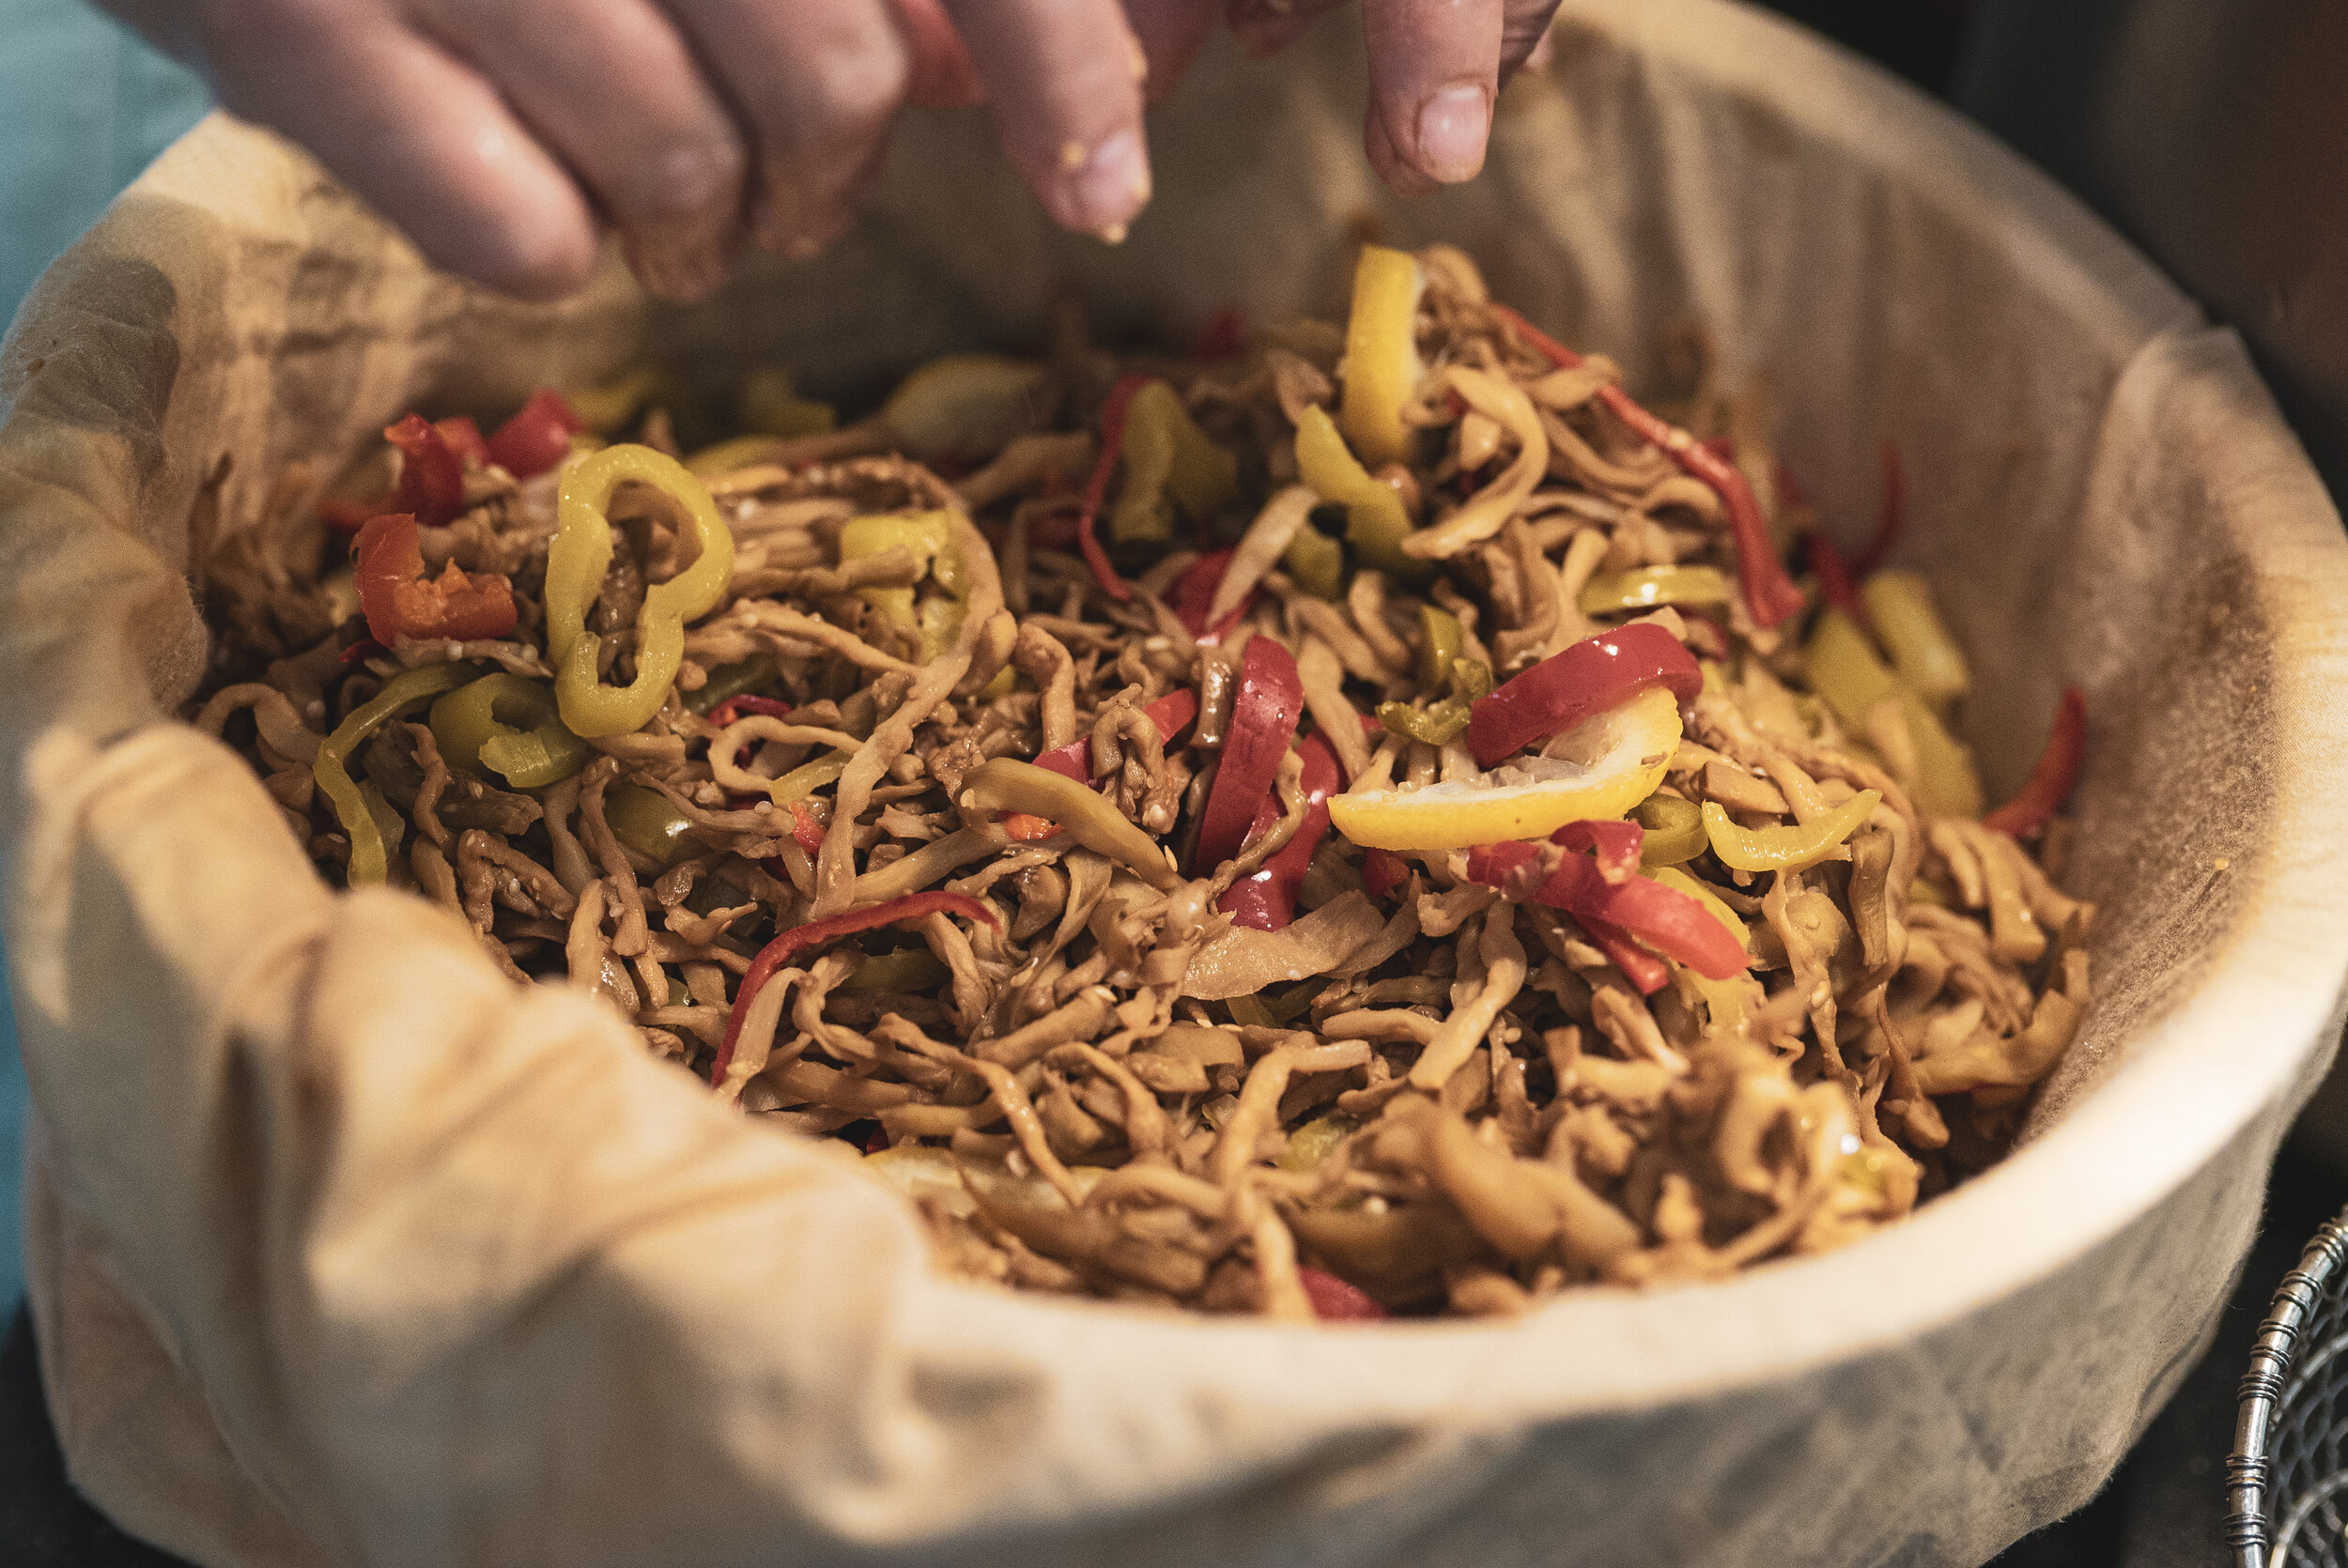
Here they are, like little jewels…
Time to jar these little suckers.
Set yourself up for success. Place a clean towel or paper towels down on your workspace. Have your back-up clean kitchen towels, your sterilized funnel or Silpat, sterilized bottles, a clean pair of rubber ended kitchen tongs, lids and rings at the ready and some plastic gloves.
First, drop a large, fresh bay leaf into every jar. Great flavor and it looks pretty.
Using your funnel, carefully put the seasoned eggplant loosely into each jar leaving room at the top. Careful not to spill any liquid on the outside of the jars. They should be spotless.
“Extra-virgin olive oil congeals upon refrigeration. Safflower does not. If you want the flavor of a condiment like good olive oil, use less of it and replace it with safflower or canola. Otherwise, know that you will need to allow the eggplant to come to room temp and become less cloudy once opened and out of your fridge.”
Next, pour in safflower oil to cover the eggplant. We chose to augment the safflower oil by topping it with extra-virgin olive oil. (see quote) You want to have a good ½ inch of oil over the eggplant PLUS ½ to ¾ inch of air at the top of the jar. You can use your jar threads as a guide. Leave a good ½ inch of air space from the lid. Carefully wipe any spilled liquid from the outside of the jars. Any excess could lead to botulism. This is worth a double check.
Prep your pot of water with gaskets at the bottom. The water needs to reach well over the tops of the jars. Set to boil.
Place the sterilized lids on top of the jars. Place the sterilized rings over the lids. Finger tighten. DO NOT OVER TIGHTEN. Air will need to escape during processing. If the rings are too tight, they will bend to allow air to escape. It’s happened to me. Believe me, tight but not crazy tight and you’ll be fine.
Place finger tightened jars upright into the boiling water. They need to boil for a full 10 minutes. This means you are placing them into already boiling water for those 10 minutes.
Remove them with your rubber tipped, canning tongs and place them on a clean towel. They will ping and click over the next twelve hours as they cool down. We covered ours with a towel just in case one decide to explode for some reason.
Place in the coolest spot in your cupboard or refrigerator for at least a month- or even better- two before eating.
The longer you can wait, them more delicious they will be.
Once opened, these must be refrigerated and can last for several weeks. Make sure you top off the olive oil so the product stays immersed if you need to.
Check back with us in December! We will post how ours came out!
